

Car Stereo Amplifiers Explained: Classes, Power and Setup

You turn up the factory-style stereo on the highway, but near the top of the volume knob the music gets thin and harsh. The speakers may not be broken. The head unit may be running out of clean power.
A car amplifier can give your speakers more usable power, but the right choice depends on more than a big wattage number. You also need to consider the amplifier's electrical demand, the speakers' impedance, the available space, and how the vehicle's factory audio system is wired.
Table of Contents
- What a Car Amplifier Does for Your Sound
- Amplifier Classes A, AB, B and D Compared
- Reading RMS, Peak and Impedance Ratings
- Channel Configurations and Speaker Matching
- Power Draw, Wiring and Cooling Before You Buy
- How to Install a Car Amplifier Step by Step
- Choosing the Right Amplifier for Your Vehicle
What a Car Amplifier Does for Your Sound
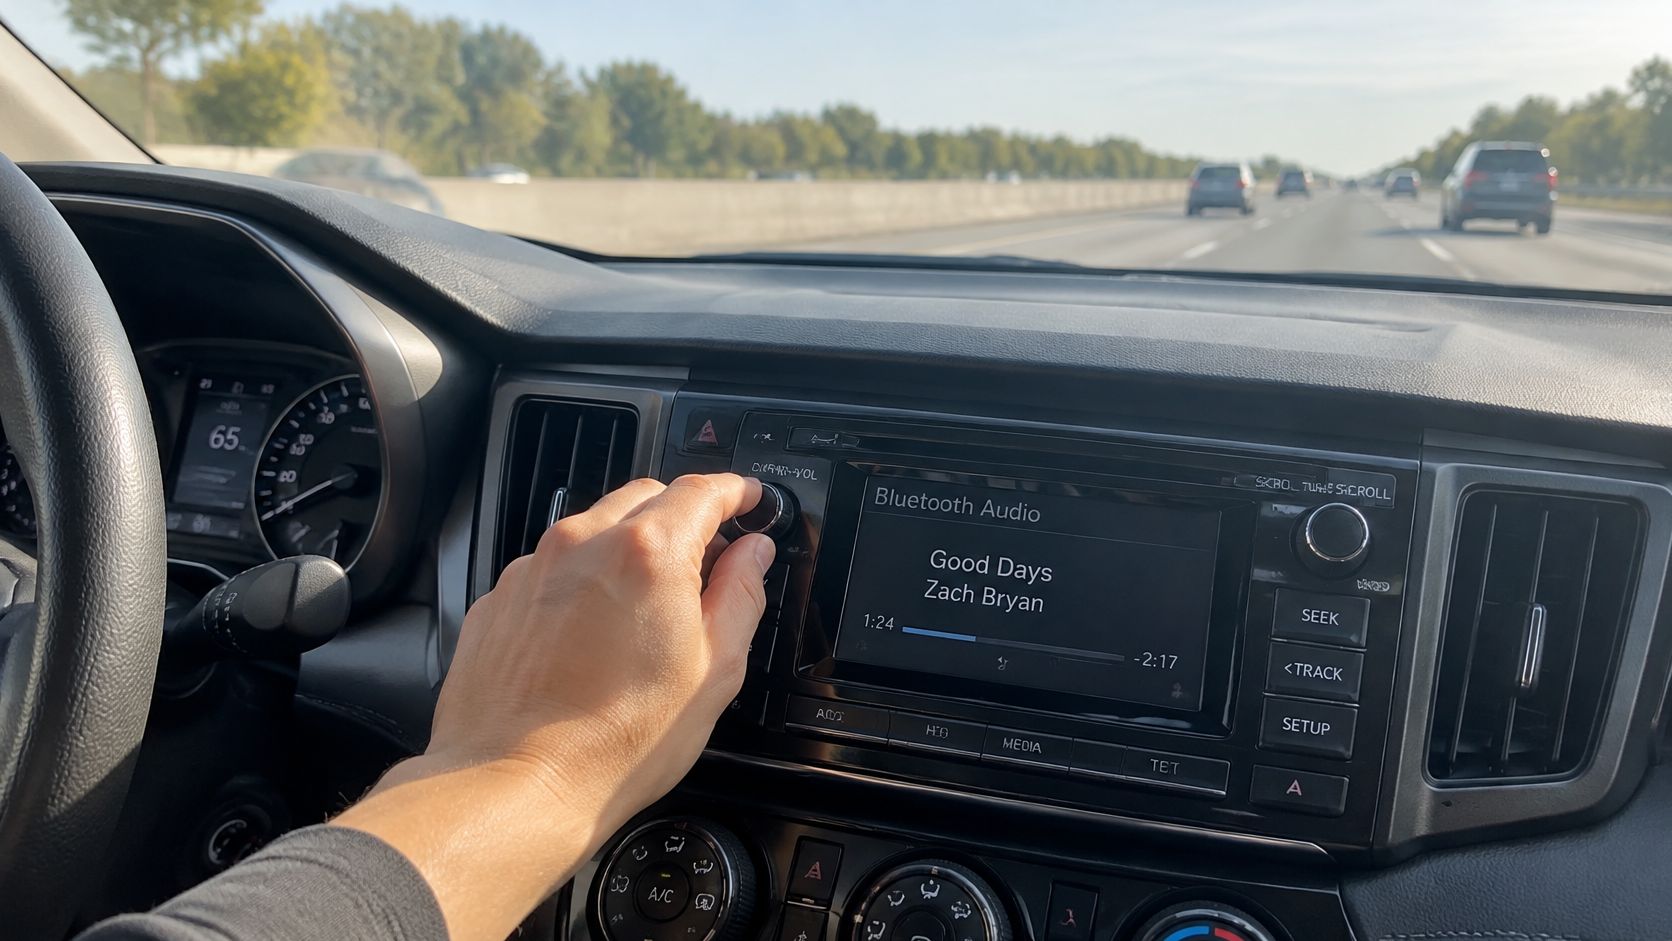
On a noisy highway, music that sounds clear at low volume can become thin when you turn it up. The head unit's built-in amplifier has limited power, much like a speaker trying to reach listeners across a crowded room. An external amplifier gives the audio system more electrical power to drive the speakers.
Many entry-level aftermarket receivers provide about 14–22 watts RMS per channel through their built-in amplification, which may suit moderate listening but fall short for higher-output speakers or a subwoofer that needs more power (Crutchfield's history of car amplifiers). RMS describes the amplifier's continuous power output. It helps you judge whether the receiver can supply speakers with steady power during normal listening, rather than relying on a brief peak figure.
The signal path is simple: the receiver sends a low-power audio signal to the external amplifier, which draws energy from the car's electrical system and supplies the voltage and current needed to drive the speakers. That added output also means an electrical load on the vehicle. The amplifier's power rating is a starting point for checking how much current it may draw, and whether the car's wiring can support it.
Jim Fosgate is credited with creating the first dedicated car amplifiers in 1973, a milestone in modern aftermarket car audio. For a buyer, the practical questions are how much power the speakers need and what that demand means for the vehicle's electrical system. Compare the amplifier's class, RMS rating, channel count, and speaker compatibility, then check its current draw, wiring needs, cooling, and fit with the factory electronics.
Amplifier Classes A, AB, B and D Compared
Amplifier class describes how a unit's output devices handle the audio signal. That design affects efficiency, heat, and the space needed for cooling, which can shape the electrical load your car must support.
Class A and Class AB keep output devices partly active, similar to a tap left open. Class A turns more input power into heat. Class AB reduces that waste and is common in full-range designs. Class D rapidly switches its output devices on and off, like a light switch. It generally loses less energy as heat, so manufacturers can build compact amplifiers that need less cooling.
In Global Market Insights' 2025 estimate, the global car-amplifier market was valued at $2.43 billion, with Class D accounting for about $1.34 billion, or roughly 55% of the estimate (Global Market Insights' car amplifier market estimate). The same estimate put Class AB at about $851 million and Class B at about $121 million. These figures describe market estimates, not the performance of an individual amplifier.
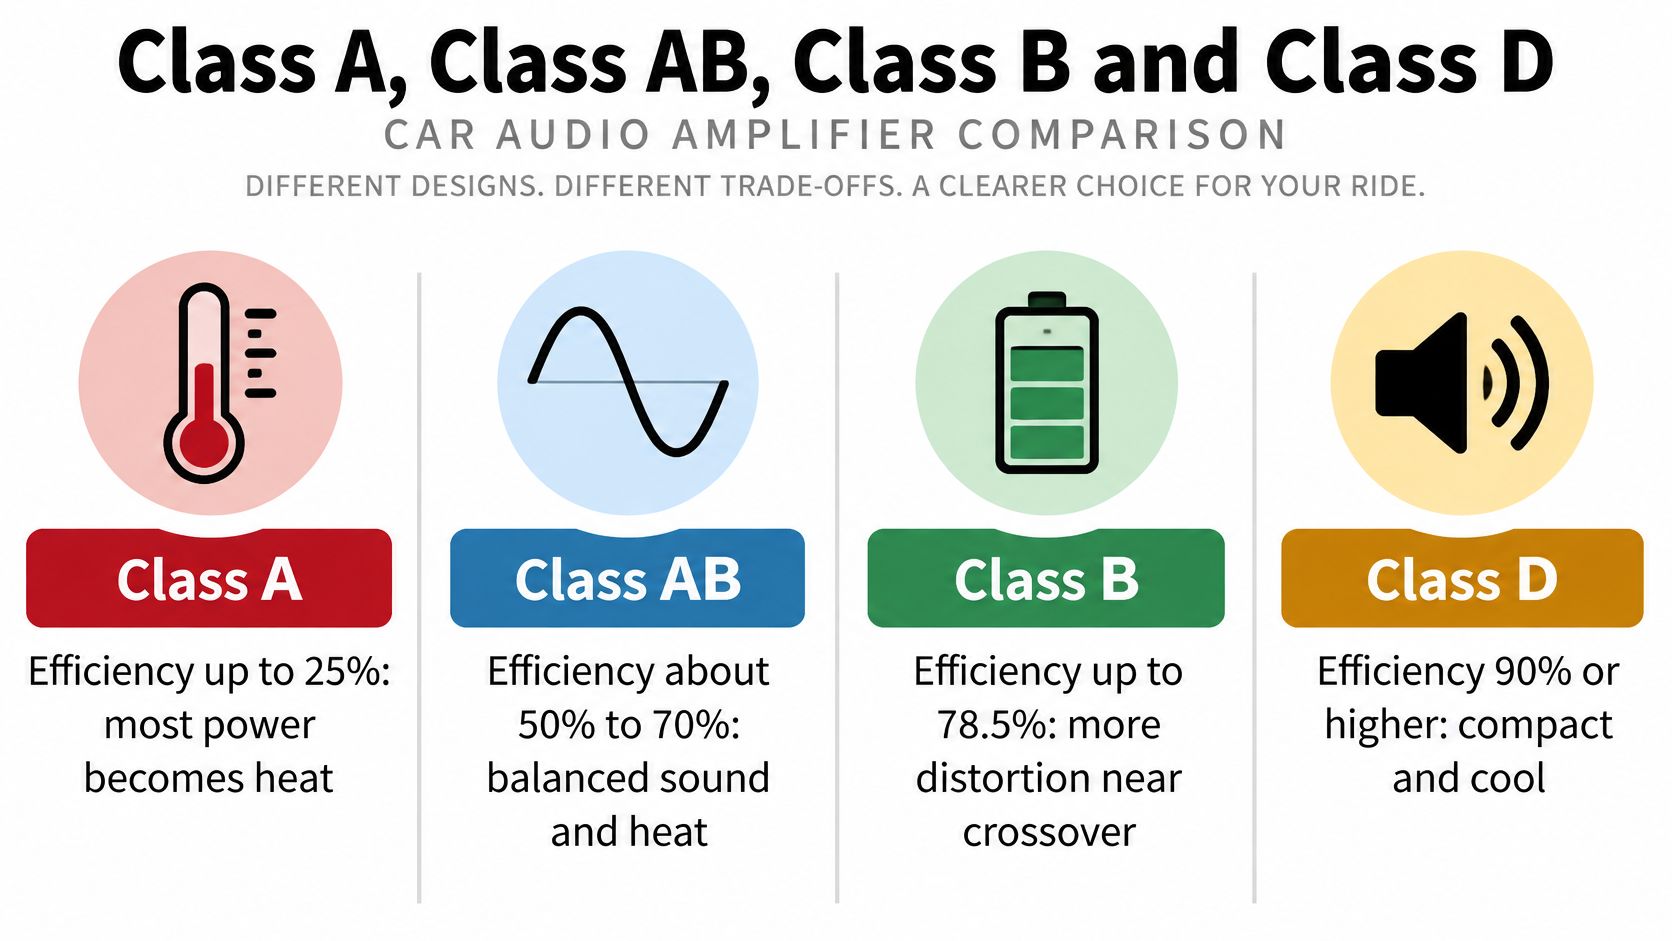
The table shows broad differences. Actual efficiency and heat depend on the model and how it is used.
| Class | Typical efficiency | Heat output | Best use |
|---|---|---|---|
| Class A | Lower, with much input power lost as heat | Very high, large heatsinks needed | Small high-fidelity systems and niche listening |
| Class AB | Moderate, with more heat than Class D | High, needs heatsink and airflow | Full-range front and rear speakers in general upgrades |
| Class B | Can be efficient, but may produce crossover distortion | Moderate, with crossover distortion | Rarely used now; declining in the market |
| Class D | Generally high, with less energy lost as heat | Low to moderate, compact chassis | Subwoofers, high-power and space-limited builds |
For a buyer, efficiency matters because power lost as heat still comes from the car's electrical system. Class A and AB designs may need more cooling, while a Class D model can suit a compact installation where space and electrical efficiency matter. Sound depends on the design and system match, so class alone does not rank an amplifier's sound.
A compact bass setup, for example, could pair an amplifier with a BR-B65A car enclosure for a single 6.5-inch subwoofer, designed for under-seat or other tight locations.
Reading RMS, Peak and Impedance Ratings
Before choosing an amplifier, check what its power rating means for the electrical load it will drive. A peak-wattage figure describes a brief burst of output. RMS power gives a more useful basis for matching because it measures continuous output under stated test conditions.
Those conditions matter. The CTA-2006 framework specifies how amplifier power ratings are measured, including supply voltage, load impedance, and distortion limits (amplifier power and distortion guidance). Without comparable test conditions, ratings may not be like for like. Check the amplifier's RMS output at the impedance your speakers will present. That load also affects the current the amplifier draws from the car's electrical system.
Match the load, not just the wattage
Impedance, measured in ohms, describes the electrical load a speaker presents to an amplifier. Car speakers commonly have a nominal impedance of 2 or 4 ohms. A lower-impedance load can make an amplifier draw more current and produce more heat, so confirm the amplifier is rated to handle it. An unsupported load can lead to clipping, overheating, or protection mode. For help comparing 4-ohm versus 2-ohm speakers, consider how the speaker's impedance affects the amplifier match.
For example, a speaker rated at 75 watts RMS at 4 ohms pairs naturally with an amplifier rated at 75 watts RMS per channel at 4 ohms. An amplifier advertised at 400 watts peak but rated at 40 watts RMS has a much lower continuous output. Driving it hard to keep up can cause clipping, which distorts the audio signal.
THD, or total harmonic distortion, measures unwanted distortion added by an amplifier. A low THD figure measured at low output does not show whether the amplifier stays clean near full power. Compare distortion figures at rated power, and check that the stated test conditions match the power rating.
| Spec | What it measures | What to look for |
|---|---|---|
| RMS power | Continuous output at a stated impedance and distortion | Match to the speaker's RMS rating |
| Peak or max power | Brief maximum output | Treat as a burst rating, not the continuous output used for matching |
| Impedance (ohms) | The electrical load the amplifier drives, usually 2 or 4 ohms | A rating that supports your speaker's load |
| THD | Distortion as a percentage of the signal | Under 1% at rated power; under 0.1% is a stronger benchmark |
| SNR | Background noise relative to the signal, in dB | Higher numbers mean a quieter background |
Channel Configurations and Speaker Matching
Channel count determines which speakers an amplifier can drive directly. A monoblock has one channel and is commonly used for a subwoofer. A two-channel amplifier can power two speakers or, if supported by the manufacturer, drive one bridged load. A four-channel amplifier commonly powers front and rear speakers. A five-channel amplifier combines four speaker channels with a dedicated subwoofer channel.
The channel rating is only part of the match. Check the amplifier's RMS output per channel at the speaker's impedance, then compare it with the speaker's continuous RMS rating. That tells you whether the amplifier can supply suitable power for that load. Slightly more output can provide headroom, but the speaker's peak rating is not the right target.
Keep the wiring load in range
Consider a dual voice coil subwoofer connected to a monoblock amplifier. Each coil can be wired in different configurations, changing the total impedance presented to the amplifier. For example, a 2-ohm subwoofer load is suitable only if the amplifier is rated to handle 2 ohms and provides an appropriate RMS output at that load. Check both manuals before wiring. The impedance determines what electrical load the amplifier must drive, so an unsupported load can cause problems.
Bridging combines two amplifier channels to drive one speaker or subwoofer. It also changes the impedance each channel effectively sees. Check the amplifier's instructions for approved bridging terminals and speaker impedance before connecting the load.
| Setup | Common assignment | Check before buying |
|---|---|---|
| Monoblock | One subwoofer channel | RMS output and stable subwoofer load |
| Two-channel | A pair of speakers or one supported bridged load | Per-channel RMS and bridging limits |
| Four-channel | Front and rear speakers | RMS output for each speaker's impedance |
| Five-channel | Four speakers plus one subwoofer | Separate ratings for speaker and sub channels |
Use the table to narrow down the amplifier type, then verify each speaker's impedance against the channel rating. A system with a 2-ohm subwoofer, for instance, needs a monoblock that supports that load; channel count alone does not confirm a safe match.
Power Draw, Wiring and Cooling Before You Buy
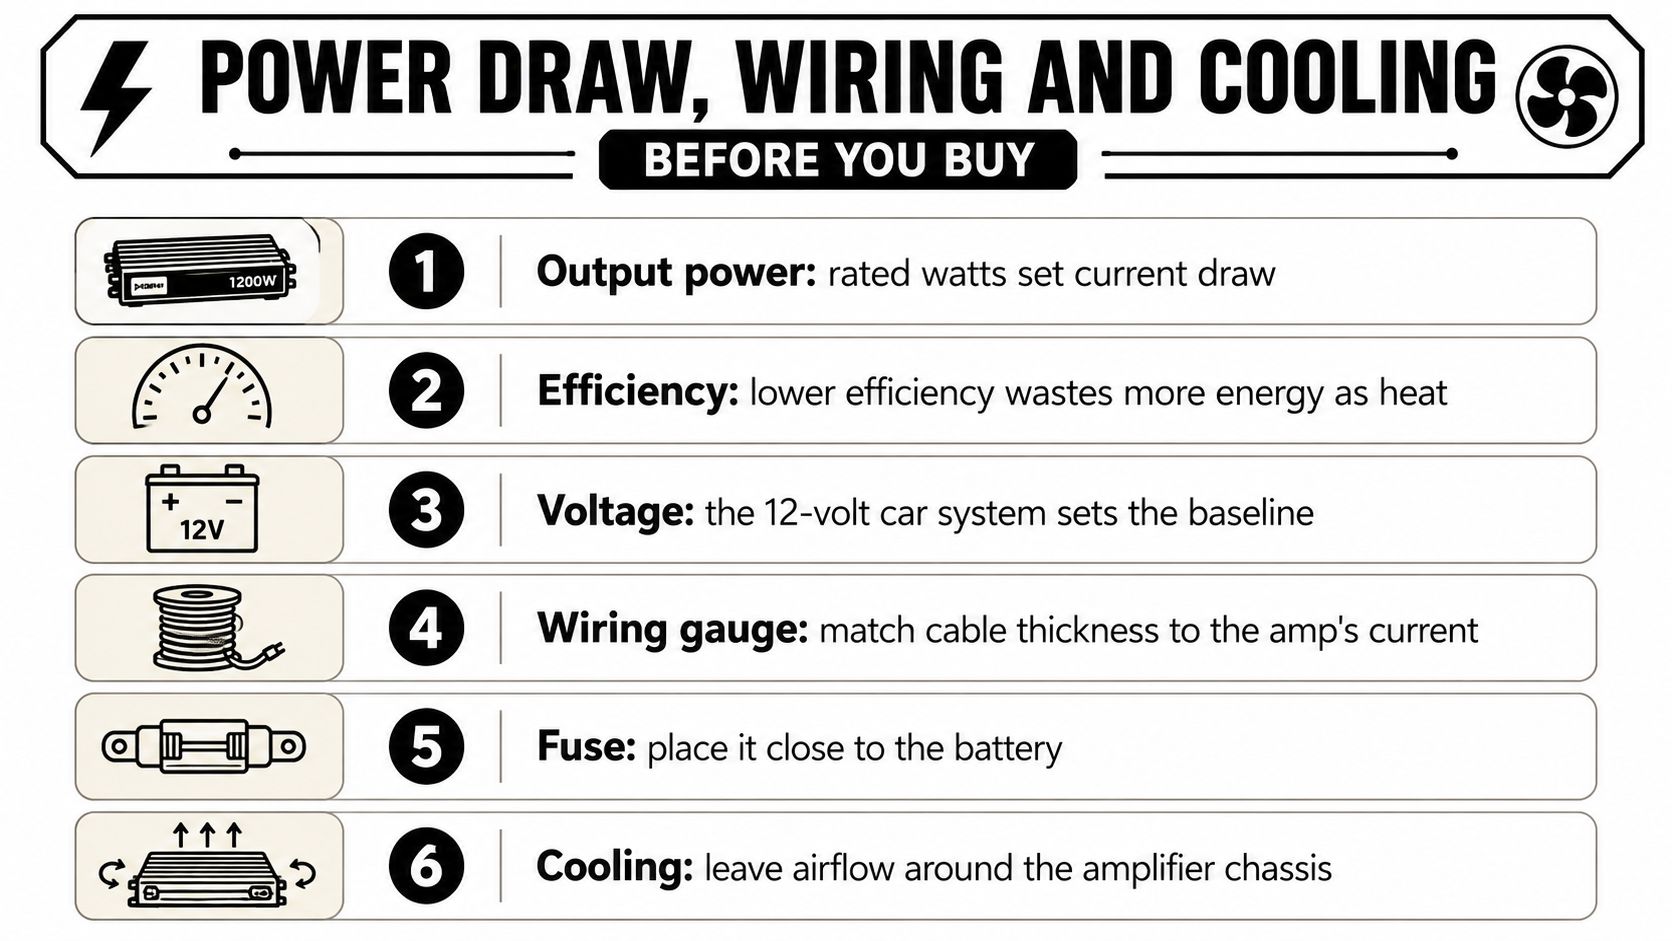
The headlights dim when the music hits, or the amplifier's fuse blows. These symptoms can point to an electrical system or wiring that cannot supply the current the amplifier demands. Read the amplifier's specs as an electrical load, so you can plan the fuse, cable, and available charging capacity before buying.
Current depends on the amplifier's continuous output, efficiency, and voltage. Divide RMS output by efficiency to estimate input power, then divide input power by vehicle voltage to estimate current. For example, 200 watts of output through an 80%-efficient amplifier requires 250 watts of input, or about 18.5 amps at 13.5 volts (amplifier efficiency and current calculation). That current estimate helps you judge the wiring and electrical capacity the amplifier will need.
Estimate input current and plan the cable
The table uses 75% efficiency at 13.5 volts as a conservative planning assumption. Suggested fuse sizes are approximately 125% of the estimated current, rounded up to a standard size. Cable suggestions apply to short runs. Longer runs may need thicker wire to limit voltage drop, so check the amplifier manufacturer's cable chart.
| Amp RMS output | Estimated input current | Suggested fuse | Suggested power cable |
|---|---|---|---|
| 100 W RMS | About 10 A | 15 A | 10 AWG for short runs |
| 200 W RMS | About 20 A | 25 A | 8 AWG for short runs |
| 500 W RMS | About 50 A | 70 A | 4 AWG for short runs |
At 500 watts, the estimated current is about 50 amps. Applying the table's 125% rule gives 62.5 amps, so the suggested fuse rounds up to a standard 70-amp size. The earlier 200-watt example gives about 18.5 amps at 80% efficiency, while the table estimates about 20 amps because it assumes the lower, more conservative 75% efficiency. These figures help with planning; follow the amplifier maker's specified fuse and cable requirements.
Size the cable and fuse for the amplifier's electrical demand and wire run. A cable that is too small can contribute to voltage drop, while the fuse must be selected to protect the circuit according to the equipment and manufacturer's guidance.
Cooling belongs in the same buying check. Class AB designs generally need a heatsink and airflow. For how amplifier classes differ in efficiency and heat, refer to the earlier section on A, AB, B and D. Leave the amplifier's ventilation unobstructed, and avoid burying it under carpet.
Before buying, make a simple electrical load worksheet:
- Continuous RMS output: Add the channels you expect to use to estimate the amplifier's total demand.
- Efficiency and fuse rating: Check the amplifier's stated figures to estimate current and confirm the correct fuse.
- Alternator reserve: Account for the capacity used by the vehicle's other electrical systems. If the planned upgrade may exceed what remains, read when an alternator upgrade may be needed.
- Cable length and voltage drop: Measure the route from battery to amplifier and use the manufacturer's cable chart to choose an appropriate gauge.
- Vehicle type: Note whether the vehicle is an older combustion model, a stop-start vehicle, or an EV. Its charging and electrical setup affects how an upgrade should be planned.
How to Install a Car Amplifier Step by Step
Before you run a wire, find out how the vehicle's factory audio is built. Some newer vehicles route sound through a factory amplifier, digital signal processing (DSP), active noise-cancelling microphones, and vehicle-specific equalization. A standard aftermarket head unit with RCA outputs can't be assumed. Depending on the system, a line-output converter may be enough to adapt the signal, or you may need a vehicle-specific DSP interface to preserve factory sound processing and functions (overview of factory audio integration and amplifier systems).
Ask whether the factory amplifier can stay in place, where to capture the audio signal, and how to keep chimes, parking sensors, fade and balance, and noise-cancelling features working. A generic connection can introduce noise or interfere with vehicle functions, so use the correct integration equipment for the vehicle.
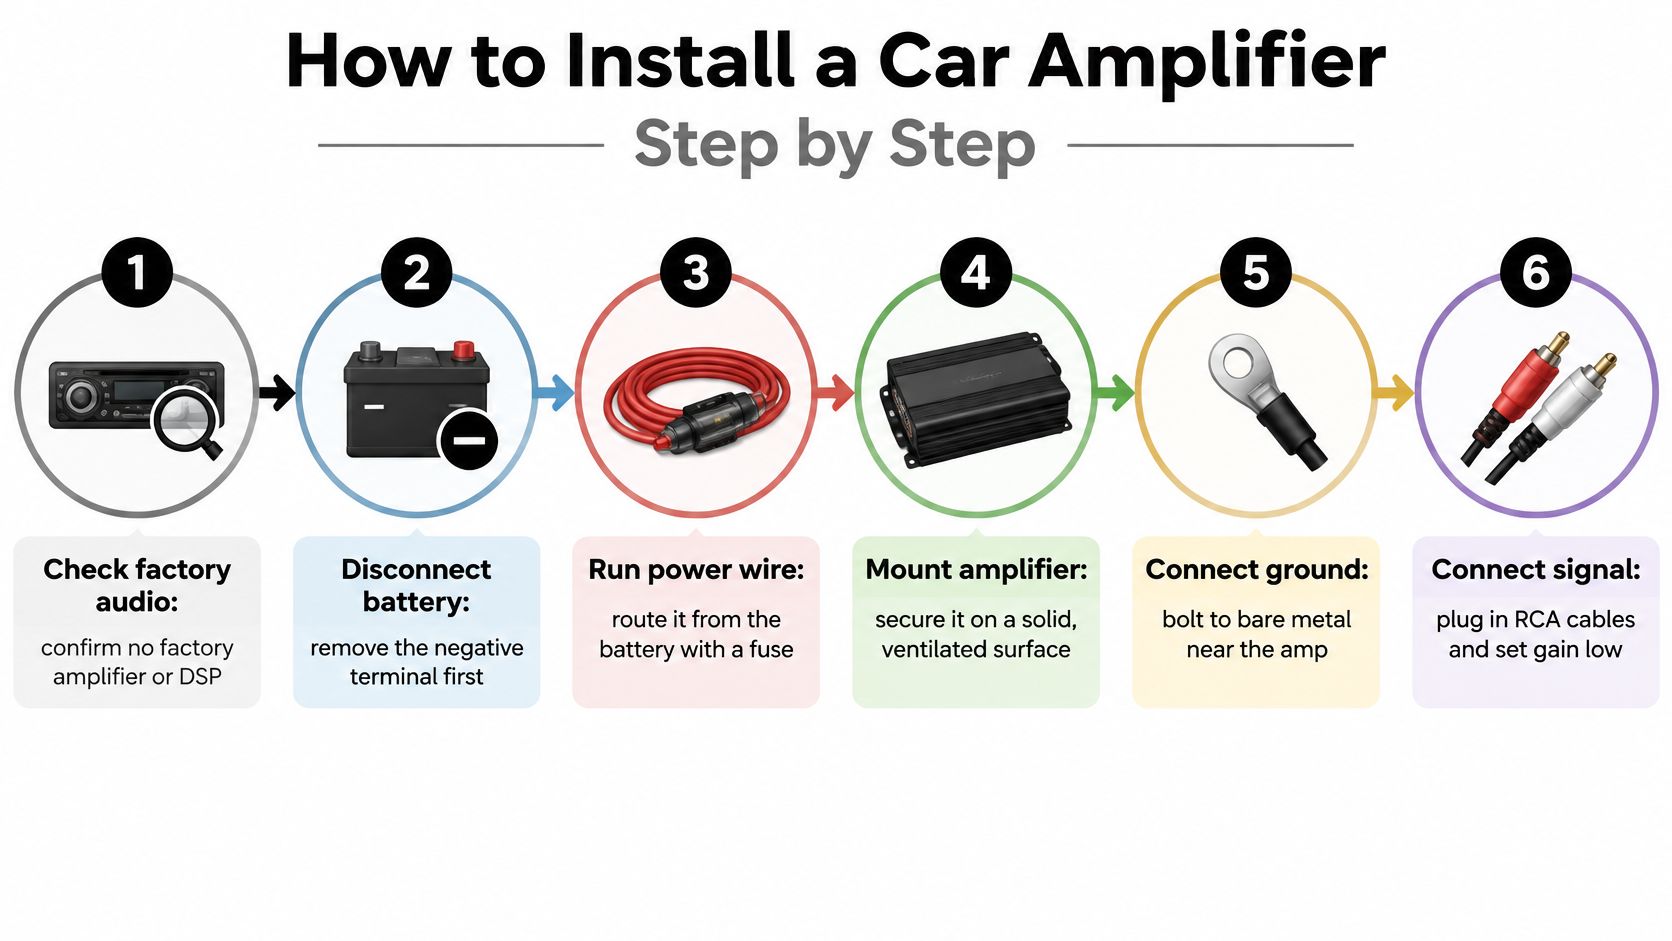
Installation sequence
- Disconnect the negative battery terminal. Wait a few minutes before working on the wiring. This reduces the risk of a short while you make connections.
- Mount the amplifier on a solid surface with airflow. Keep it away from water, exhaust heat, and areas where cargo or trim could block ventilation.
- Run the power wire from the battery. Fit the fuse close to the battery, within 18 inches, so the fuse protects the wire if it shorts.
- Ground the amplifier to bare metal. Use a nearby, secure chassis point within 3 feet of the amplifier. A poor ground can cause unreliable operation and noise.
- Route the signal cables separately from the power wire. Connect the RCA cables and remote turn-on lead, keeping the low-level audio cables away from the high-current power cable where practical.
- Connect the speakers at a supported load. Check each connection and make sure the final impedance is within the amplifier's stable range.
- Set the gain with a multimeter or test tone. Start at minimum. Gain matches the amplifier's input to the receiver's signal. It isn't a volume control.
- Set the crossovers and test the system. Listen for distortion and check that the amplifier stays cool after about 20 minutes of playback.
For a vehicle-specific walkthrough, use this guide to installing a car amplifier. If the amplifier enters protect mode, check for a speaker-wire short and confirm the load is supported. If you hear a whine or hum, inspect the ground and separate the RCA cables from the power wire. Headlights dimming at high volume points to a need to recheck the vehicle's electrical capacity and cable sizing.
Choosing the Right Amplifier for Your Vehicle
Start with the job the system needs to do. That priority helps determine the channel count and amplifier class, then an electrical check tells you whether the vehicle can support the setup.
| Use case | Main priority | Suggested amp setup |
|---|---|---|
| Daily commuter, front speaker upgrade | Clean mids and highs at low current | Four-channel Class AB or D matched to speaker RMS |
| Subwoofer bass in a sedan or coupe | Deep bass in a compact install | Monoblock Class D matched to sub RMS and ohms |
| Truck or Jeep, off-road use | Vibration resistance, mounting strength, and heat management | Four- or five-channel Class D on a rigid, protected mount |
| Marine, UTV, ATV, or motorcycle | Moisture and weather resistance | Marine-rated Class D in a protected enclosure |
| EV or stop-start vehicle | Voltage stability and idle draw | Class D after a load check of battery and charging capacity |
| Sound-quality build | Precision at low volume | Two-channel Class A or AB with a DSP for tuning |
A CarPlay head unit with full RCA outputs may already provide a straightforward way to feed an external amplifier. In a vehicle with factory amplification or digital processing, however, the right signal interface and tuning matter as much as the amplifier itself.
For a practical decision, write down each speaker's RMS rating and impedance, estimate the amplifier's current draw with the worksheet, then choose the channel count and class that fit the job. Audio Jam Inc installs amplifiers and can review electrical load and system integration for trucks, Jeeps, marine applications, and EVs. For local appointments, call (302) 832-2868.
Audio Jam Inc offers car audio equipment and professional installation, including amplifier, speaker, subwoofer, and head-unit upgrades with vehicle integration. Bring your speaker ratings and vehicle details, then visit Audio Jam Inc to discuss a setup that fits your sound goals and electrical system.