

Waterproof Speaker for ATV: How to Choose and Install

You roll back from a creek crossing, hose the mud off, and the speaker that was clear on the way out now crackles. The label said weatherproof. The grille still looks new. Nothing on the box proved what the housing can take.
A waterproof speaker for ATV riding has to earn its keep in two places marketing copy skips. The installed enclosure has to stay dry after you drill, clamp, and wash it, and the sound has to stay usable at your ear while the engine and the wind compete. Carton wattage settles neither question. I would start with the full IP code on the complete enclosure, then mount and tune for the seat you sit in.
Table of Contents
- Which IP Rating Your ATV Speaker Needs
- Speaker Types That Survive Mud, Heat and Wash-Downs
- How to Mount and Wire a Waterproof ATV Speaker
- Tuning Sound to Beat Engine Noise and Wind
- Keeping Speakers Working After Mud and Wash-Downs
- Confirm Your Rating and Pick Your Setup
Which IP Rating Your ATV Speaker Needs
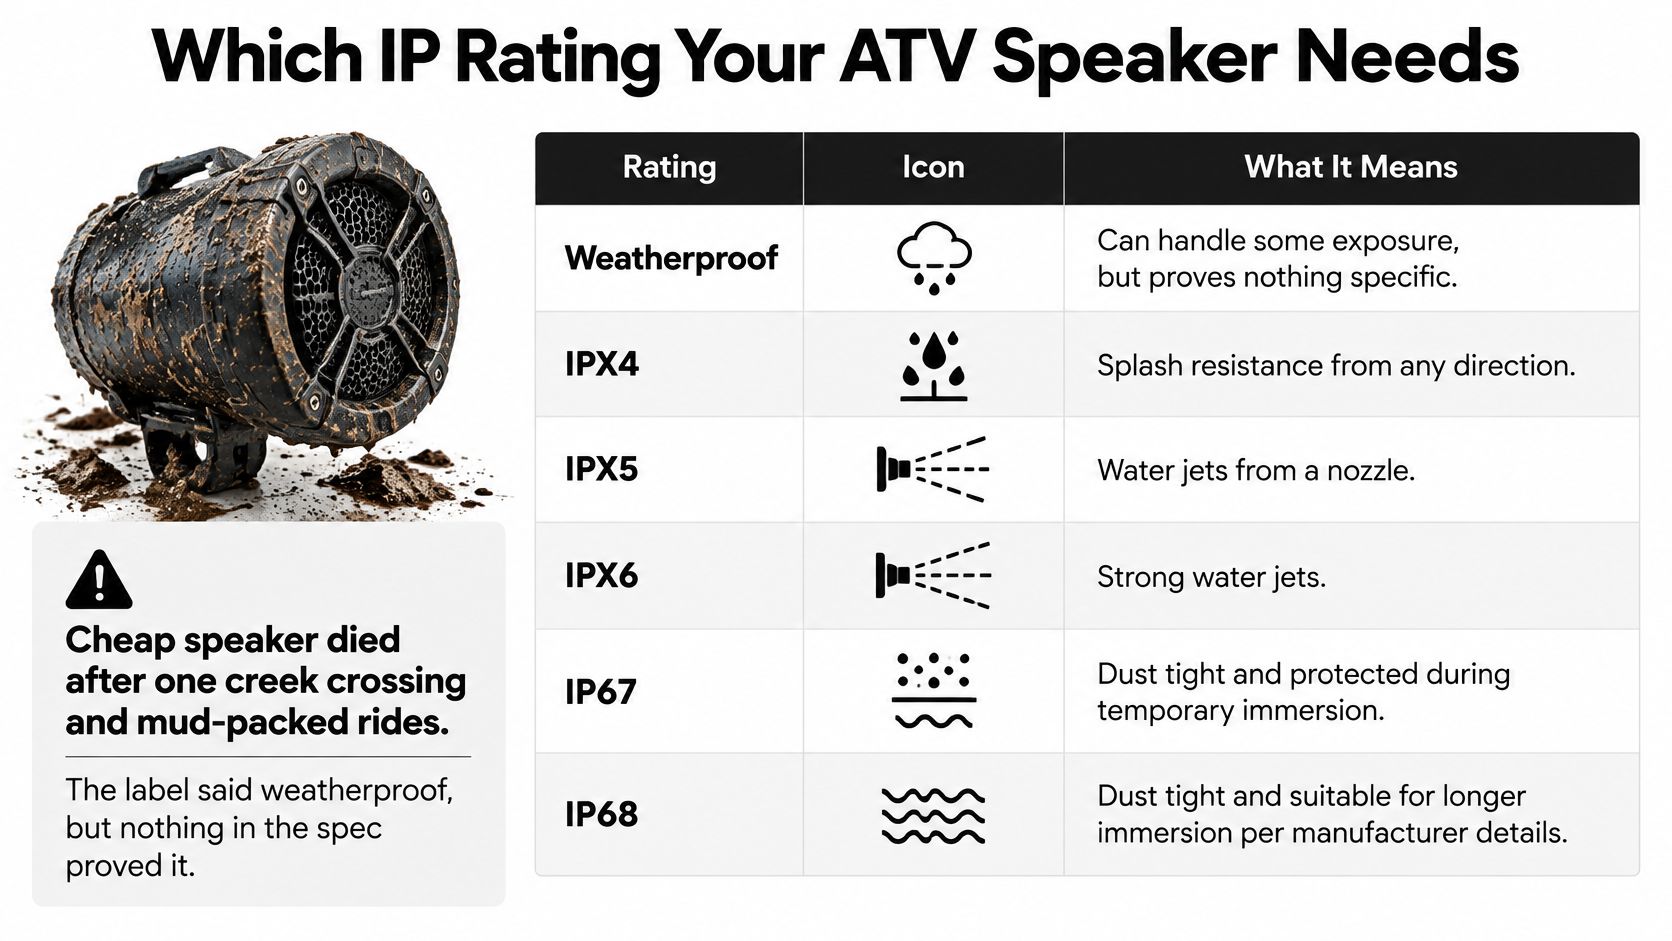
Start with the IEC 60529 code on the complete enclosure. A sticker reading weatherproof gives you no depth, no jet strength, and no duration, and those three details decide whether the housing survives a hose and a creek soak.
The IEC IP ratings explanation splits the code in two. The first digit addresses solids and dust, and the second addresses water. IP6X is dust-tight, IPX5 withstands water jets, IPX6 withstands powerful water jets, and IPX7 covers temporary immersion to 1 meter for 30 minutes under defined test conditions. Speakers taking mud spray and hose cleaning need at least IP65. Choose IP67 when the mount sits low or the pod may go under. Dust ingress is what grinds a voice coil down over a season of mud, so treat the first digit as seriously as the second. I treat IP65 as the floor for trail use and IP67 as the smarter buy on any machine that sees deep water.
Ask the seller which enclosure was tested and under what hose or immersion conditions. A code quoted for one sealed pod does not carry over to a different housing, least of all once a bracket is drilled through it.
| Rating | What It Survives | Fit for ATV Use |
|---|---|---|
| IP65 | Dust-tight and low-pressure water jets | Mud spray and hose cleaning; the minimum target |
| IP67 | Temporary immersion up to 1 meter for 30 minutes | Low mounts and creek crossings; preferred choice |
| No IP code, marketed as marine-grade | Unknown | Ask for the full enclosure rating before buying |
What the label is hiding
Marine-grade and weather-resistant describe finish and intent; only an IP code describes a test. A closer look at marine-grade speakers helps you compare cones and grille coatings, and it still tells you nothing about the housing. Check three things before you pay.
- Find the IP code: It belongs on the spec sheet, not only in a headline.
- Match it to the complete enclosure: Grille, basket, and terminals have to sit inside the rated assembly. A rating quoted only for the cone is a no.
- Walk away from partial claims: If the listing will not say which enclosure was tested, there is no rating to weigh.
Practical rule: An IP result covers the tested enclosure and the stated conditions. Drilling, a damaged gasket, an unsealed terminal, or fasteners tightened until the housing warps can wipe that protection out on the machine.
After the pod is mounted, give it a short hose spray, let it dry, and look inside the grille for beads. Water there means the installed system failed, even when the factory code was real.
Speaker Types That Survive Mud, Heat and Wash-Downs
A real IP code gets you into the conversation. The housing shape decides whether the speaker survives on your machine. Depth, openings and clamp points matter more than a shared powersports label.
| Format | Typical Mount | Main Strength | Main Weakness |
|---|---|---|---|
| Powersports pod speaker | Rear rack or roll cage | Sealed housing built for riding | Limited depth and bass |
| Marine 6.5-inch coaxial | Handlebar clamp or roof panel | Corrosion-resistant grille and cone | Needs an amplifier for loud output |
| Component 6x9 set | Dash or upper cage | Clear mids and highs from separate tweeters | Tweeter mounts must be sealed |
| Single-enclosure soundbar | Over the windshield or cage top | Simple one-unit wiring | Fewer true stereo cues |
| Sealed subwoofer enclosure | Under seat or cargo bay | Bass without rear clutter | Heavy and needs proper venting |
Match the format to the ride
For a side-by-side that lives in mud, a sealed pod or a marine coaxial cuts the number of joints where grit packs in after a wash. You trade bass depth in the pod, or you add an amplifier to the coaxial for output. A rider who wants full-range sound at the seat should pair a component 6x9 set with an amplifier, then seal every tweeter cup or the clarity washes out after the first storm. A soundbar wins on wiring: one enclosure, one harness. You give up real left-right cues. A sealed sub under the seat adds bass without a rear stack, and you have to vent it or the cone unloads and chuffs.
The Alpine SPV-65-SXS Motorcycle Speaker – 6.5” Powersports Audio Upgrade is a useful example of how to read a listing. It is a 6.5-inch powersports speaker with bar clamps and surface hardware. Those parts tell you where it can go. They do not tell you what water it survives. Check the spec sheet for an IP code and compare that code with the IP65 minimum before you decide. Confirm the code covers the complete enclosure, not just the cone.
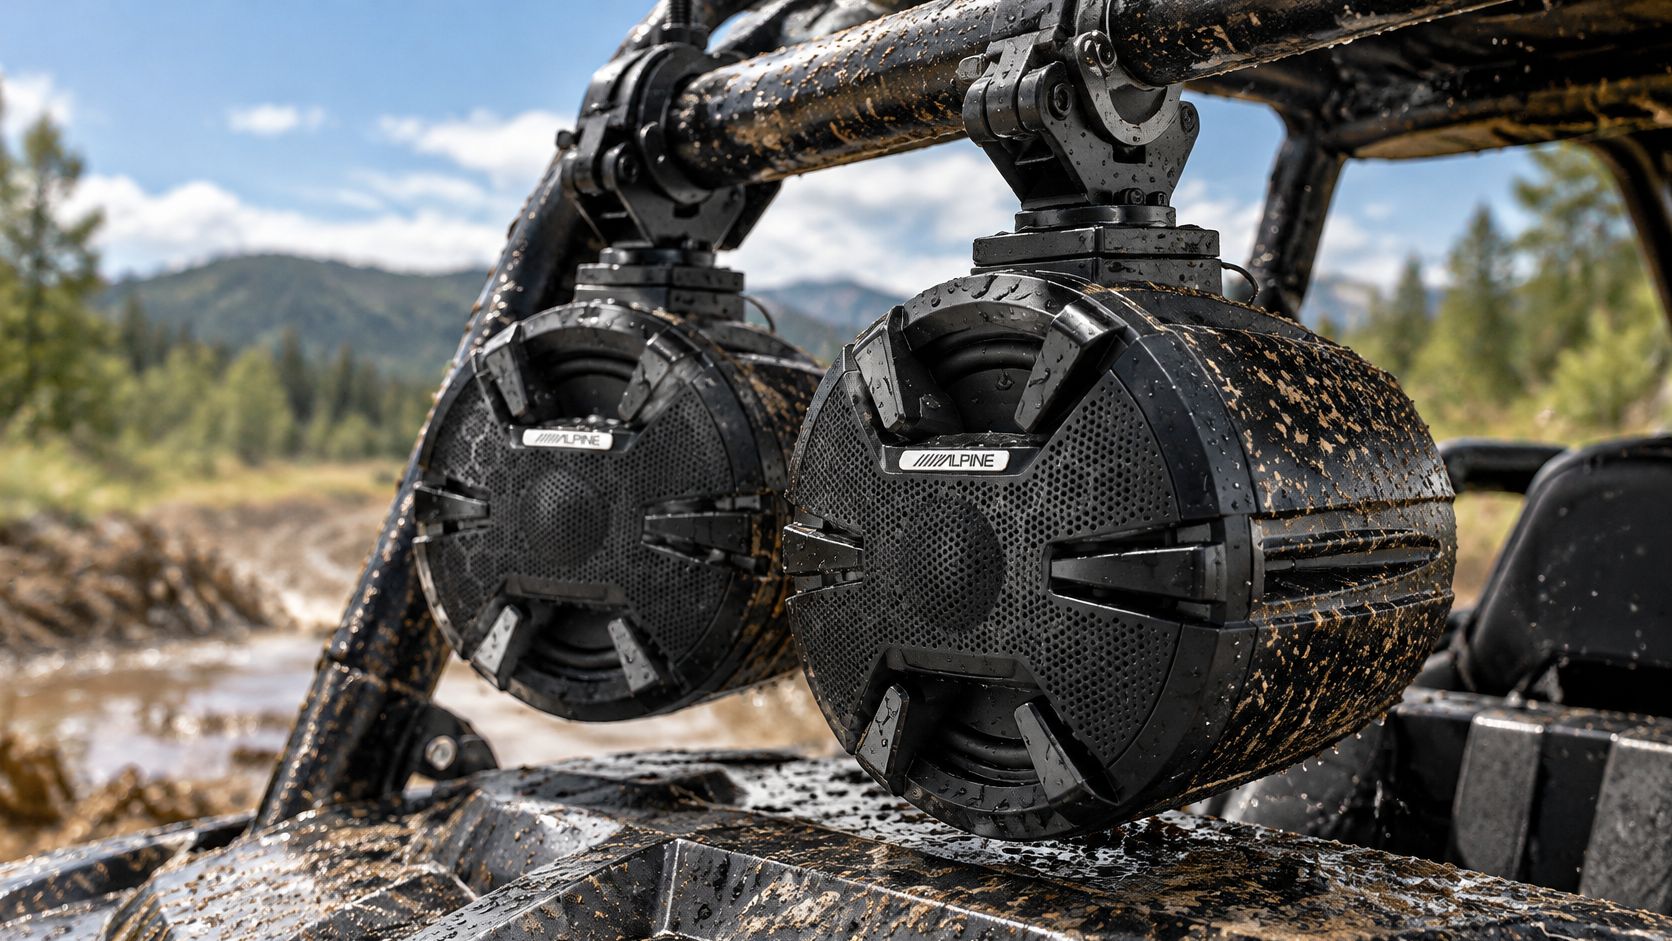
Fewer exposed joints survive a weekly wash better than a component set with open tweeter cups, even when the component set sounds cleaner on the bench.
How to Mount and Wire a Waterproof ATV Speaker
A careful clamp keeps the seal you paid for. Skip a step and wash water finds the gap on the first muddy Saturday.
Follow the flow in order so the connector stays the high, dry point.
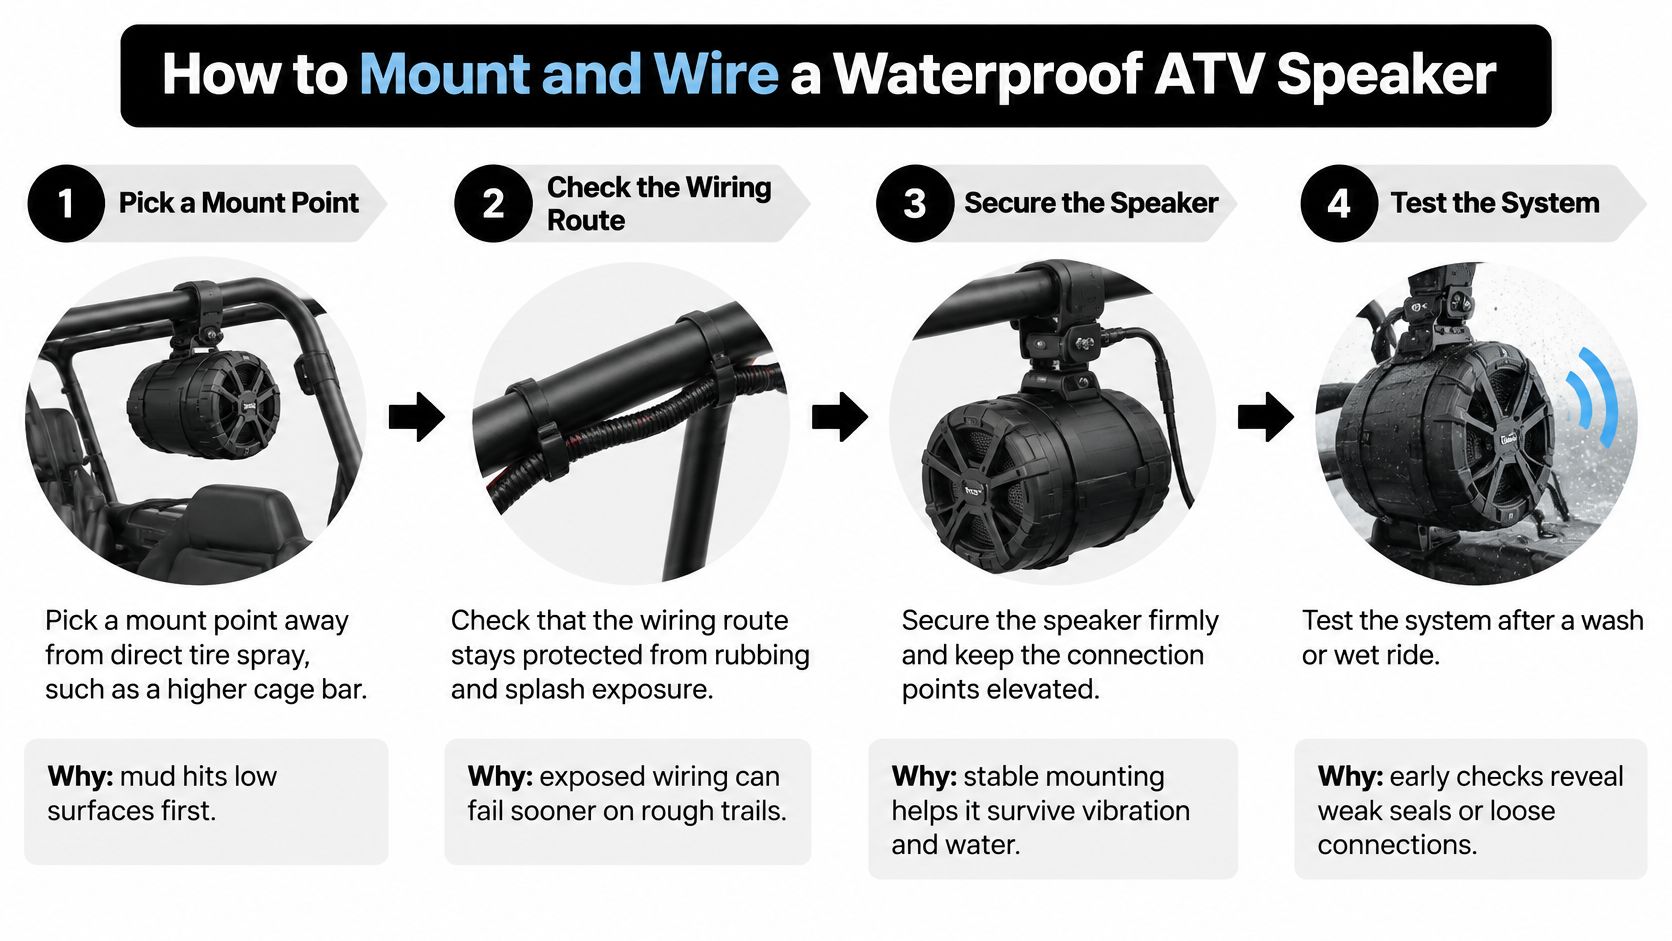
- Pick a high mount. Clamp to a higher cage bar, not the lower rail beside the tire. Mud hits low surfaces first. The usual miss is a rear rack that sits in the rooster tail.
- Leave the drains free. Drainage and pressure-equalization paths have to stay open after the clamp goes on. Block them and the housing traps the moisture it was built to shed.
- Add a downward drip loop. Route each cable so it drops below the connector before it rises into the plug. Water follows a wire uphill if you don't give it a low point to fall off.
- Seal every entry. Use a rated cable gland or adhesive-lined heat-shrink on each penetration. Electrical tape weeps after a few heat cycles on the cage.
- Match impedance before you connect. Read the speaker load and the load the amplifier is rated for. A mismatch runs the amp hot and turns a clean passage into distortion before the level is even useful.
- Fuse and size the power lead. Put the fuse close to the battery and use wire that can carry the amplifier's current. Undersized cable sags voltage and cooks the jacket on long days.
Slips that open the housing
Three habits undo a careful mount. Drilling through a gasket opens a path the factory test never covered. Leaving a terminal bare lets wash water sit on the metal. Overtightening fasteners warps the lip so the gasket no longer meets it.
The same habits show up when you're wiring a UTV cab heater. A fused feed, a protected run, and a drip loop matter on a heater circuit the same way they matter on a speaker lead.
A short clamp-and-loop walk-through is easier to follow before you cut cable.
Finish with a leak check, not a trail. Run the system at low volume, spray the mount, then inspect the terminals and the inside of the grille. If either is wet, fix the seal before the first ride. A rattle at idle is cheaper than a dead channel ten miles out.
Tuning Sound to Beat Engine Noise and Wind
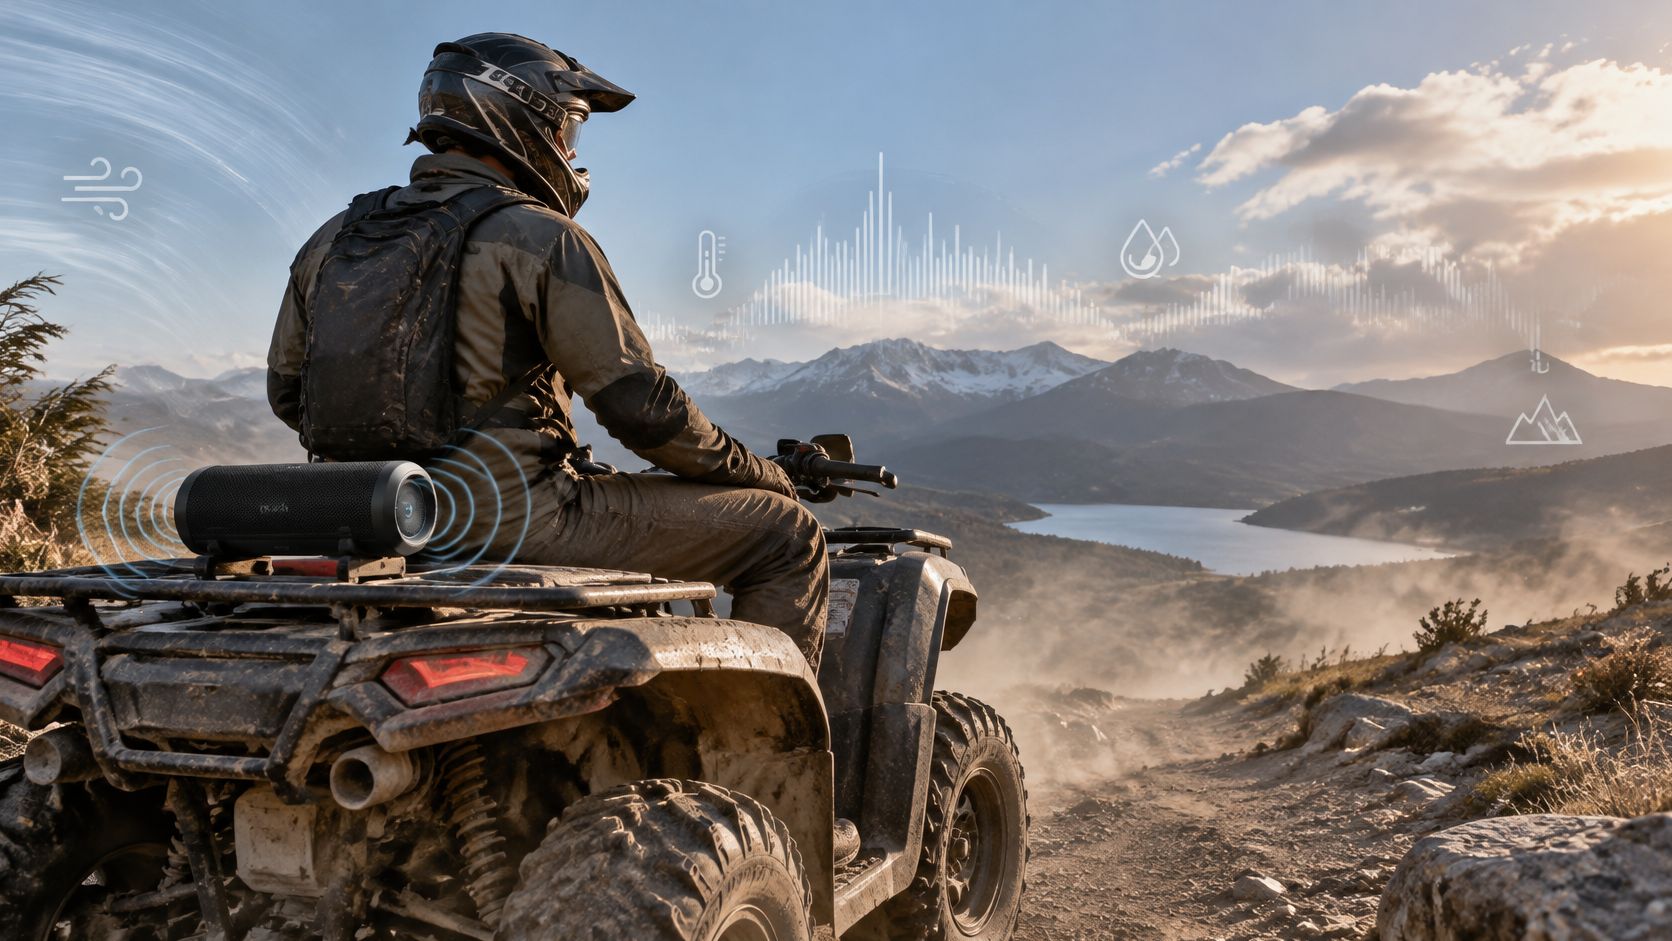
Peak wattage says little about what you hear at the bars. Open air moves the level around before the speaker's power rating matters.
A 2022 Acta Acustica paper on outdoor sound records measured sound-level changes reaching 9 dB at 200 meters and 21 dB at 1,000 meters, because propagation over absorbing ground shifts with wind, temperature gradients, humidity, and terrain. Judge the install by usable level at the rider. An amplifier badge cannot do that job.
At speed, the pod competes with wind and exhaust, so judge it at the seat.
Set gain from the seat
Mount both speakers symmetrically near ear height and aim them at the listening position. Keep racks, cargo, and body panels out of the path so they do not block the highs or bounce them back as harshness.
Set gain from a clean source track. Raise the volume until the loudest normal passage stays audible over engine and wind noise, and stop before clipping. Grit in the sound means the level is already too high. If you need harshness to hear it, back off.
Check left and right balance while seated in riding gear. A pod several feet closer will dominate even when both channels share the same electrical setting. Slide the balance until vocals sit in the middle of the bars.
A high-power amplifier picked without a confirmed speaker load, and pods hung behind the rider where exhaust and drivetrain noise cover speech, are the two misses that waste an otherwise solid pair.
Compare two setups at the same listening distance and source level. Note clarity, vibration noise, and output after a wet cleaning. Use that sheet to compare what reaches your ears. If the tone is still harsh once the level is safe, use car audio EQ settings to cut the bands that fight the engine instead of turning the gain back up.
Keeping Speakers Working After Mud and Wash-Downs
A pod that goes silent after a wash is usually wet, corroded, or packed with grit, and each of those has a different fix. Match the symptom to the cause before you order a replacement, because a dried-out terminal and a mud-packed grille look identical from the seat.
| Symptom | Likely Cause | Fix |
|---|---|---|
| Crackling right after a wash | Water in the cone surround or a loose terminal | Dry for 24 hours, reseal the terminal, check the gasket |
| Fogging inside the grille | Condensation after a temperature swing | Let dry in shade; open only if the maker allows it |
| Dead channel after rain | Corroded or unsealed connector | Clean, apply dielectric grease, re-crimp or replace the plug |
| Muffled sound after a trail ride | Packed mud in the grille | Remove the grille and rinse gently from the outside in |
| Failure after high-pressure wash | Jet pressure beyond the enclosure's rated conditions | Match the wash to the IP rating from the first section and back the nozzle off |
A rhythm that prevents the repeat
Don't wait for a silent channel. Build the check into the same habit as washing the skid plate.
- After each muddy ride: Rinse at modest pressure. Keep the jet off the cone and don't chase grit with a pressure washer.
- Every month: Pull the connectors. Look for green metal and a loose crimp, then reseat them.
- Before the season: Inspect every gasket, gland, and heat-shrink joint. Replace any seal that has taken a set, since a compressed seal stops sealing long before it visibly cracks.
Where the harness rubs the cage, cover it with split wire loom tubing. A rubbed jacket is an open door, and water follows that cut straight into the plug. Route the loom above the lowest point of the run so any water that does get in drains away from the connector instead of sitting in it.
A failure right after a hard wash usually means the jet exceeded the enclosure's rated conditions. Back the nozzle off and keep it moving.
If you do open a fogged housing, do it only when the maker allows it, and dry the parts in shade rather than on a hot dash. Heat softens surrounds and turns a moisture problem into a warped cone. A speaker that recovers after a day of shade drying is telling you the seal is marginal, so treat the next wash as a test rather than a rinse.
Confirm Your Rating and Pick Your Setup
Start with the IP code and the full enclosure spec, grille and terminals included. Accept only a code that matches how low the pod sits and whether it can go under. The wattage on the banner comes last. Then match the amplifier to the speaker load before you buy the amp. Write both numbers on the order so they are not a surprise at the battery.
The format choice belongs to the build section; confirm it against the seal and the load. Plan entries, seals, and the mount before the first ride, then run the low-volume spray check on terminals and grille.
Audio Jam Inc sells audio for UTVs, ATVs, motorcycles, and marine use, including custom-fit UTV systems with speakers and pods, subwoofers and enclosures, stereos, soundbars, and amplifiers. If the seal or the wiring still is not clear, book a local appointment and bring the machine in for a check before the first ride.
Audio Jam Inc stocks rugged speakers, pods, and amps for machines that see mud and wash-downs. If you're choosing a waterproof speaker for ATV use and want the enclosure, wiring, and tune matched to your cage, start with the gear and install help at Audio Jam Inc. Bring your mount points and amplifier plan so the rating gets checked against the machine before you ride.