


Marine Audio Installation: Expert DIY Guide for 2026

You've bought a marine head unit, speakers, and an amplifier, and the installation looks deceptively familiar. The cutouts resemble car-audio work, the wiring appears straightforward, and the boat may be sitting safely at the dock. Then salt spray reaches an unsealed terminal, vibration loosens a speaker fastener, or a supposedly protected receiver takes direct water exposure underway. The system can sound fine at first and still be headed for an early failure.
Marine audio installation is not car audio adapted for occasional splashes. Saltwater, ultraviolet light, direct spray, and continual vibration change the component requirements, mounting methods, wiring path, and final testing. The reliable approach starts by mapping the boat's exposure zones, then matching every part and connection to the environment it will face.
Table of Contents
- Preparing for Saltwater Survival
- Selecting Marine-Grade Components
- Mounting Speakers and Enclosures
- Wiring and Power Management
- Testing, Tuning, and Waterproofing
- When to DIY and When to Call a Pro
Preparing for Saltwater Survival
A saltwater boat can damage ordinary audio equipment without a dramatic event. Moisture enters through a grille, salt residue remains on a connector, sunlight weakens a plastic component, and vibration works against a fastener on every run. By the time the stereo cuts out, the original installation mistake may be difficult to identify.
Start with the boat's geography, not the product catalog. An open bow sees spray, sunscreen, sand, and direct sun. A receiver recessed into a dry center console faces a different risk. Tower speakers may stay above the deck but still encounter wind-driven spray and intense ultraviolet exposure. A cabin installation is more sheltered, but it still experiences vibration and condensation.
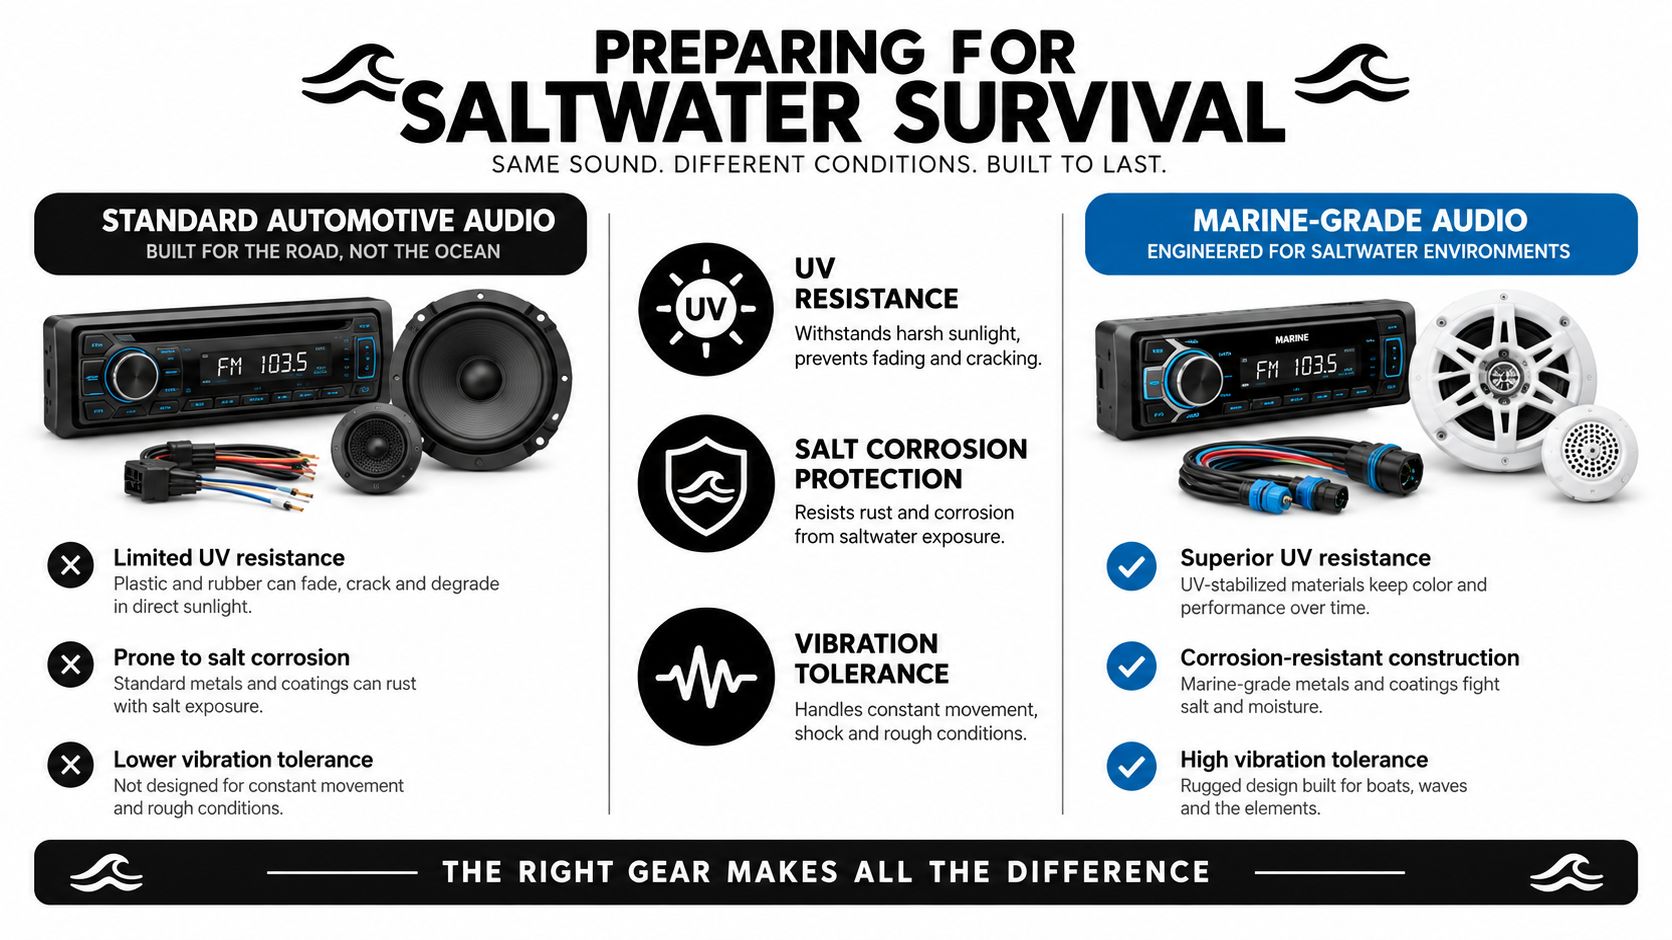
Map the boat into exposure zones
Walk the vessel with the component locations marked before you drill. Note where passengers stand, where lines and gear move, where spray lands at speed, and where water can pool after washing. Also inspect access behind each proposed location. A dry front face doesn't help if the rear of the speaker sits in a wet cavity.
| Boat Zone | Exposure Level | Recommended IP Rating |
|---|---|---|
| Enclosed cabin or protected console | Lower exposure, with vibration and condensation | IPX5 may be suitable |
| Under a bimini or recessed console | Protected from some direct spray | IPX5 is generally sufficient |
| Open bow, tower, or direct-spray area | High water, UV, and salt exposure | IPX6 or higher |
| Location that may face brief submersion | Severe water exposure | IPX7 is worth considering |
These ratings describe water protection, not complete immunity from corrosion or poor installation. A component can carry an appropriate rating and still fail because its cable entry is exposed, its fasteners loosen, or its power connection sits where saltwater collects.
Practical rule: Choose the rating for the component's actual location, not the most sheltered place on the boat.
The marine audio category has a substantial aftermarket foundation. The global marine audio market was estimated at $1.81 billion in 2025 and is projected to reach $2.16 billion by 2030, with a 3.6% compound annual growth rate, according to this marine audio market overview and installation guide. That growth is associated with recreational boating, marine tourism, onboard entertainment, waterproof electronics, and marine upgrades. The practical takeaway is simple: installed systems are a serious category, and the environment deserves engineering rather than automotive shortcuts.
Selecting Marine-Grade Components
Component selection should follow the exposure map. The receiver, speakers, amplifier, subwoofer, controls, connectors, and grilles don't all experience the same conditions, so they shouldn't all be chosen by the same checklist.
IPX5 protects against water jets from multiple directions and can suit a head unit under a bimini or inside a recessed console. IPX6 provides stronger protection against powerful water jets and makes more sense where direct spray is routine. IPX7 addresses temporary immersion, which is valuable for locations that could briefly go underwater, although it still doesn't eliminate the need for careful mounting and cable sealing. This marine audio market report describes these practical distinctions and the broader use of waterproof and weather-resistant equipment.
Match protection to the part
A receiver needs a dry, serviceable location with controls visible from the helm. Avoid placing it where a passenger can splash it directly or where a washdown stream can hit the face. Speakers need marine-rated cones, surrounds, grilles, and hardware that can tolerate UV exposure and salt residue. A grille that looks attractive at installation can fade or become brittle if its materials aren't intended for sunlight.
Amplifiers benefit from compact, efficient designs because boats have limited storage and finite electrical capacity. Mount the amplifier in a dry, ventilated compartment, away from bilge moisture, direct spray, and heat trapped by upholstery. A marine amplifier isn't a substitute for correct fuse selection, adequate conductors, or battery planning. It is one part of a system that must work together.
Impedance matching also matters. Confirm the amplifier's supported speaker load before connecting multiple speakers in parallel. A mismatch can push the amplifier into protection or create excess heat, especially when the system is played loudly for long periods. Follow the manufacturer's wiring configuration rather than assuming that a car-audio layout transfers directly.
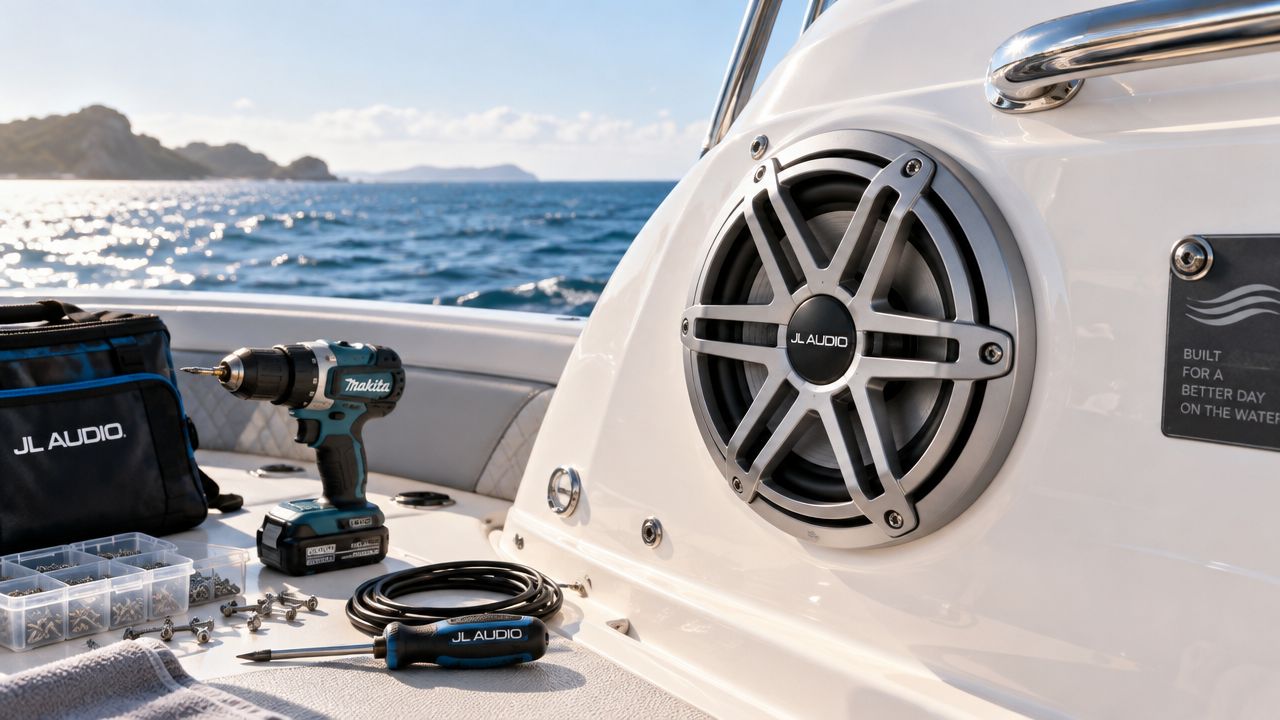
Think beyond the speaker label
The word marine-grade should prompt questions, not end them. Check the stated water rating, UV resistance, mounting depth, terminal design, service access, and warranty conditions. A high-output speaker is a poor choice if the cavity is too shallow or the back of the driver sits in a constant spray path.
Wireless control is convenient, but convenience adds another dependency. If the receiver must communicate with an existing multifunction display or digital switching system, verify compatibility before purchase. Current industry coverage describes a move toward deeper integration among audio, lighting, digital switching, GPS and multifunction displays, and vessel control systems in this boating-industry report on marine sound systems. That makes network compatibility a purchasing issue, not an afterthought.
Mounting Speakers and Enclosures
A speaker doesn't fail only because water reaches it. It can also fail because the panel flexes, the fasteners loosen, the cutout cracks, or the enclosure stresses the housing. Good mounting controls all four problems.
Begin by measuring the speaker's mounting depth and the clearance behind the panel. Use a depth gauge, ruler, or a temporary cardboard template to check for wiring, structural members, tanks, and moving hardware. Don't assume a large-looking cavity is deep enough. A driver forced against a panel or cable bundle can distort the frame and leave no room for a serviceable connection.
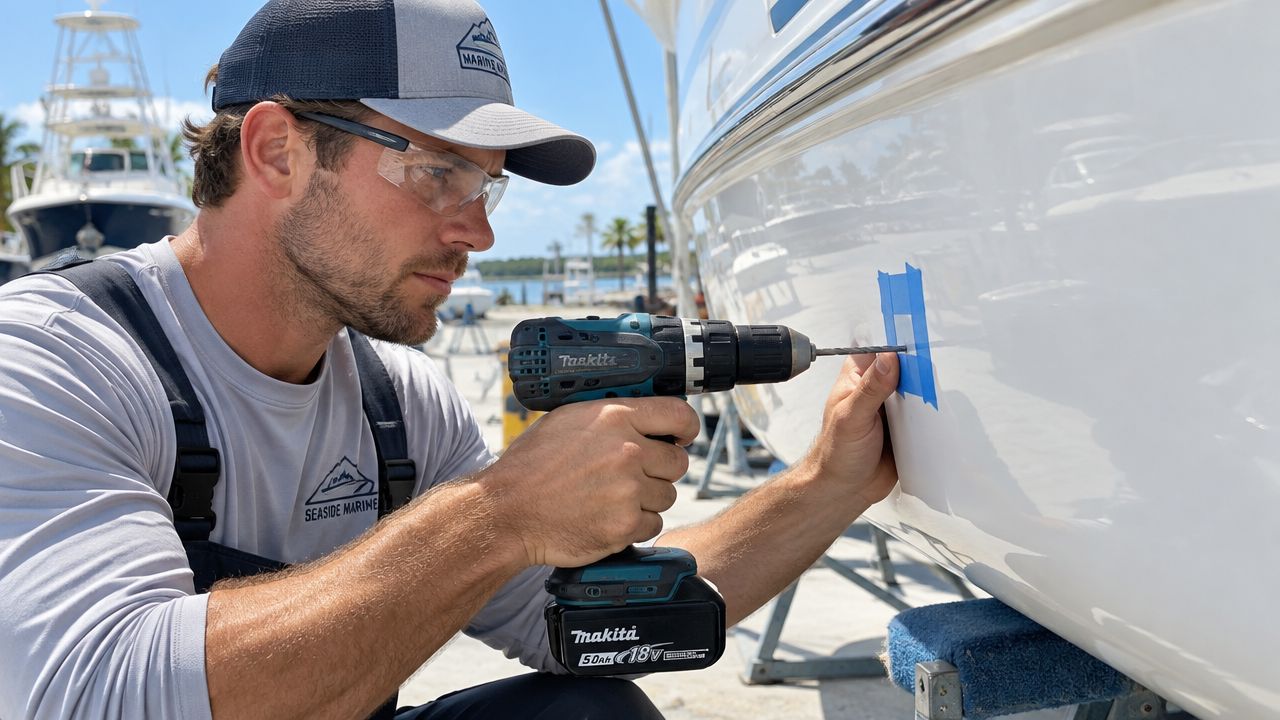
Cut cleanly through fiberglass
Mark the cutout with the supplied template, then cover the cutting and drilling area with masking tape. The tape helps reduce gelcoat chipping and gives you a clean surface for marking. Drill pilot holes before enlarging them, and support the panel so the tool doesn't catch as it exits.
Dry-fit the speaker before applying sealant. Check that the grille sits flat, the terminals remain accessible, and the cable can leave the cavity without being pinched. If the panel is thin fiberglass or aluminum, simple screws may not hold reliably against constant vibration.
Use through-bolts where access allows. Pair them with nylon-locking nuts and backing washers so the load spreads across the panel and the fastener resists loosening. This recommendation, along with masking tape to reduce gelcoat cracking and careful speaker orientation, is detailed in Boating Magazine's flush-mount marine speaker guidance.
A sealed speaker cutout still needs mechanical support. Sealant keeps water out, but it doesn't replace a washer, a backing surface, or a correctly tightened fastener.
Aim sound at people, not the deck
Orient paired speakers opposite each other where possible, and aim them toward listeners' ears. Deck-level and transom-splashwell positions expose the speaker to kicks and direct spray while often pointing sound into the floor or wake. A slightly higher, better-aimed location can produce clearer coverage without increasing amplifier output.
After the speaker is secured, inspect the perimeter for gaps and confirm that the gasket is seated evenly. Route the cable with slack for service, then secure it so it can't rub against a sharp edge. Cable-pull technique matters in tower structures. Pull at a flat angle, avoid a bulky joint at the end of a snake, stagger thick bundles, and leave a pull string for future service. Extra planning here prevents a later upgrade from becoming a destructive removal job.
Wiring and Power Management
A system can sound clean at the dock and still fail underway. Vibration can work a terminal loose, salt air can attack an exposed connection, and an unprotected cable can chafe through its insulation against fiberglass or metal. Build the electrical path for those conditions, not for a car parked in a garage.
Plan the route before pulling wire. Mark the battery, fuse location, amplifier, receiver, speakers, and distribution points. Measure the run, allow service slack, and protect every pass-through. Keep cables away from sharp edges, moving linkages, high heat, and places where equipment or passengers can snag them.
Build the power path correctly
Run the amplifier's power cable directly to the battery or to a marine distribution point sized for the system. Install an inline fuse no more than 12 inches from the battery, following Crutchfield's boat power and ground wiring guide. The fuse protects the cable close to its energy source. If it sits farther away, part of the cable remains unprotected during a short.
Route the ground wire beside the positive cable and terminate it at the negative battery terminal. A boat does not provide the dependable chassis-ground path found in many vehicles. Using an arbitrary bolt can add resistance, create noise, or produce an intermittent fault that appears only under vibration or load.
Select marine-appropriate cable, secure it with ties or clamps, and protect every passage through fiberglass, metal, or a bulkhead. Leave enough slack at service points to disconnect equipment without pulling on terminals. Seal or cover connections where spray, condensation, or salt residue can reach them.

Prevent battery problems before they start
High-output audio shares available battery capacity with starting, navigation, pumps, and lighting. Separate starting and house loads where the vessel's electrical design permits, and use a suitable battery-management or isolation arrangement instead of improvising connections. A deep-cycle house bank may suit extended listening better than the starting battery, but the correct arrangement depends on the boat, engine, charging equipment, and existing distribution.
Low voltage is not automatically a reason to install a larger amplifier. Check battery condition, charging performance, cable sizing, fuse protection, and actual listening habits first. Voltage loss can make an amplifier clip, degrading sound while increasing current demand. Other onboard loads may expose the problem even if the system performs well at the dock.
Route for service, not just installation
A professional route remains accessible. Label both ends, bundle cables by function, and avoid burying connectors behind permanent panels. For tower runs, pull roughly twice the expected wire length so the cable is not under tension through the full steering, folding, or movement range. That extra cable also leaves room for future repairs without dismantling the structure.
Testing, Tuning, and Waterproofing
A marine audio installation isn't finished when every screw is tight and the receiver powers on. The final stage should prove that the system remains safe, correctly phased, electrically stable, and protected at its connection points.
Start with a visual and electrical inspection before applying power. Confirm polarity at every speaker, inspect fuse placement, check that the amplifier is ventilated, and verify that no cable is trapped under a panel or rubbing against an unfinished hole. Test one zone at a time so a wiring error doesn't become difficult to isolate.
Tune for the boat's acoustic problems
Fiberglass, glass, hard seating surfaces, and open air create a very different listening environment from a car cabin. Begin with the head unit's equalizer flat, set the amplifier gain conservatively, and listen for distortion at the level you use underway. Increase output gradually instead of using gain as a volume control.
Polarity deserves special attention. If one speaker is reversed, bass can become weak and the stereo image can feel disconnected, particularly when speakers are spread around an open deck. Use a polarity tester or a known test track, then verify each pair before making tonal adjustments.
Listen at operating conditions. A system that sounds balanced at the dock may need a different balance once engine noise, wind, and open-air sound loss enter the picture.
Seal the connections, not just the housing
Use sealed, marine-appropriate terminations. Heat-shrink butt connectors can protect a properly crimped joint, while dielectric grease helps limit moisture at suitable connection interfaces. The seal should cover the joint without trapping a loose strand or leaving exposed copper at the edge.
Inspect cable entries, speaker gaskets, amplifier terminals, and control-panel openings. Apply sealant where the manufacturer permits it, but don't smear sealant over a connector that may need future service. A sealed connection still needs strain relief, because vibration can fatigue the conductor immediately behind the terminal.
A practical final test includes a controlled rinse of exposed areas, followed by an inspection for water tracking or pooling. Don't direct a pressure washer at the system. After the boat dries, recheck fasteners, terminals, and the battery voltage under load. Waterproofing is a process of managing entry points and movement, not a single product applied at the end.
When to DIY and When to Call a Pro
A speaker swap can turn into panel damage, a tripped safety circuit, or water intrusion when the installer cannot see what lies behind the mounting surface. An accessible replacement is often suitable for DIY work. Structural panels, tower wiring, custom enclosures, multiple zones, and existing vessel electronics require a higher level of planning.
Use a practical decision test before drilling. Identify the power source, fuse location, ground return, speaker support, cable route, and service access for every exposed connection. If any answer is uncertain, stop before cutting or energizing the circuit. Saltwater, UV exposure, and vibration leave little room for improvised protection.
DIY works best in controlled jobs
A capable owner can often handle:
- Accessible replacements: Existing cutouts, documented wiring, and sufficient rear clearance reduce fabrication and sealing risks.
- Small upgrades: Replacing a receiver or speaker is more manageable when the work does not require new distribution or high-current cable routing.
- Dry, serviceable locations: Equipment is easier to install when it remains reachable without removing bonded panels or disturbing safety equipment.
- Measured preparation: Templates, pilot holes, masking tape, cable labels, and a planned fuse location prevent more failures than working quickly.
Inspect the cavity before committing to a cut. Thin unsupported fiberglass can crack around a fastener, while an unsealed edge can absorb water and deteriorate. Existing wiring may contain corrosion that is hidden beneath insulation. A battery circuit shared with navigation, bilge, or other onboard loads also deserves careful separation and protection.
Professional help earns its place in integrated systems
Modern vessels may connect audio with lighting, digital switching, GPS, multifunction displays, and vessel controls. Wireless marine audio integration and OEM-installed systems are identified as market trends in this marine audio industry coverage. Integration adds compatibility checks, network configuration, and a service plan. A system that communicates across the vessel cannot be commissioned by checking speaker polarity and amplifier gain alone.
Call a qualified installer for custom subwoofer enclosures, tower structures, complex multi-zone systems, extensive fiberglass work, or upgrades tied to NMEA 2000, multifunction displays, digital switching, or engine data. Professional help also makes sense when the boat operates heavily in saltwater and downtime is costly. These jobs demand correct cable support, sealed penetrations, suitable hardware, and access for future repairs.
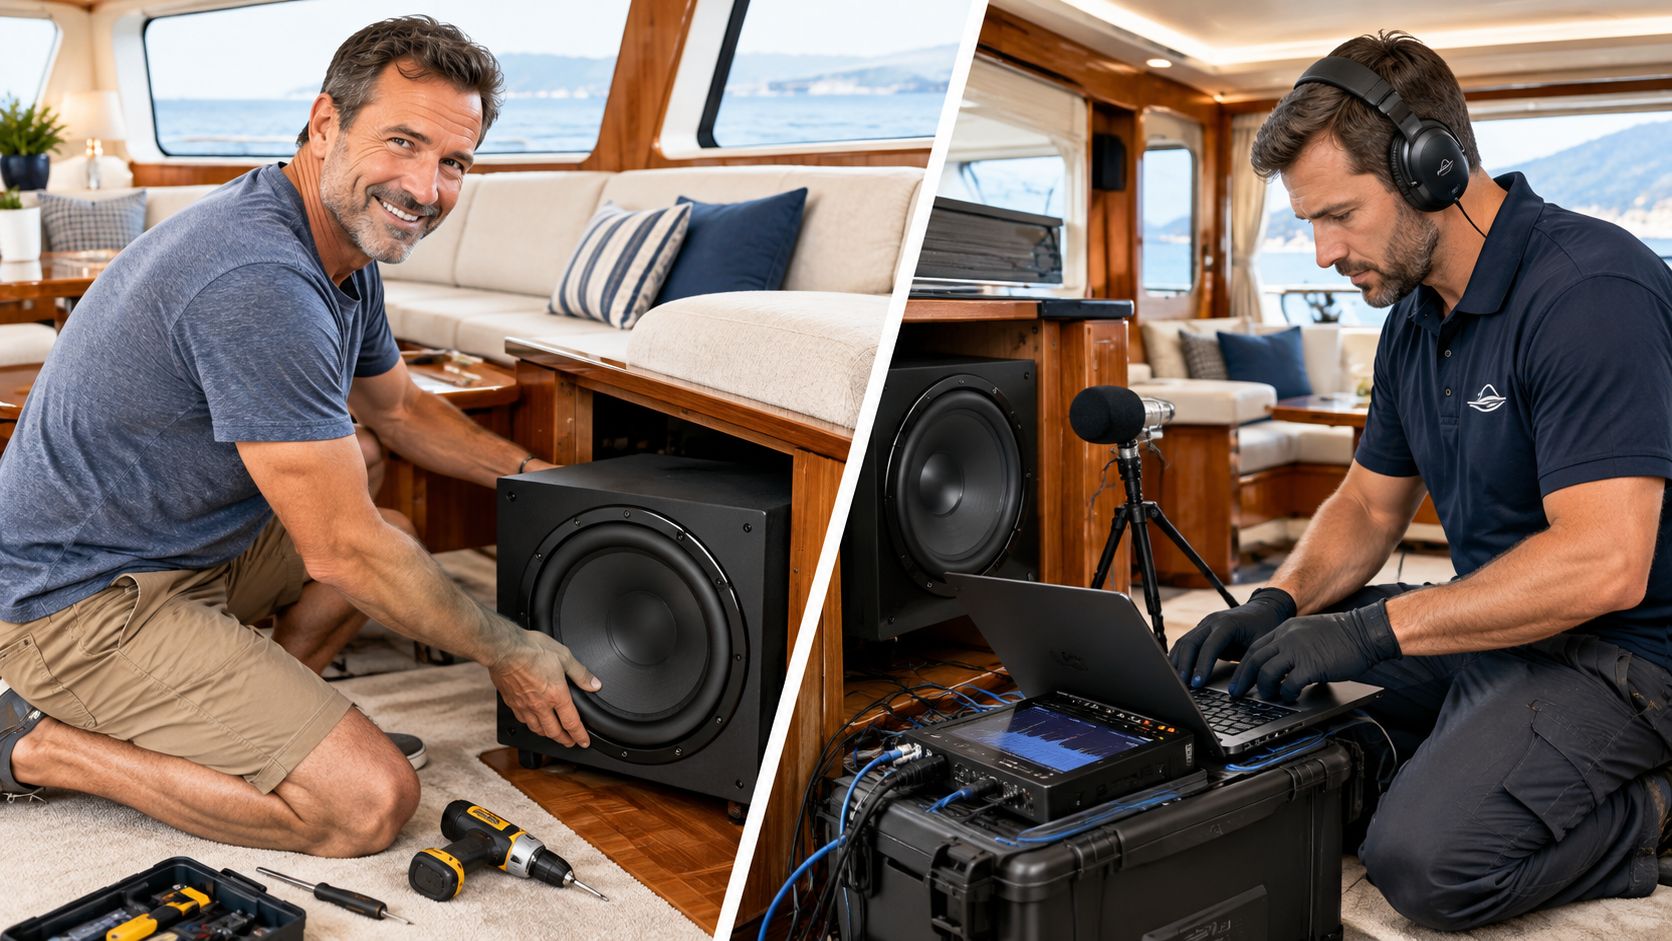
Ask any installer to explain how the system will handle water, UV, and vibration. The answer should cover mounting hardware, cable routing, fuse placement, battery impact, connector sealing, tuning, network integration, and service access. Behind the panel, cables should be supported and labeled, terminations should be protected, and no connection should depend on luck.
Audio Jam Inc provides custom marine stereo installation for boats of different sizes, including wiring, mounting, waterproofing, and system tuning. Visit Audio Jam Inc to review its marine audio services and arrange an installation.
Marine audio failures usually begin at boundaries: a connector exposed to water, a fastener loosened by vibration, a cable passing through an unprotected panel, or an audio system connected incorrectly to vessel electronics. Map those points first, select protection for the actual exposure, and test the finished system under realistic operating conditions before relying on it on the water.













