


Factory Radio Replacement: Pro Guide

Most factory radio replacement advice is stuck in 2005. It shows a DIN sleeve, a basic wiring harness, and a receiver sliding into an empty dashboard. That procedure still applies to some older vehicles, but it can cause expensive problems in a newer car, where the radio may control far more than audio.
A modern head unit can be tied to steering-wheel buttons, factory amplifiers, backup cameras, USB ports, warning chimes, vehicle menus, and climate-control displays. The physical receiver is only one part of the installation. The difficult part is preserving the vehicle's communication systems while giving the new unit the signals it expects.
Factory radio replacement became broadly practical for mainstream drivers after Apple CarPlay and Android Auto launched in 2014. Automakers began integrating those systems around 2015–2016, while many lower trims didn't standardize them until 2018–2020, creating a substantial aftermarket opportunity for modern touchscreen replacements. This history of CarPlay, Android Auto, and older-vehicle upgrades helps explain why so many owners are now looking beyond the original radio.
Table of Contents
- The Modern Reality of Swapping Your Head Unit
- Sourcing the Right Dash Kits and Interface Modules
- Executing a Safe and Staged Physical Installation
- Weighing DIY Effort Against Professional Installation
- Troubleshooting Interface Mismatches and Grounding Errors
- Choosing a Head Unit Built for Long-Term Reliability
The Modern Reality of Swapping Your Head Unit
The popular assumption is simple: remove the factory radio, connect the replacement, and reinstall the trim. That description ignores the part that determines whether the car still works properly afterward. In a newer vehicle, the radio may be a visible interface for several systems that communicate through the vehicle's data network.
A replacement can power on and still be a failed installation. The screen might work while the steering-wheel controls stay dead. The speakers may produce sound while the factory amplifier receives no usable signal. A backup camera can display a blank image, or the vehicle can lose menus that were previously accessed through the original screen.
The aftermarket grew because factory radios often lagged behind phone connectivity. Although smartphone projection became available earlier, vehicle adoption happened gradually, and many owners of cars built during that transition were left with an otherwise functional radio that lacked current connectivity. Replacing the head unit made sense, but only if the new system could communicate with the rest of the car.
The radio is often a vehicle interface
On a basic older installation, the radio receives switched power, constant power, ground, speaker outputs, and an antenna signal. The dashboard opening and connector determine most of the fitment. That's the kind of job many tutorials still describe.
A newer vehicle may use a CAN-bus or Quadlock-based infotainment network instead. The radio can depend on messages from other modules for ignition status, illumination, reverse-gear information, steering-wheel commands, and factory settings. The replacement receiver usually needs an interface that translates those vehicle messages into commands it understands.
Practical rule: Buy the integration parts before you remove the factory radio. If you can't identify the vehicle's communication architecture, you aren't ready to choose the receiver.
This is why the receiver itself is only part of the purchase. You may also need a vehicle-specific dash kit, antenna adapter, steering-wheel-control interface, amplifier interface, USB retention lead, camera adapter, and data-retention module. A universal touchscreen can be attractive at the counter, but it may force you to abandon features you assumed would transfer automatically.
Fitment goes beyond radio size
A “double-DIN” label doesn't guarantee a clean installation. The dashboard opening may have unusual depth, mounting points, surrounding trim, or a factory screen shape that requires a model-specific kit. Trim and package differences can change the radio enclosure even within the same model year.
The practical question isn't only, “Will this receiver fit?” It's also:
- What will remain functional? Confirm steering-wheel controls, camera input, factory amplifier operation, USB ports, chimes, and vehicle menus.
- What translates the car's data? Identify the CAN-bus or other data interface, not just the speaker harness.
- What adapts the antenna? A connector can physically attach and still provide poor reception if it lacks the required adapter or power feed.
- What does the kit support? Check the exact year, trim, screen configuration, and premium-audio package.
The market is moving toward direct-replacement and integration-first systems, rather than receivers judged only by screen size and feature count. Recent coverage of vehicle-specific car stereo integration reflects that shift. The right question is no longer which radio has the most features. It's which combination of receiver, harness, and interface will preserve the features you already use.
Sourcing the Right Dash Kits and Interface Modules
Start with the vehicle, not the radio. Record the exact year, make, model, trim, factory screen type, amplifier package, camera arrangement, and steering-wheel controls. A parts catalog that lists only the model name may still leave out the information that determines compatibility.
The first distinction is between a relatively simple analog ISO/10487-style harness and a CAN-bus or Quadlock-based network. An analog system generally carries conventional power and speaker circuits through a straightforward harness. A networked system may require a decoder or data interface to create accessory power, illumination, reverse trigger, steering-wheel commands, and other signals.
Build the compatibility package
A reliable shopping list usually contains several separate pieces:
- Dash kit: This provides the brackets, trim, and mounting geometry needed to position the new receiver correctly. Check depth as well as the visible opening. A shallow dashboard can make a full-size chassis impossible to seat without pinching the wiring.
- Vehicle harness: Match the factory connector, not a visually similar plug. The harness should provide the correct power and speaker pathways without forcing you to cut the original wiring.
- Data interface: A CAN-bus decoder or compatible integration module can translate vehicle commands for the new receiver. It may also retain ignition logic, illumination, reverse sensing, chimes, or other functions.
- Steering-wheel-control interface: Some interfaces are programmable and need a specific connection to the receiver. Others require firmware or a setup procedure. Confirm compatibility with the exact head-unit brand.
- Antenna adapter: Factory antenna connectors vary, and some vehicles use an amplified antenna that needs power through the adapter. An incorrect part can leave you with weak reception even when the radio appears to operate normally.
- Feature-retention modules: Factory amplifiers, backup cameras, USB ports, and vehicle displays may each require their own adapter or may depend on a larger integration module. Don't assume a single harness preserves everything.
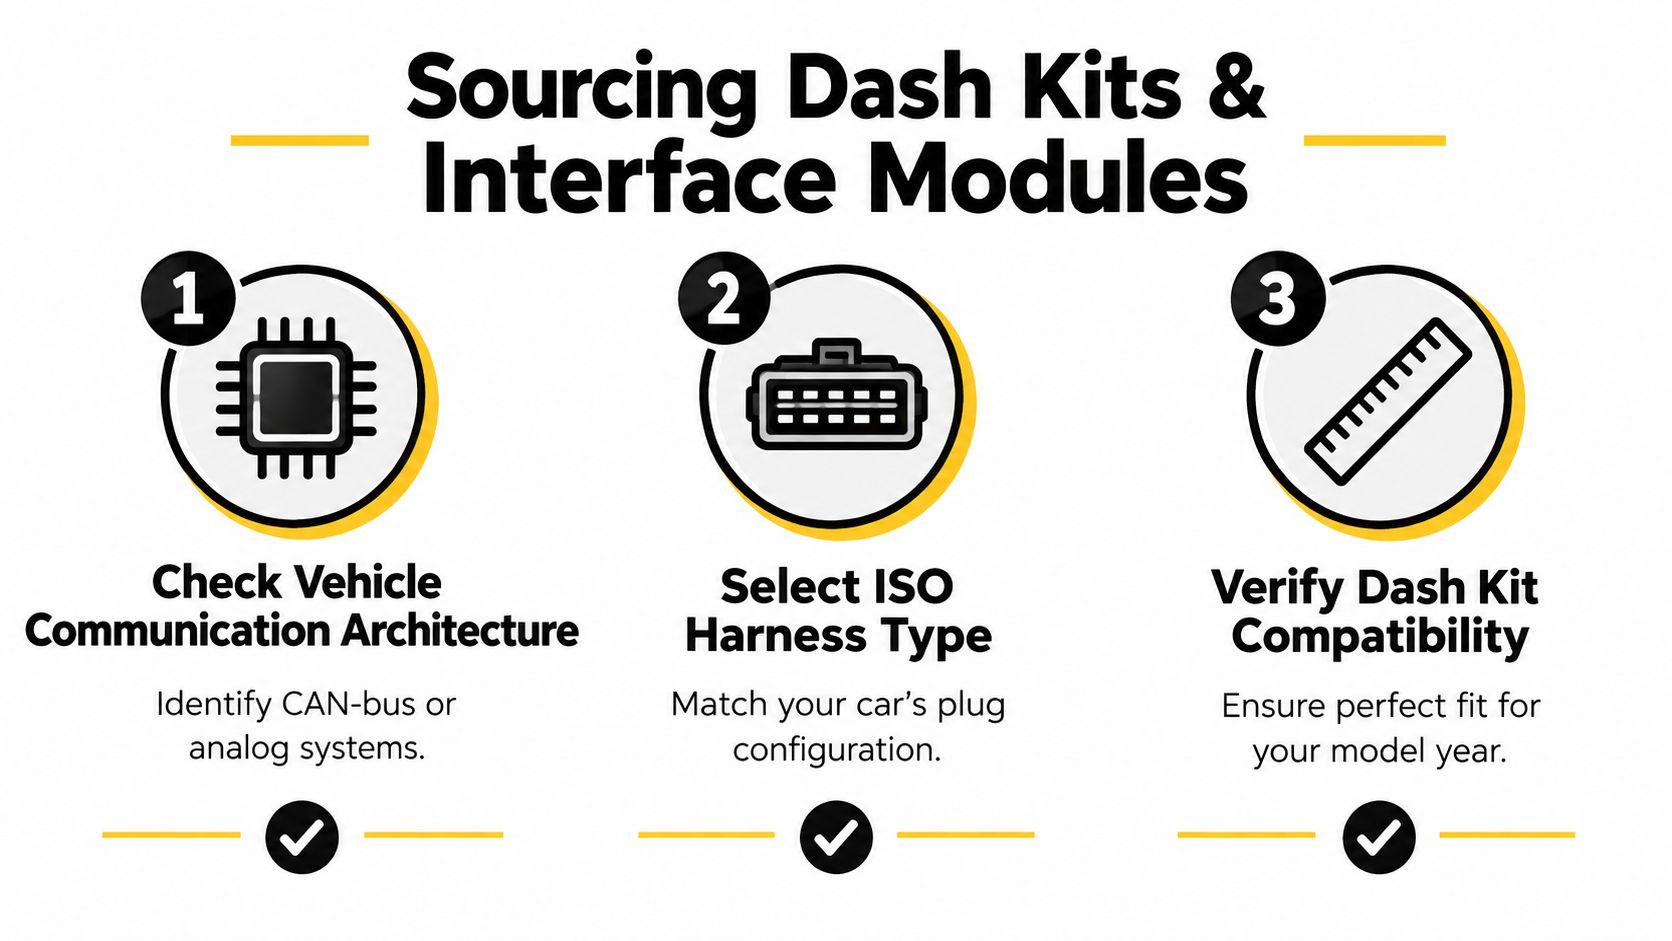
The key is to treat compatibility as a system. A receiver can be electrically sound and still be wrong for the car because the dash kit positions it incorrectly, the interface doesn't support the factory amplifier, or the antenna adapter lacks the required power connection.
Confirm the details before ordering
Fitment databases are helpful, but compare their information with the vehicle itself. Look at the factory connector, take a photograph of the radio cavity, and note whether the original unit controls climate settings or displays vehicle information. If the car has a premium sound package, navigation, a factory camera, or a separate amplifier, identify those parts before choosing the replacement.
Before checkout: Verify the exact trim and package, the receiver's chassis depth, the required data interface, and every factory feature you expect to retain.
The replacement market remains substantial because aging vehicles continue to need modern connectivity. One industry estimate places annual U.S. car stereo receiver demand at roughly 10–14 million units in 2025–2026, with growth projected at approximately 2%–4% annually through 2035. The estimate attributes that demand primarily to older vehicles and factory radios retiring without current connectivity. The U.S. car stereo receiver market estimate supports the practical point: there are many potential upgrades, but each vehicle still needs a correct integration plan.
Executing a Safe and Staged Physical Installation
A clean installation starts before the first trim clip comes loose. Park on a level surface, set aside enough time to test the system, and gather plastic pry tools, a socket set, screwdrivers, a flashlight, a multimeter, wire strippers, proper crimp connectors or soldering equipment, and supplies for securing loose wiring. Protect the console with a microfiber towel while you work.
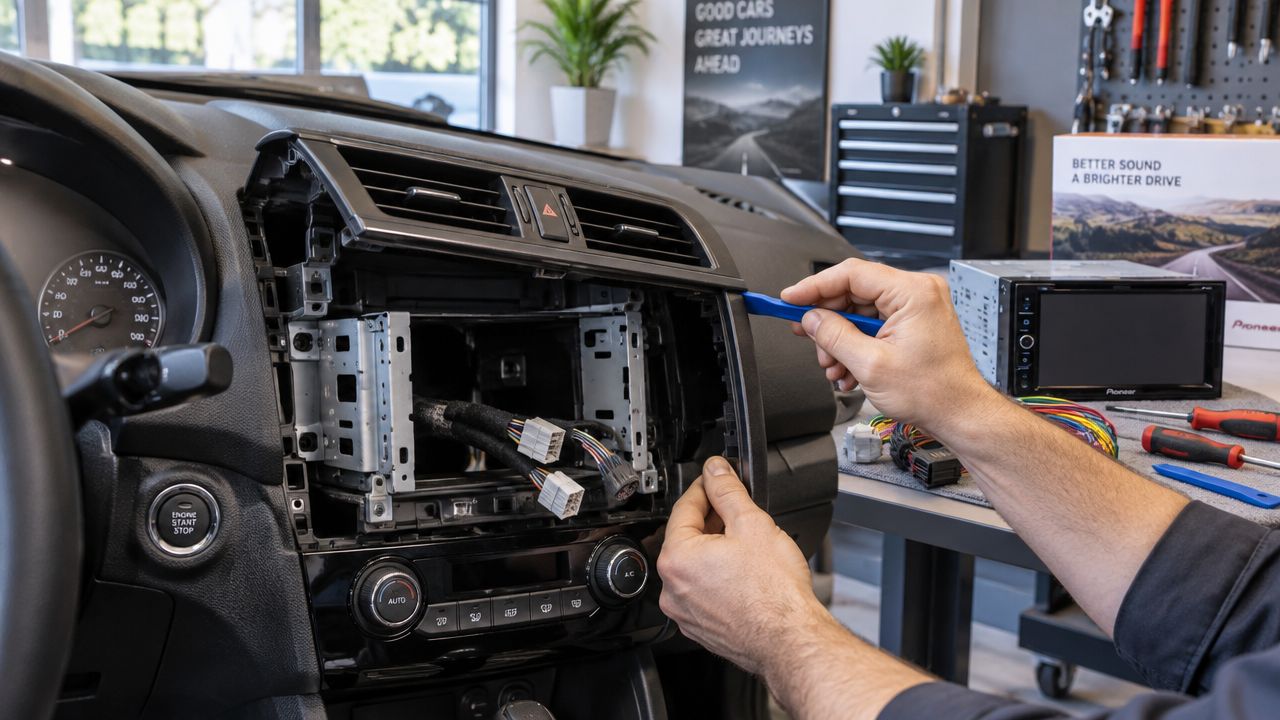
Use plastic trim tools rather than a metal screwdriver against visible panels. Work around the clips instead of twisting the panel. Soft-touch surfaces scratch easily, and a broken retaining clip can create a rattle that's harder to fix than the original radio problem.
Remove the old unit methodically
Before disconnecting anything, photograph the wiring and connector locations. Then disconnect the negative battery terminal and allow the vehicle's electronics to shut down before unplugging the radio. This reduces the chance of an accidental short and helps prevent unnecessary warning lights.
Remove the surrounding trim using the vehicle-specific sequence. Some panels overlap the radio bezel, while others conceal screws beneath small covers. Keep fasteners in a tray and label them if they differ in length. Once the radio is loose, pull it forward without stretching the harnesses.
Unplug the factory connectors and antenna lead. Don't pull on the wires themselves. Inspect the plugs for bent pins, corrosion, previous splices, or damaged locking tabs before connecting the new harness.
Test before final assembly
Build the replacement harness on a workbench or in an accessible area. Match each connector carefully, secure the joins, and leave enough slack for service without allowing wires to touch the radio's cooling fan or mounting hardware. Avoid twisting bare wires together and covering them with tape. A properly crimped or soldered connection should be mechanically secure before it's insulated.
The most useful installation sequence is staged:
- Battery disconnected: Connect the vehicle harness, data interface, antenna adapter, camera adapter, and receiver while the battery remains disconnected.
- Partial re-power: Reconnect the battery and power the system without fully reinstalling the trim or tightening every mounting screw.
- Function check: Test audio from every intended source, steering-wheel controls, illumination, camera operation, factory display behavior, USB retention, and amplifier output.
- Fault check: Look for warning lights, unexpected chimes, battery-drain symptoms, radio resets, or controls that work intermittently.
- Final assembly: Disconnect power if required by the installation instructions, route the wiring, secure the harnesses, and reinstall the dash without forcing the panels.
This sequence separates a wiring or programming problem from a trim problem. If you fully assemble the dashboard first, every correction becomes slower and riskier.
Test the features you care about before hiding the wiring. A receiver that plays music is not necessarily an integrated installation.
A CAN-integrated swap can take about 2.4 hours on newer vehicles compared with roughly 1.2 hours for a simpler DIN installation, according to installation references summarized in this factory-radio replacement workflow. The difference reflects module setup, firmware alignment, testing, and the care required around vehicle data systems.
Once testing is complete, secure the harness away from moving controls and sharp brackets. Check that the receiver slides into place without crushing the wiring. A neat installation isn't just cosmetic. It reduces connector strain, vibration noise, and future diagnostic confusion.
For a visual walkthrough of the trim-removal stage, use the following installation video:
Weighing DIY Effort Against Professional Installation
A conventional analog swap can suit a capable home installer when the vehicle uses a standard harness, the dash kit fits, and the receiver does not exchange data with other modules. Modern vehicles often turn the same job into a systems-integration project. Retaining steering-wheel controls, a factory amplifier, backup camera, climate controls, or vehicle menus may require a data interface, programming, amplifier adapter, camera converter, and the correct vehicle-specific harness.
The main risk is not just ordering the wrong adapter. DIY time can disappear into intermittent faults, broken trim clips, poor grounds, or a receiver that powers up while losing factory functions. A professional installer brings vehicle-specific procedures, tested wiring methods, and diagnostic equipment that can separate a defective receiver from a communication or configuration fault.
The available resolution data
A repair-log source reports different first-visit resolution rates by installer type, with DIY work performing worse as vehicle integration becomes more demanding. It lists 64% for independent shops, 38% for dealerships, and 29% for DIY attempts overall, while DIY success falls to 14% on post-2014 vehicles. The repair and installation data on radio replacement gives a practical reference for matching the job to your tools and experience.
| Installer Type | Overall Resolution Rate | Post-2014 Vehicle Success |
|---|---|---|
| Independent shops | 64% | , |
| Dealerships | 38% | , |
| DIY attempts | 29% | 14% |
Post-2014 breakdown reported only for DIY attempts in the cited source.
These figures do not predict the result for every shop or careful DIY installer. They do show why a newer, integrated vehicle deserves a more cautious decision than an older DIN system.
Choose based on complexity
DIY is reasonable when you can confirm every compatibility detail before removing the factory unit, the vehicle has no integrated amplifier or unusual display functions, and you can test circuits with a multimeter. Clear interface programming instructions and receiver inputs for the required camera and steering-wheel controls also reduce risk.
Professional installation is the safer choice when the vehicle is post-2014 and heavily integrated, the factory radio operates climate or vehicle menus, the car uses a premium amplifier, or the original camera and steering-wheel functions must remain dependable. Call a shop when the replacement requires firmware alignment, module programming, scan-tool diagnosis, or custom signal conversion.
Audio Jam Inc is one Delaware option for car radio and multimedia receiver installation with vehicle-specific integration parts. The shop also supplies and installs speakers, amplifiers, subwoofers, and CarPlay or Android Auto receivers, allowing the new unit to be planned around the existing audio system.
Ask for an itemized quote. It should identify the receiver, dash kit, harness, data interface, antenna adapter, camera-retention method, amplifier interface, programming work, and testing scope. If it says only “radio installation,” ask how the factory features will be retained and verified.
Troubleshooting Interface Mismatches and Grounding Errors
A failed radio swap is often an integration problem, not a defective receiver. The dash kit may fit perfectly while the data interface, amplifier connection, antenna adapter, or camera harness is wrong for the vehicle. Diagnose the installation in a fixed order: confirm compatibility, then test power and ground, followed by data communication, audio, and retained features.
Start with the symptom
Different symptoms usually point to different parts of the installation.
- No power: Check the constant-power fuse, the accessory output from the data interface, the receiver's fuse, and the ground connection. If a CAN decoder supplies accessory power, confirm that it is receiving the vehicle's data signal.
- Power with no audio: Check for a factory amplifier. The new receiver may need a turn-on lead, an amplifier interface, or signal-level conversion that matches the original system.
- No steering-wheel controls: Confirm that the control module is connected to the receiver's correct input and programmed for that brand. A harness can fit physically and still need firmware or configuration.
- No backup camera: Check the camera adapter, reverse trigger, video format, and camera power. A receiver that works on the bench may not receive the vehicle's reverse signal.
- Poor AM/FM reception: Inspect the antenna adapter and any power lead required by an amplified factory antenna. A loose coax connection can look like a receiver fault.
Change one item at a time. Start with power and ground, then test the data interface, audio path, and feature-specific adapters. This prevents a wiring change from hiding the original fault.
Check the ground under load
A ground wire can look secure and still have excessive resistance. With the battery disconnected, set the multimeter to resistance. Place one probe on the receiver's ground connection and the other on clean chassis metal. Remove paint, rust, or loose hardware that prevents direct metal-to-metal contact.
One repair-log dataset recorded a no-power return with a ground path above 2.1Ω, while the same installation standard called for less than 0.1Ω. Treat those figures as an example of how a poor connection can cause trouble, not as a universal market result. Measure the circuit instead of judging the terminal by appearance.
Run a voltage-drop test with the system powered. A connection can show continuity without a load and still lose voltage when the receiver starts, the display lights, or the amplifier wakes. Keep the ground short, tight, and attached to solid chassis metal.
A continuity beep does not prove a good operating ground. Measure resistance and voltage drop, then inspect the physical connection.
CAN-bus faults can appear inconsistent because the vehicle and receiver may exchange some messages but not others. If the radio repeatedly resets, stays on after the key is removed, or triggers unusual warning behavior, disconnect the aftermarket interface and return the vehicle to a known-safe state. Confirm that the decoder matches the vehicle and that its firmware supports the receiver.
Do not bypass a safety-related system or join unidentified data wires as a shortcut. A professional installer with a scan tool can identify communication faults without guessing at the vehicle network.
Choosing a Head Unit Built for Long-Term Reliability
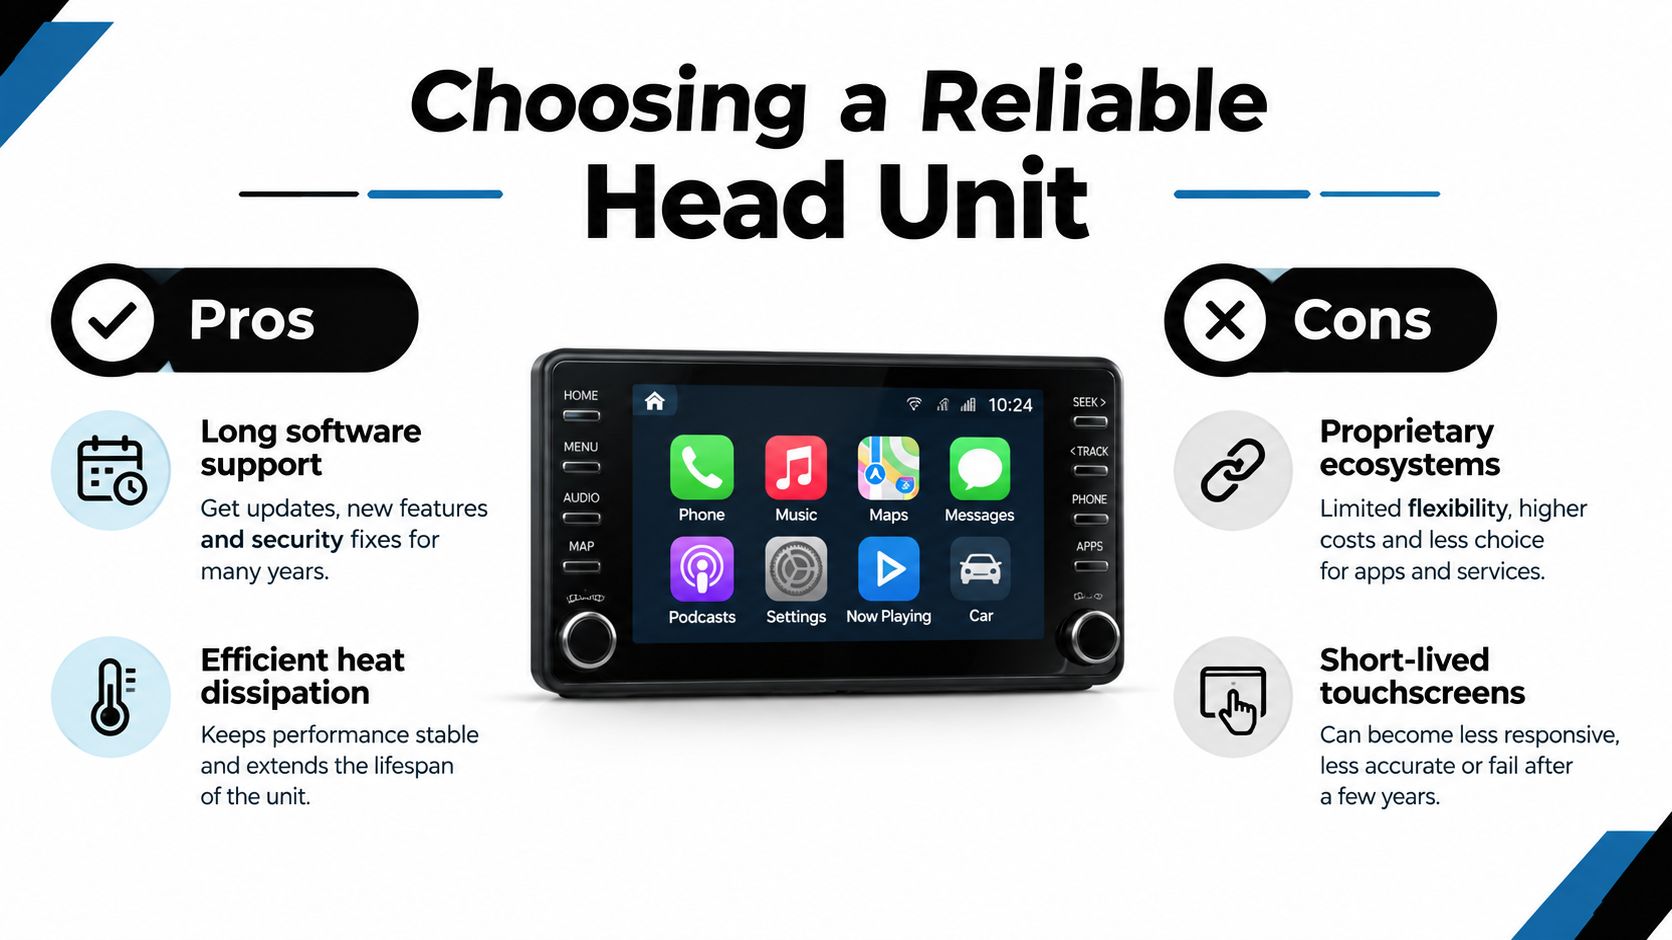
A replacement receiver should be judged by what it still does after months of heat, software changes, and daily use. Wireless CarPlay and Android Auto are convenient, but convenience doesn't compensate for unstable firmware, poor cooling, or an interface that repeatedly loses its vehicle connection.
Prioritize the support record. Look for a manufacturer that publishes firmware updates, documents compatibility, and continues to support the interface platform used by the installation. Maestro-ready integration can be valuable when the vehicle requires deeper retention of factory information, but compatibility still depends on the specific vehicle and receiver.
Heat and physical design matter
The dashboard is a difficult environment for electronics. A receiver with an attractive screen can still struggle if its chassis has inadequate ventilation or if the installation packs the cavity with loose adapters. Route the harness so it doesn't block cooling paths, and don't force a deep unit into a shallow enclosure.
Shallow-mount designs can solve a fitment problem, but they may involve trade-offs in internal amplification, heat management, or sound control. Evaluate the complete system, including the vehicle's factory amplifier and the receiver's signal outputs, rather than assuming a thinner chassis is automatically better.
Cheap all-in-one units often win on the feature list. They may offer a large display, wireless projection, navigation, cameras, and multiple audio controls in one box. The concern is whether the manufacturer supports firmware bugs, maintains reliable Bluetooth behavior, and supplies updates after the sale.
Buy support, not only features
Before choosing a model, check:
- Update history: Can you find actual firmware releases and installation instructions?
- Integration support: Does the receiver work with the required steering-wheel, camera, amplifier, and data interfaces?
- Thermal design: Does the chassis provide a sensible path for heat and airflow?
- Audio architecture: Are the preamp outputs, crossover controls, and amplifier connections appropriate for your system?
- Fitment depth: Will the unit and its connectors fit behind the dash without crushing the harness?
- Service path: Can the seller address a failed screen, software problem, or compatibility issue?
The broader head-unit market is being driven by touchscreen and smartphone-style interfaces rather than simple CD-to-digital changes. One 2025 estimate values the market at $12.8 billion and projects $19.2 billion by 2034, with the projection presented in this 2026 car stereo buying guide. Those figures don't make every touchscreen a good investment. They reinforce the need to separate genuine integration and support from a crowded feature list.
For some vehicles, replacing the radio isn't the most sensible way to improve sound. If the factory screen, controls, and camera work well, a plug-and-play amplifier, DSP, or compact subwoofer may solve the actual audio limitation without disturbing the vehicle network. Factory-radio replacement makes more sense when you need modern projection, a failed original unit, or control and audio features the existing system can't provide.
Audio Jam Inc can match a replacement receiver with the dash kit, wiring harness, data interface, camera retention, and steering-wheel-control solution your vehicle requires. Visit Audio Jam Inc to shop compatible car audio equipment or arrange installation in Bear, Delaware, before you start cutting wires or removing the dashboard.













