

10 Inch Vented Subwoofer Box: How to Build and Tune It

A good 10 can sound thin in one box and boomy in another without anything being wrong with the sub itself. That's because a 10 inch vented subwoofer box isn't a container, it's a tuned instrument. The cone makes part of the sound, but the net volume and the port decide where the bass peaks, how hard the cone has to work, and whether you hear clean low notes or a messy one-note thump.
I would check the box before blaming the driver, the amp, or the music. If the volume the sub sees doesn't match its data sheet, or the port length tunes the box to the wrong frequency, no amount of gain will fix it. You'll just turn a mismatched tuning louder.
Table of Contents
- Net Volume and Tuning Targets for a 10 Inch Sub
- Calculating Port Length and Tuning the Box
- How to Build the Enclosure Step by Step
- Matching Amp Power and Installing the Box
- Set Gain, Crossover and Fix Common Problems
- Build or Buy Before You Cut Any Wood
Net Volume and Tuning Targets for a 10 Inch Sub
A vented enclosure is tuned by its air volume and port, not by its outside dimensions. The air inside the box acts like a spring, while the air in the port adds mass. Together they resonate at a specific tuning frequency. Near that frequency, the port contributes more output and the cone moves less.
Net volume is the usable air space after subtracting the displacement of the subwoofer, port, and bracing. Two enclosures with the same external dimensions can give a driver very different working volumes.
| Net Volume | Tuning Target | Sound Character | Best Fit |
|---|---|---|---|
| 1.25 cu ft | 28-32 Hz | Deeper low-bass emphasis, with more cone travel | Larger cargo areas where enclosure depth is available |
| 0.75 cu ft | 35 Hz | Tighter response, with less low-bass extension | Trunks with limited depth |
What the Larger Alignment Does
A 1.25 cu ft enclosure tuned to 28-32 Hz favors low notes, such as deep synth bass and movie-style rumble. The trade-off is more cone travel and greater cargo-space demand. Whether this alignment suits the driver depends on its specifications, not just on the vehicle's available space.
If the driver's suspension and motor are poorly matched to this volume and tuning, bass can sound loose, and quick kick drums may blur together. The sub's data sheet determines whether this alignment is appropriate.
What the Smaller Alignment Does
A 0.75 cu ft enclosure tuned to 35 Hz takes up less space and gives up some of the lowest extension. It can suit a sedan trunk with limited depth, while still providing a more controlled response for rock, metal, and mixed playlists.
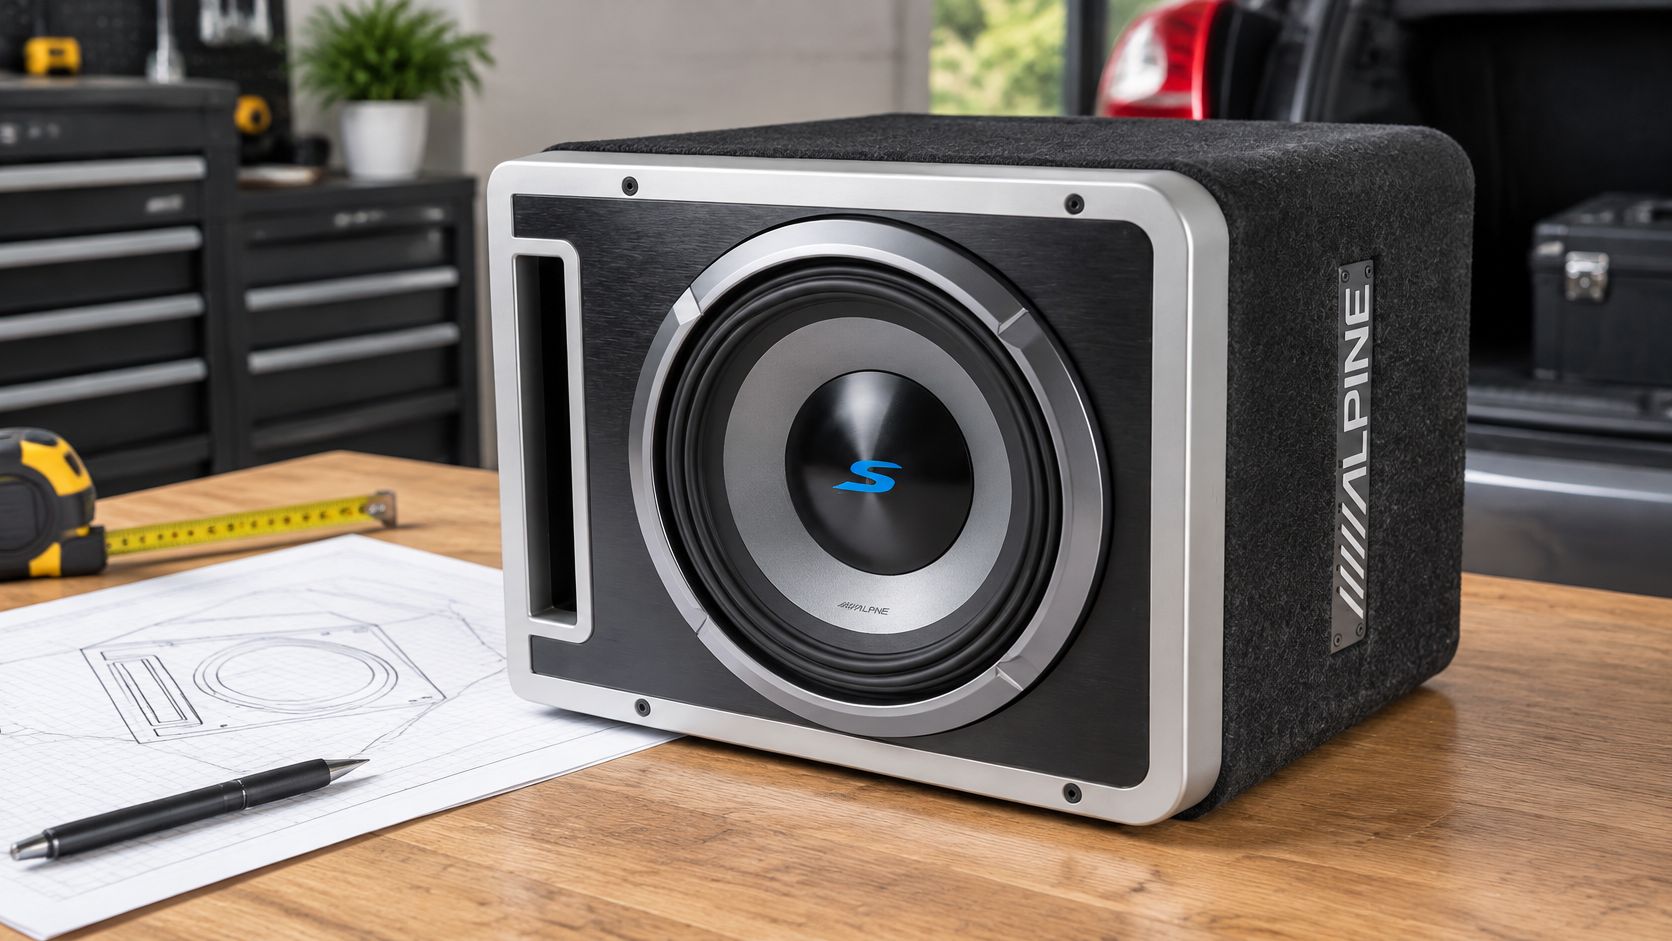
A preloaded design such as the Alpine S2-SB10V Car Subwoofer – 10” Vented Bass Box combines a 10-inch S-Series subwoofer with a tuned ported enclosure. Its driver and enclosure are matched as a system.
Practical rule: Treat the table as a starting point, not a universal prescription. The sub's Vas, Qts, and Fs determine whether either alignment suits that specific driver.
An undersized enclosure can raise tuning and make the bass sound thin and strained. An oversized enclosure can lower tuning and reduce control, producing a boomy response. Model the driver's published parameters in WinISD, then check cone excursion at the power you intend to use.
Calculating Port Length and Tuning the Box
The cutaway below shows why port math can't be an afterthought, because the port occupies box space and sets the resonance at the same time.
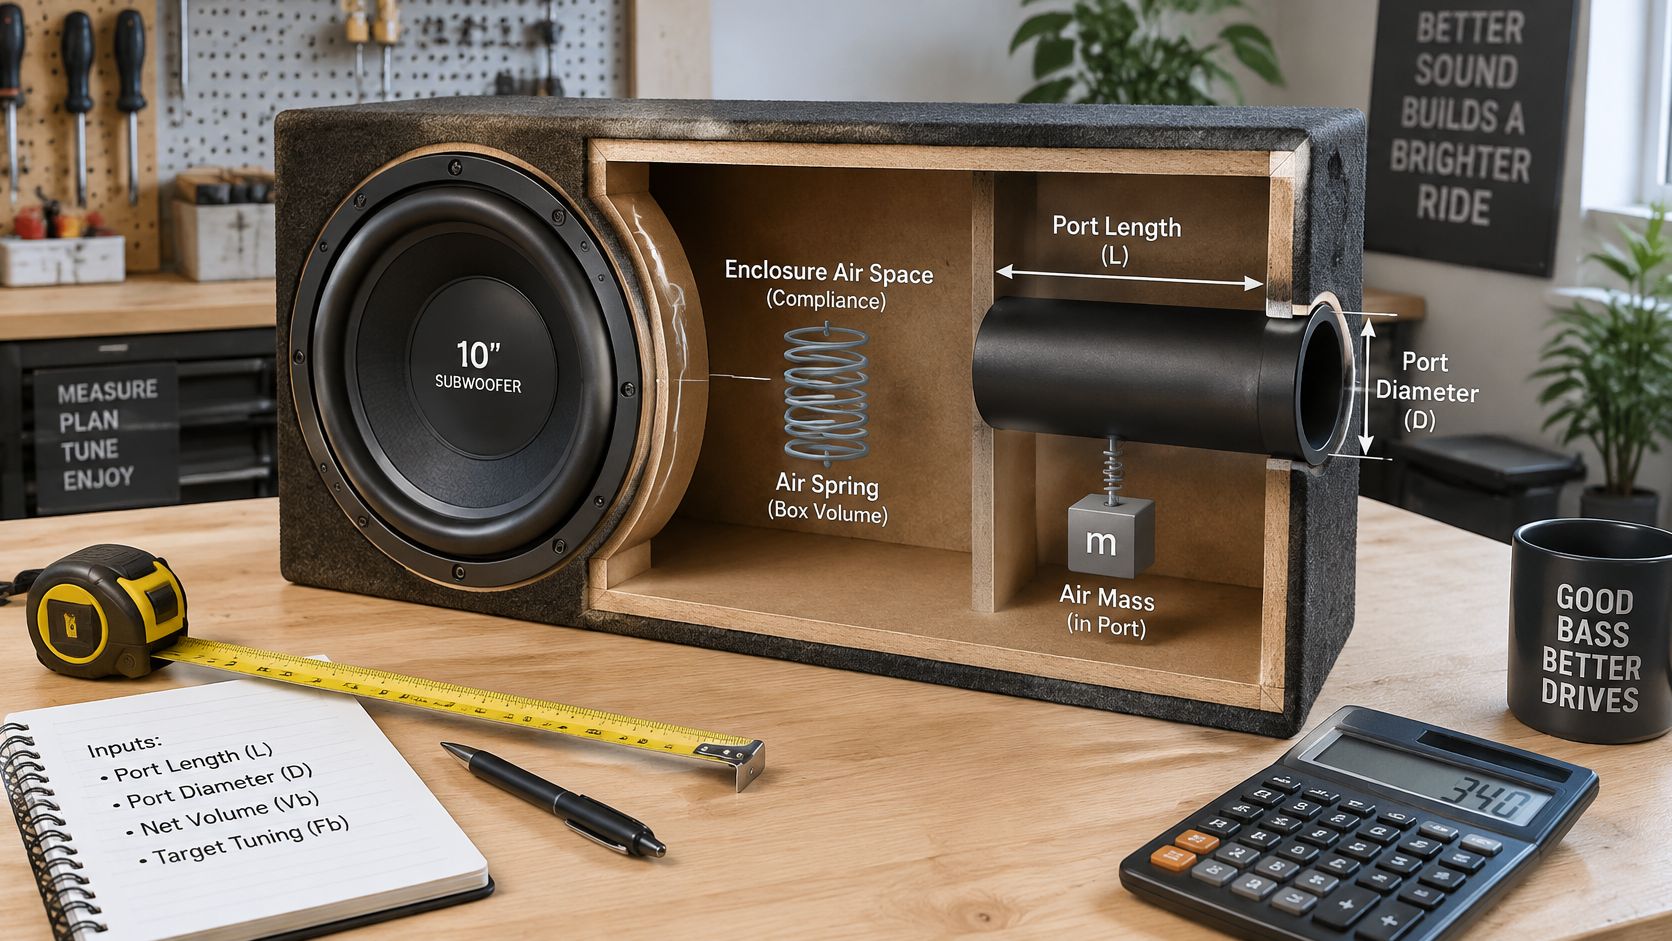
Port tuning comes down to three linked inputs, your target tuning, your net volume, and your port diameter. Change one and the required port length changes with it. For a single 10, a round port in the 3 to 4 inch range is common, but bigger isn't automatically better, because a larger diameter needs a longer port to hold the same tuning.
A Worked Example You Can Copy
Say you're building the smaller alignment, 0.75 cubic feet net, tuned to 35 Hz, with a 4 inch round port. Put those numbers into a port calculator or WinISD and you'll get a physical length in the range of roughly 30 to 35 inches. That surprises a lot of first-time builders, because the port is often longer than the box is deep.
Plan for that from the start. You may need a folded port, an elbow, or a slot port built along an inside wall instead of a straight tube. Don't just shorten the port to make it fit, because a shorter port raises the tuning and you've just built a different box than the one you designed.
- Gather your inputs first: Write down net volume, target frequency, and port diameter before opening the calculator.
- Check port displacement: Add the space the port occupies back into your gross box size, or your finished net volume will come up short.
- Leave trim room: Cut the port slightly long if your design allows it, then trim in small steps during testing.
End Correction and Placement
Calculators apply end correction because air just outside each port opening moves with the air inside the tube, which makes the port behave a little longer than its physical length. A flared or flanged end changes that correction, so use the setting that matches the port you're installing. If you tell the calculator you have a flared port and then install a plain cut tube, your tuning will land off target.
Placement matters just as much. Keep the port mouth about 2 inches away from the trunk wall and away from the cone, so air can move in and out without being choked by a panel. A port firing straight into carpet or a seat back won't behave like the free opening your calculator assumed.
The walkthrough below shows the measurement and layout process in practice, which is worth watching before you mark your panels.
After the box is assembled, run a slow sine sweep at low volume and listen for where output peaks and cone movement settles. That check tells you whether the finished box landed near your target. Remember that moving port length by about 1 inch shifts tuning audibly, so trim a little, retest, and trim again rather than hacking off a big piece at once.
Do this math before you design the cabinet. The port length you find here sets the internal depth you need, whether the port runs straight, folds, or turns into a slot. If you draw the box first, you'll end up forcing the port to fit the wood instead of tuning the box to the sub.
How to Build the Enclosure Step by Step
Good joinery can't rescue bad math, and good math won't survive sloppy measuring. Work in this order and check each stage before glue makes mistakes permanent. If you're deciding between MDF and other sheet goods, read this breakdown of the best wood options for a subwoofer box before you buy panels, because density and void-free construction matter more than a pretty surface.
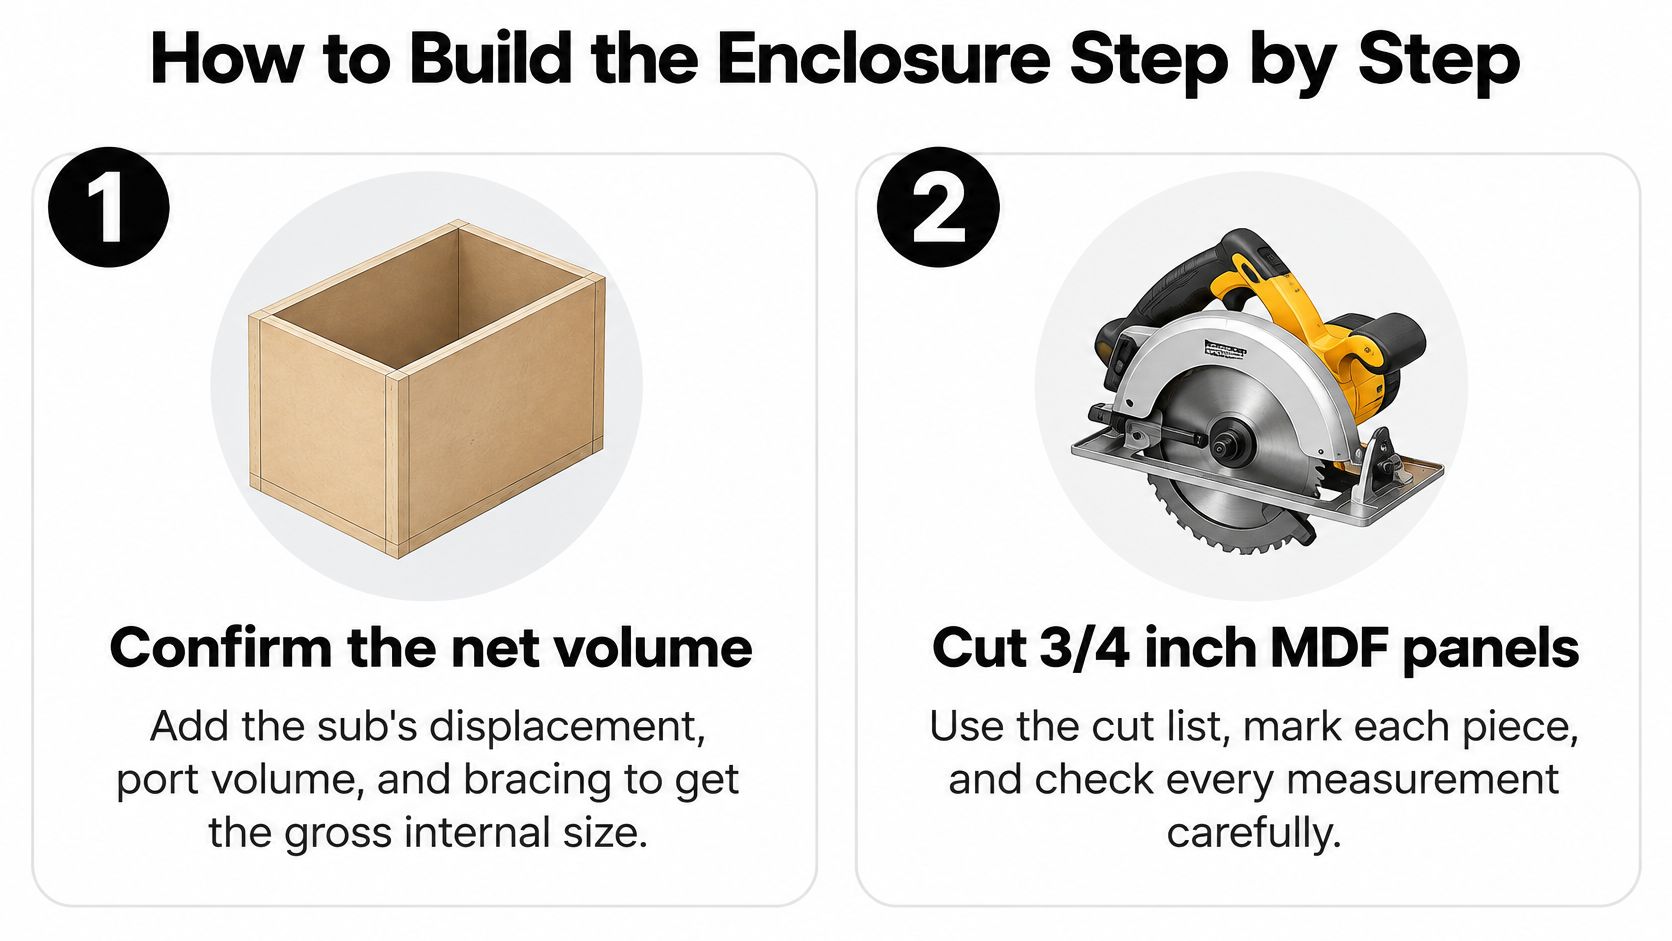
Steps 1 to 3 Get the Dimensions Right
- Confirm net volume, then build up to gross size: Start with your target net volume and add the sub's displacement, port volume, and bracing volume to get the gross internal size you need to build. The common slip is forgetting the port, which steals air and pushes your tuning higher than planned.
- Cut 3/4 inch MDF from a written cut list: Mark every piece, label its position, and check each dimension twice before the saw starts. A 1/8 inch error sounds tiny, but repeated across panels it changes net volume and leaves seams that won't sit flush.
- Cut the baffle and dry-fit the sub: Cut the mounting hole to the sub's specified cutout, test the rim and gasket fit, and confirm screw positions land in solid material. Skipping the dry fit is how people discover a hole is oversized after the box is glued shut.
If you're new to careful panel work, even a small practice build helps, and The Knotty Lumber Co. woodworking project is a useful low-stakes way to practice measuring, marking, and clean cuts before you commit a full sheet of MDF. Measure your actual sheet thickness with calipers too, because nominal 3/4 inch stock is often slightly under that. Build your cut list around the actual thickness, not the label.
Dry-fit every panel with clamps before any glue touches the wood. Gaps you can see now are leaks you'll hear later.
Steps 4 to 7 Make It Rigid and Airtight
- Assemble with wood glue and screws: Run a continuous glue bead, clamp the joint square, and pre-drill every screw hole so the MDF doesn't split at the edges. The mistake here is relying on screws alone to pull a badly cut joint closed, which leaves a stressed seam that opens under vibration.
- Brace the largest panels: Add internal bracing across wide, unsupported walls so the panels don't flex and sing along with the bass. Account for that bracing in your gross volume from step one, because a brace added as an afterthought eats air you already allocated to the sub.
- Seal every internal seam: Run silicone or caulk along all inside joints, smooth it into the corners, and let it cure fully before mounting the sub. Then press the cone in gently and feel around the edges for escaping air, because a pinhole leak whistles, wastes output, and makes tuning checks unreliable.
- Mount the port, then finish the outside last: Cut the port to the length you calculated, secure it so it can't buzz or shift, and confirm its inside opening isn't blocked by bracing. Only then wrap the box in carpet or vinyl, since finishing early just means peeling it back when something needs adjustment.
Use a straightedge across each joint as you go. MDF dust hides small gaps, and carpet hides bigger ones, but neither one seals them. Glue squeeze-out is fine, gaps filled only with glue are not.
A finished box should feel dead when you knock on the panels, with a solid thud instead of a hollow ring. The baffle should sit flush against the sub's gasket all the way around, with no rocking and no light gaps at the rim. If it flexes under hand pressure on the bench, it will flex much worse at full power in the trunk.
Matching Amp Power and Installing the Box
A vented box and its sub should be matched like a tuned instrument. Choose an amplifier using the subwoofer's RMS rating and final impedance, then confirm that the enclosure's recommended volume and tuning suit that model. A mismatch between the sub and port can make the bass sound boomy or thin, even with an amp that has the right power rating. Use the sub's data sheet for the target; peak power is not an amplifier-sizing figure.
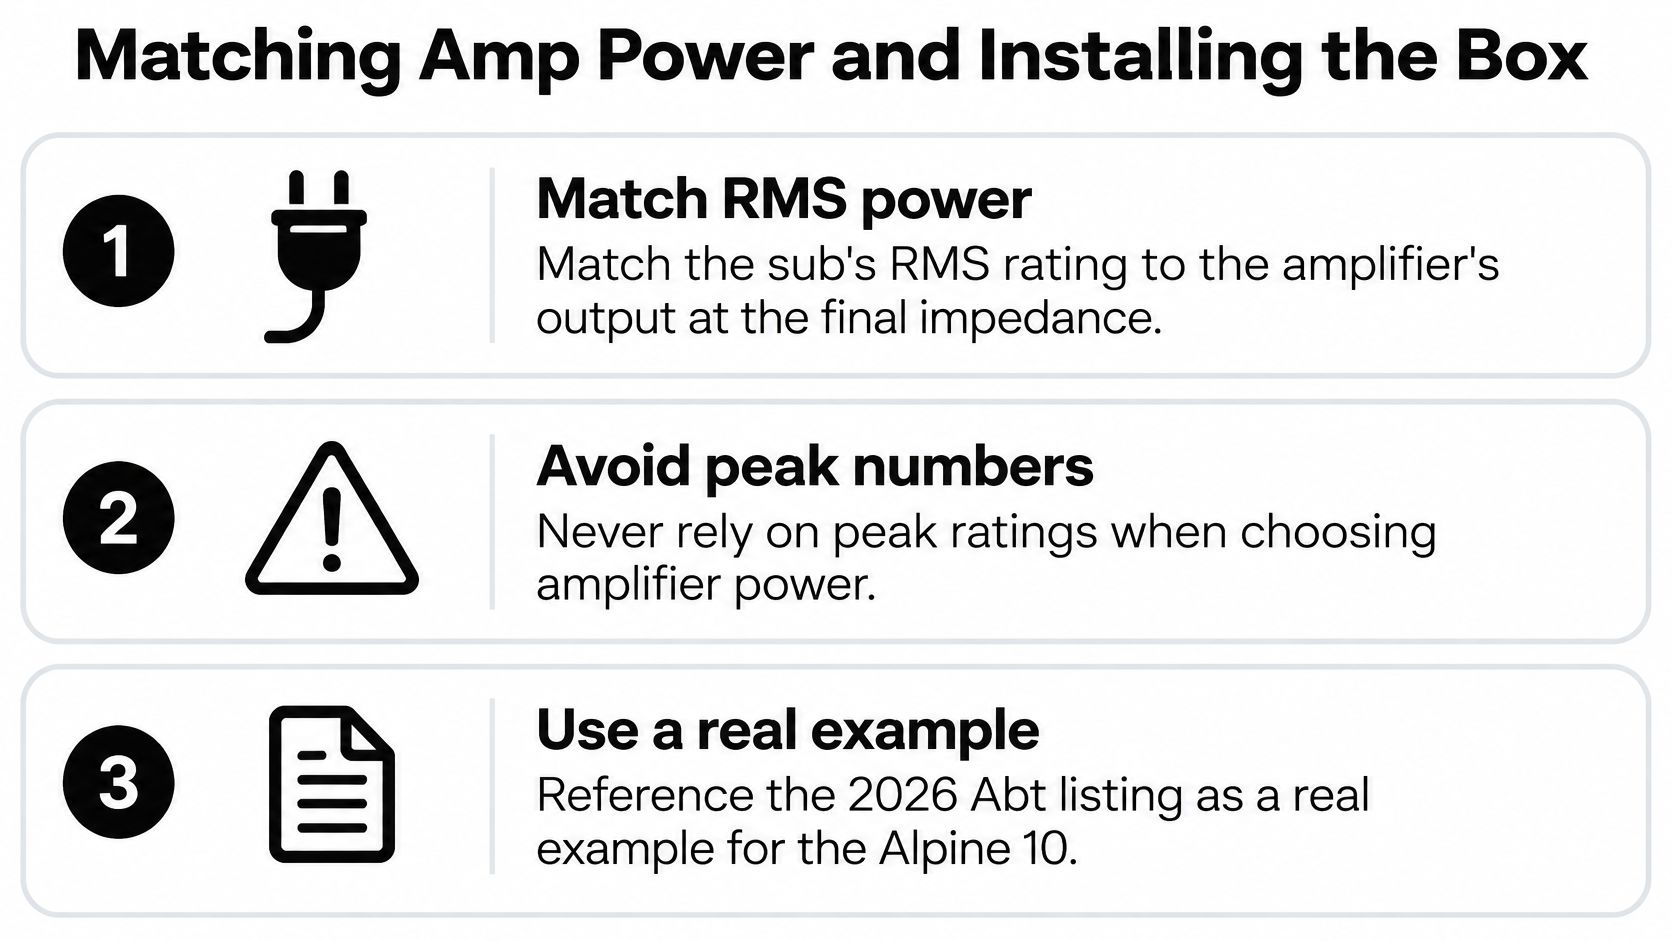
The Alpine WSB10V listing gives 250 watts RMS and 750 watts peak for that particular enclosure. Those figures apply to the WSB10V, not the S2-SB10V, which is listed at 600 watts RMS. Size the amplifier for the specific subwoofer or loaded enclosure you are installing, at its final impedance. The guide to choosing an amplifier for a car subwoofer explains how power rating and impedance affect the match.
Placement and Securing the Box
Test-fit the enclosure before running wire. Check its position behind the rear seats, in the trunk, or in the cargo area, and make sure the spare tire and seat-folding functions remain accessible. Keep the port mouth open to the cabin, clear of trim, luggage, the spare tire, fuel lines, and the rear seat hinge.
Secure the box through factory anchor points with ratchet straps. Carpet friction will not keep a loaded MDF enclosure in place during a hard stop.
- Fit test first: Confirm the enclosure can go in and come back out with the seats in their normal position.
- Port clearance: Leave open air in front of the port mouth.
- Strap check: Tug the secured box in every direction before finishing the install.
Wiring Without Shortcuts
Choose power and ground cable for the amplifier's current draw. A 4 gauge kit is a common choice for a system around 250 watts RMS; use the amplifier manual to select the fuse rating. If the amplifier changes, check the cable and fuse requirements again.
Fuse the power cable within 18 inches of the battery. The fuse protects the cable and vehicle wiring.
Keep the ground short and attach it to clean bare metal, with paint removed at the contact point and the connection tight. A poor ground can cause noise, voltage drop, or cutouts under load. Route signal cables away from power runs where practical, and keep all wiring clear of seat rails and pedal linkages.
Power up at low volume. Check that the amplifier turns on with the head unit, listen for alternator whine or turn-on pops, and check for unusual heat or smell after a few minutes. Correct any wiring fault before reinstalling trim panels.
Set Gain, Crossover and Fix Common Problems
Set the controls in order and resist the urge to crank everything at once. Start with the head unit volume at a realistic maximum you'll use, any bass boost off, and the amp gain all the way down. You're matching levels, not squeezing out extra power the amp doesn't have.
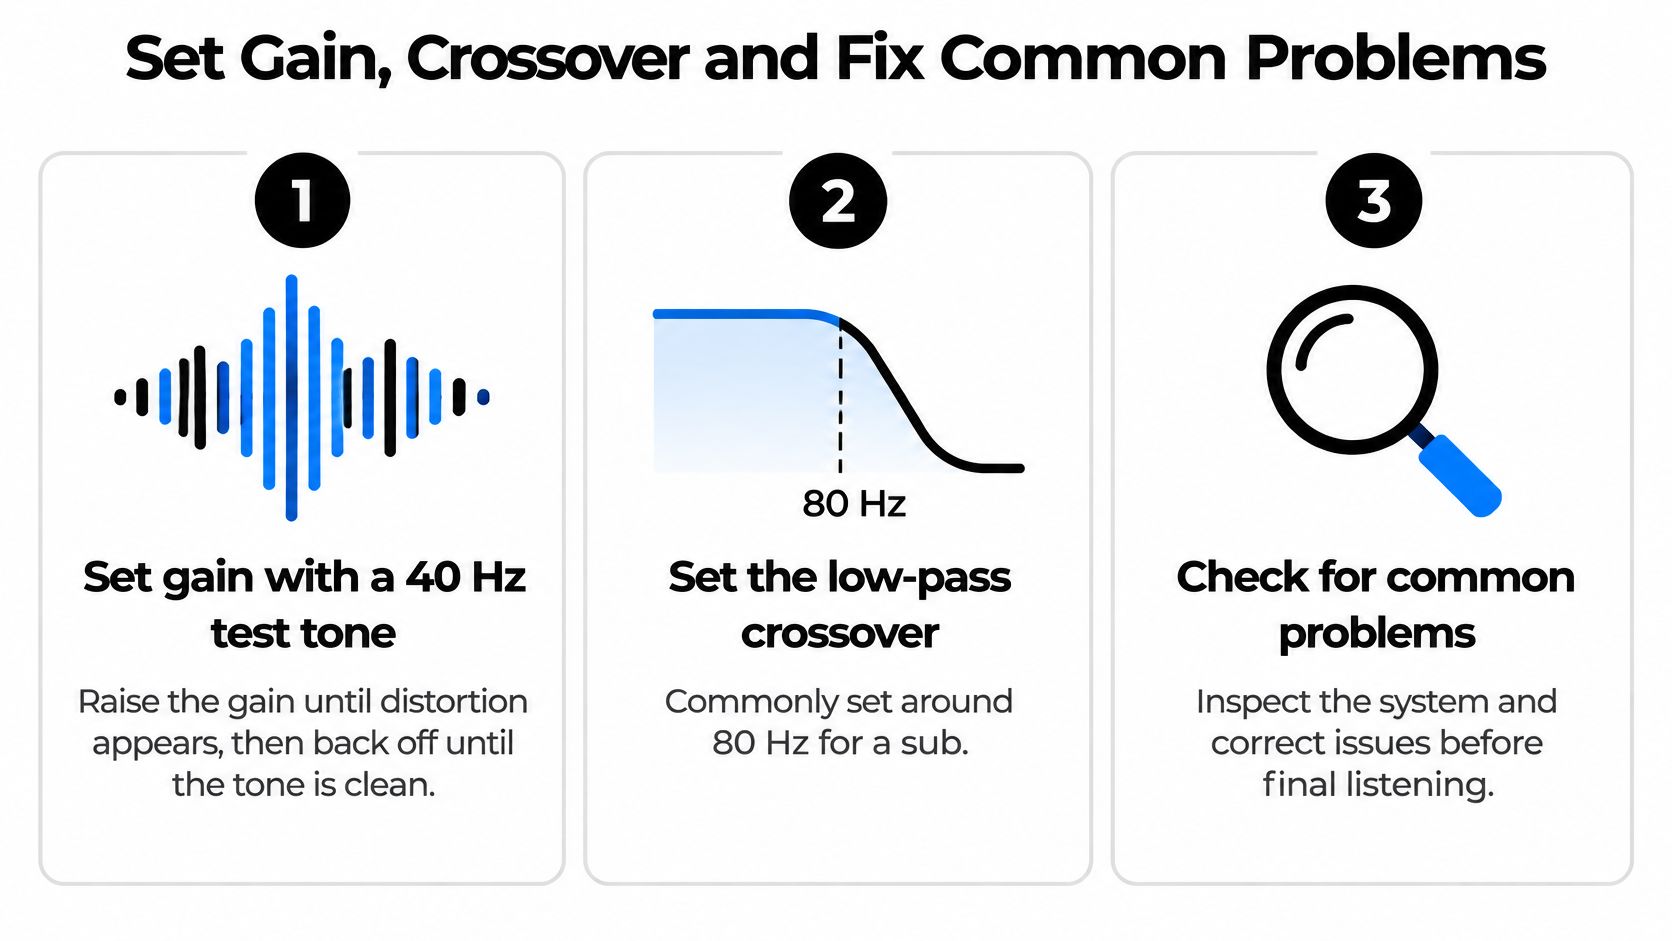
Gain, Crossover, and Phase
Play a 40 Hz test tone, raise the gain slowly until you hear distortion creep in, then back off until the tone is clean again. That backed-off point is your ceiling, not a suggestion. If you're using a multimeter or oscilloscope, even better, but your ears will catch gross clipping if you go slowly and listen.
Next set the low-pass crossover around 80 Hz as a starting point, so the sub handles the bottom and your door speakers handle everything above it. Then play a familiar bass track and flip the phase switch both ways, choosing the setting that sounds fuller from the driver's seat. Phase isn't right or wrong on paper, it depends on distance and placement in your specific cabin.
Finish with music you know well, not just test tones. Tones confirm levels, but they can hide boom, rattles, and a crossover point that leaves a hole in the bass guitar range. This step-by-step on how to tune a subwoofer is worth following if you want a more methodical pass through gain and crossover settings.
Symptom Lookup After Install
| Symptom | Likely Cause | Fix |
|---|---|---|
| Boomy, muddy bass | Tuning too low or volume too large | Shorten the port or reduce net volume, then recheck tuning |
| Thin, weak bass | Tuning too high or port too short | Lengthen the port or add net volume |
| Port chuffing or whistling | Air velocity too high at the port | Use a larger diameter port, a flared end or lower the input power |
| Rattling trunk panels | Box not braced or loose mounting | Add internal bracing and secure the box with ratchet straps |
| Sub cuts out at high volume | Overexcursion or too little airspace | Lower the gain, check port clearance and adjust the high-pass or crossover |
Read the table as a diagnostic order, not a parts list. Boomy bass points you back to volume and tuning, while chuffing is an airflow problem that no EQ curve will cure. Rattles are usually mechanical, so reach for bracing and straps before you reach for the crossover knob.
Change one variable at a time and recheck after each change. If you shorten the port, move the crossover, and raise the gain in one session, you'll never know which move helped or hurt. Keep notes as you go, even rough ones on your phone, so you can return to the last setting that sounded right.
Build or Buy Before You Cut Any Wood
The enclosure's shape and tuning determine whether a 10-inch sub fits your vehicle and plays as intended. Building gives you control over both; buying a preloaded box saves build time but limits your choice of volume and port tuning.
| Factor | Build Your Own | Preloaded Box |
|---|---|---|
| Tools and skill | Saw, drill, clamps and careful measuring | Basic hand tools for installation |
| Tuning control | Set net volume and port length to suit the sub | Tuning set by the manufacturer |
| Time | One or more weekends for cutting, gluing and sealing | Quick drop-in install |
| Fit | Shape the enclosure to your trunk or cargo space | Standard footprint for common vehicles |
| Main risk | Measurement and port-length errors | Limited tuning options if the sub is a poor match |
A custom enclosure makes sense when the available space has an unusual shape or the sub's data sheet calls for targets that a packaged box does not meet. For example, a box can be shaped around a wheel-well corner or slanted seat back. That flexibility comes with more measuring, cutting, sealing and opportunities for error.
A preloaded box is a practical choice when its dimensions, subwoofer compatibility and tuning suit your vehicle and amplifier. Check the enclosure's outside dimensions against the space available, then confirm that the sub and amp are compatible. You give up some control over tuning, so the box should match the driver's published requirements and the sound you want.
In a crew-cab truck, measure the actual clearance behind or beneath the seat before choosing an enclosure. The available depth is specific to the vehicle and seat position, so a listing for a vehicle-specific box is a better starting point than a generic footprint. For example, the Alpine SWT-10S2 pair with a Q Power enclosure for GMC/Chevy crew cabs pairs shallow-mount 10-inch subs with a vehicle-specific enclosure. It addresses fit, while a custom build gives you more control over the enclosure's volume and tuning. Audio Jam sells products from iDatalink, JL Audio, MB Quart and Alpine, including subwoofers to consider alongside their published data sheets.
Audio Jam Inc offers custom subwoofer enclosures and installation help, alongside car audio products through its Bear showroom and online store. Visit Audio Jam Inc to shop subwoofers and amplifiers or book local installation help.