

How to Build Custom Subwoofer Enclosure

You're standing at the back of the car with a subwoofer on the floor, a tape measure in one hand, and a box design on your phone that may not fit once the trunk closes. The dimensions look simple until the seat moves, the amplifier needs a home, and the driver's magnet reaches farther than expected. That's where many enclosure projects go wrong. The builder starts with a generic box formula instead of the vehicle, the driver, and the space they must work together in.
Learning how to build a custom subwoofer enclosure is less about cutting wood quickly and more about making a sequence of sound decisions. Measure the vehicle first, choose the enclosure type around the driver and listening goal, calculate net volume, build for the environment, then verify the result in the actual car.
Table of Contents
- Starting With Your Vehicle, Not Your Subwoofer
- Choosing Between Sealed and Ported Designs
- Calculating Volume, Tuning, and Bracing
- Picking the Right Material for Real-World Use
- Cutting, Assembling, Bracing, and Sealing the Box
- Mounting, Wiring, and First Tests in the Vehicle
- Quick Checklist and When to Call a Pro
Starting With Your Vehicle, Not Your Subwoofer
The trunk may look empty, but usable space is rarely the same as maximum space. Before choosing a box shape, open every panel that will move, fold the rear seats, slide the driver's seat through its normal range, and mark the clearance needed for the amplifier, wiring, spare tire access, and cargo. A box that fits only with the passenger seat pushed forward isn't a usable design.
Start with a cardboard mock-up. It costs little, shows where the enclosure will touch the vehicle, and lets you test removal through the trunk opening or hatch. Measure the cavity at several points rather than trusting one length, width, and height. Wheel wells taper, seat backs lean, and cargo floors often rise around storage compartments.
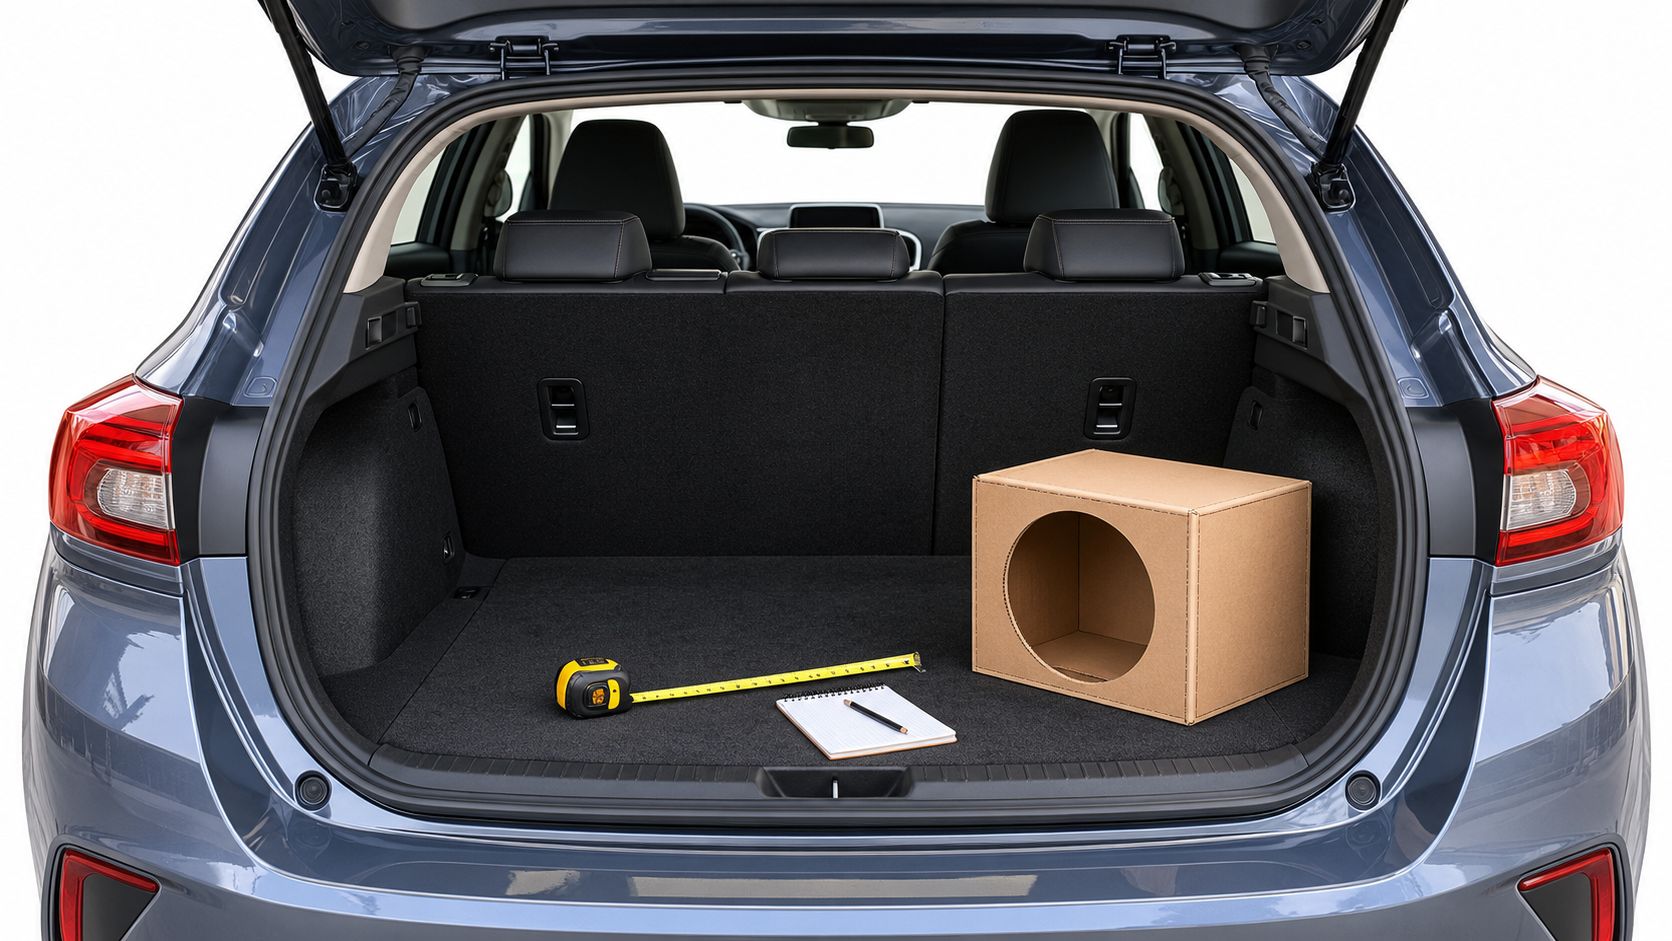
Map the installation before doing the math
Write down the vehicle type and intended orientation:
- Sedan trunk: A rear-facing enclosure may have limited acoustic coupling with the cabin, while a position aimed toward the rear seat or trunk opening can behave differently.
- Hatchback or SUV: The subwoofer usually shares the cabin more directly, so placement, grille protection, and cargo usability deserve close attention.
- Pickup truck: Under-seat height, seat travel, storage access, and vibration often matter more than maximum box depth.
- Jeep or off-road vehicle: Secure mounting, water exposure, rattles, and removable cargo panels can dominate the design.
- Motorcycle, UTV, or marine-adjacent installation: Moisture protection and compact construction may matter more than squeezing out every possible cubic inch.
A car cabin boosts low frequencies through cabin gain, so the enclosure shouldn't be designed as though it will operate in open air. The ideal response should compensate for the vehicle's transfer function, not follow a universal formula. As explained in this technical discussion of proper subwoofer design, the same subwoofer and box can sound boomy in one vehicle and weak in another.
Practical rule: If you can't describe exactly where the box will sit, how it will be secured, and what space must remain accessible, you aren't ready to cut panels.
Finish this stage with a scaled sketch, the maximum outside dimensions, the driver mounting depth, the intended firing direction, and the clearances around the port or grille. Those details determine which enclosure designs are realistic.
Choosing Between Sealed and Ported Designs
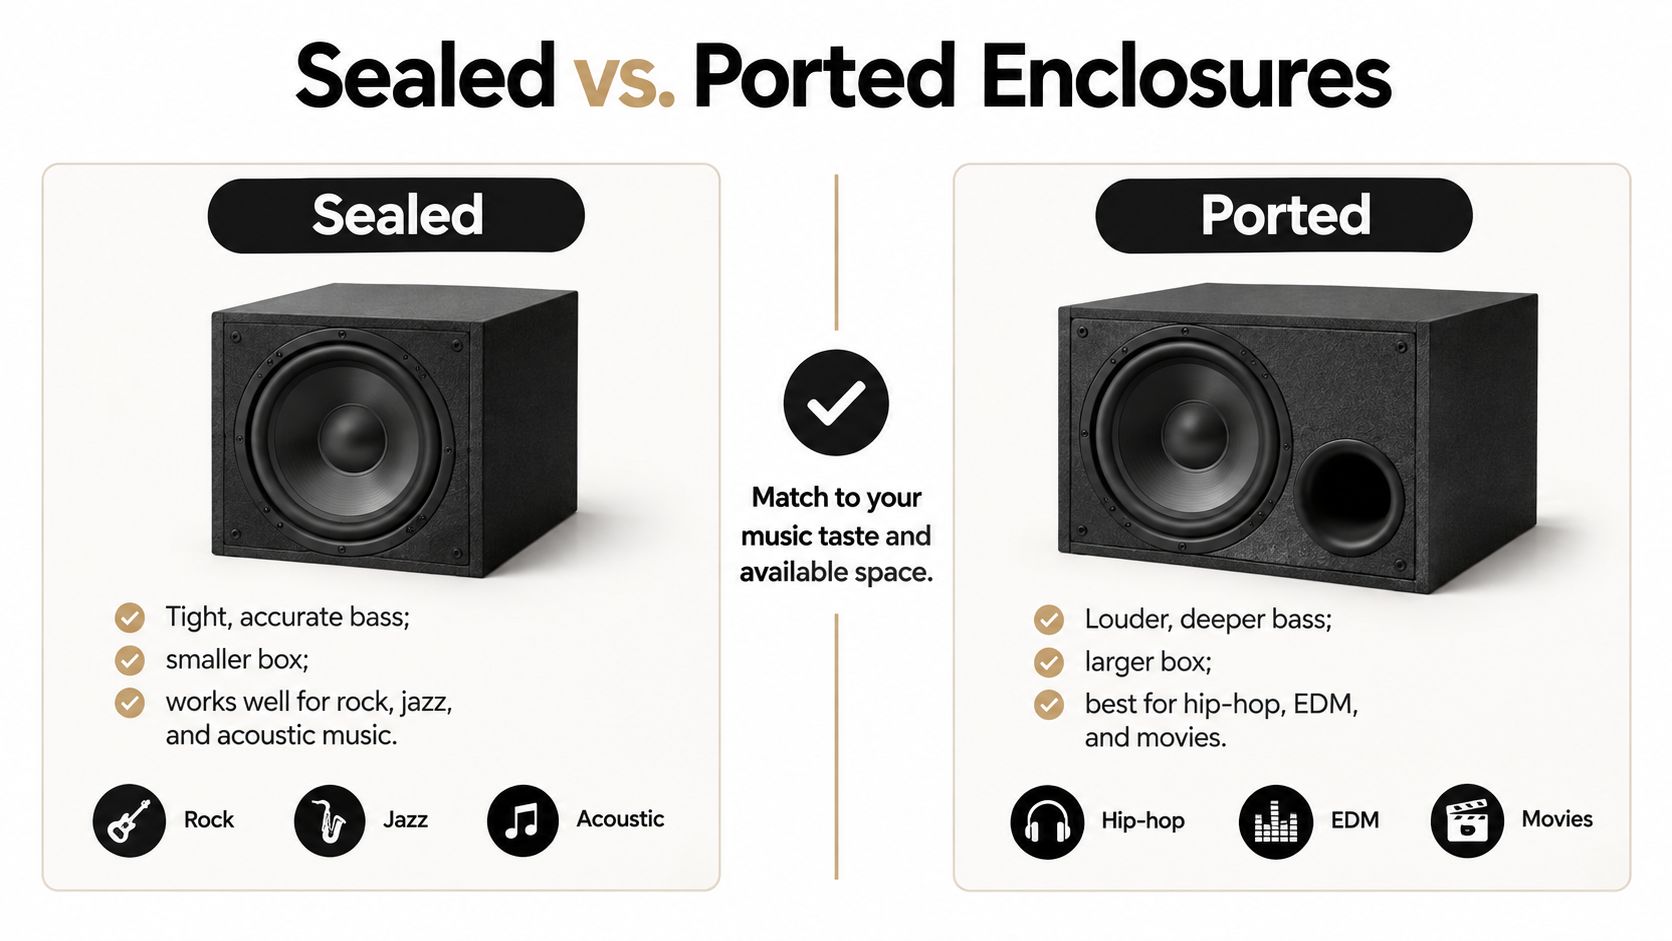
A sealed enclosure is usually the easier starting point because it needs only an airtight chamber. The trapped air controls cone movement and gives the system a controlled, forgiving response. That makes sealed designs attractive when trunk space is tight, the listener prefers controlled bass, or the vehicle already reinforces the low end strongly.
A ported enclosure adds a tuned opening that reinforces output around its design frequency. It can deliver more impact for bass-heavy music, but the cabinet needs room for the port, adequate clearance around the port opening, and protection against excessive cone movement below tuning. A ported design also takes more planning because the port occupies internal volume and can create noise if it's too small or poorly placed.
Match the alignment to the installation
Use the manufacturer's enclosure recommendation as the starting point, then check whether the vehicle can accommodate it.
| Factor | Sealed | Ported |
|---|---|---|
| Space requirement | Usually more compact | Usually larger because of port volume |
| Construction | Simpler, airtight chamber | Requires accurate port dimensions and tuning |
| Character | Controlled and forgiving | Stronger output around the tuned range |
| Best fit | Tight spaces and balanced daily systems | Larger cargo areas and output-focused systems |
| Main risk | Incorrect volume can make the response too damped or loose | Poor tuning, port noise, or inadequate protection below tuning |
Music preference matters, but it shouldn't override the subwoofer's specifications. Rock, jazz, and acoustic recordings often expose a loose or resonant installation, while hip-hop and electronic music can reward a ported design with sufficient space. That isn't a universal rule. The vehicle's response, the driver's parameters, and the available cavity still decide whether the result sounds clean.
Bandpass designs can work for narrow goals, but they're difficult to design, difficult to troubleshoot, and unforgiving when the vehicle response doesn't match the alignment. Free-air installations can preserve cargo space, but they require a properly isolated trunk or rear cavity and a driver designed for that use. They aren't a shortcut around enclosure design.
Mounting depth can settle the decision before acoustics do. An under-seat cavity may accept a shallow sealed enclosure but leave no room for a port, terminal, or adequate driver clearance. If the driver physically can't fit with safe clearance, the theoretically better alignment doesn't matter.
Calculating Volume, Tuning, and Bracing
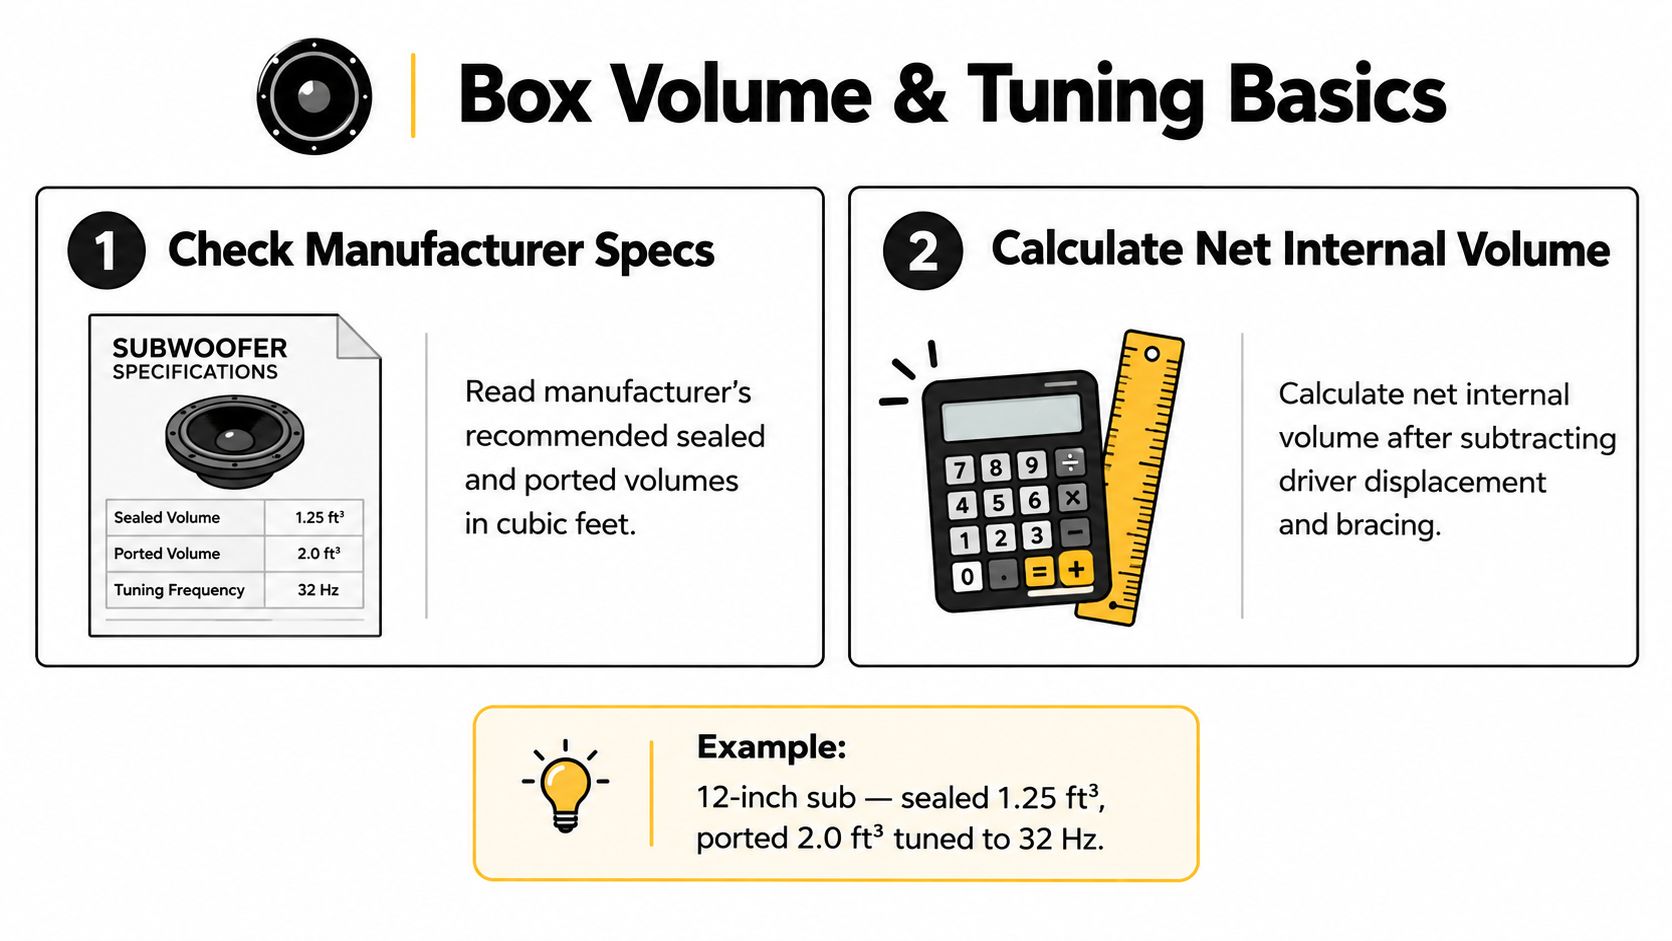
Once the vehicle and enclosure style are settled, start with the subwoofer manufacturer's recommended volume. Read that figure as net internal volume, meaning the airspace left after the driver, bracing, port, terminal, and other internal parts are installed. It is not the cabinet's outside measurement.
For a rectangular enclosure, multiply the internal length, width, and height to find gross volume. Then subtract every known displacement. A box can match the outside dimensions on a drawing and still miss the driver's required airspace once the internal parts are fitted.
Build the calculation around your cavity
Measure the space that will hold the enclosure, not an idealized rectangle. Angled side panels, seat backs, trim, and access for wiring can reduce the usable airspace. Record these values before finalizing the cut list:
- Usable internal dimensions: Measure the available cavity after allowing for angled walls, seat backs, and service access.
- Driver displacement: Use the manufacturer's stated figure when available. Cone diameter alone cannot provide a reliable estimate.
- Port displacement: Include the complete port, including bends, walls, and flared sections.
- Bracing displacement: Account for window braces, shelves, dowels, and large corner supports.
- Panel thickness: Convert outside measurements to internal measurements before calculating volume.
Ported designs require more than a target box volume. Use a port calculator or enclosure-design program that accounts for net volume, port area, and the selected tuning frequency. A long port may not fit inside a shallow enclosure, while a short or undersized port can create turbulence and noise. A folded port saves space, but its turns need smooth transitions and firm support.
Bracing should control panel movement without occupying unnecessary airspace. A window brace connecting the largest opposing panels usually contributes more stiffness than blocks scattered through every corner. Keep it clear of the driver basket and port path, then subtract its volume from the final net figure.
Builder's note: Over-bracing reduces acoustic volume. Under-bracing allows panels to flex. Use the minimum structure that keeps large panels quiet and airflow clear.
| Factor | Sealed | Ported |
|---|---|---|
| Volume target | Manufacturer's sealed net volume | Manufacturer's ported net volume |
| Internal parts | Driver and bracing | Driver, bracing, port, and flare |
| Main calculation | Net airspace | Net airspace plus port dimensions |
| Tuning concern | Acoustic compliance | Port frequency, area, length, and clearance |
| Protection concern | Normal driver limits | Extra caution below the tuning frequency |
Draw the panels only after the net-volume calculation works on paper. Include baffle thickness, doubled front panels, port walls, and decorative trim in the cut plan. A polished cabinet with the wrong net volume will still perform incorrectly.
Picking the Right Material for Real-World Use
MDF is popular because it cuts cleanly, forms flat joints, and works well in a dry trunk. It isn't automatically the right material for every vehicle. Moisture, vibration, temperature changes, cargo abuse, and weight can turn a suitable sedan enclosure into a poor choice for a truck, Jeep, UTV, motorcycle, or marine-adjacent installation.
The enclosure must stay stiff and airtight over time. Material selection is a trade-off between stiffness, moisture resistance, weight, repairability, and cost, not a contest to find the heaviest panel. Construction guidance from MTX on enclosure building emphasizes airtight walls, sealed joints, and protected wire openings, while also treating environmental exposure and dimensional stability as important design considerations.

Choose the panel for the environment
MDF makes sense in a protected cabin or dry trunk when the edges are sealed and the enclosure won't be exposed to standing water. It's easy to machine and produces dense, stable panels, but unprotected edges can absorb moisture and swell.
Marine-grade plywood is a stronger candidate for wet cargo areas, truck beds, and off-road use. It handles environmental exposure better when the edges, fasteners, terminals, and finish are treated properly. It can weigh more and may cost more, so don't select it unless the vehicle needs that protection.
Baltic birch plywood offers a useful balance of stiffness, weight, and screw-holding strength. It works well for detailed fabrication and installations where reducing weight matters, although availability and price can vary.
Fiberglass and composite panels become attractive when the enclosure must follow an irregular wheel well, side panel, motorcycle compartment, or compact cargo cavity. They allow shapes that flat panels can't provide, but fabrication takes more skill, and repairs or modifications may be less straightforward.
Use a durable finish on exposed surfaces, seal every cut edge, and protect terminals from water entry. A box can remain acoustically correct while failing structurally because its edges swell, joints open, or fasteners loosen.
Cutting, Assembling, Bracing, and Sealing the Box
A box can have the correct calculated volume and still fail at the workbench. Panels that are slightly out of square make the baffle harder to fit, open gaps at the joints, and leave the finished enclosure vulnerable to vibration. Start each cut from one reference edge, verify the blade setup, and dry-fit the full set before applying adhesive.
Cut the subwoofer opening with a router and circle jig when possible. A clean circle gives the driver's gasket an even mounting surface. Add a recess only when the driver, grille, or trim needs it, then test-fit the driver before closing the cabinet.
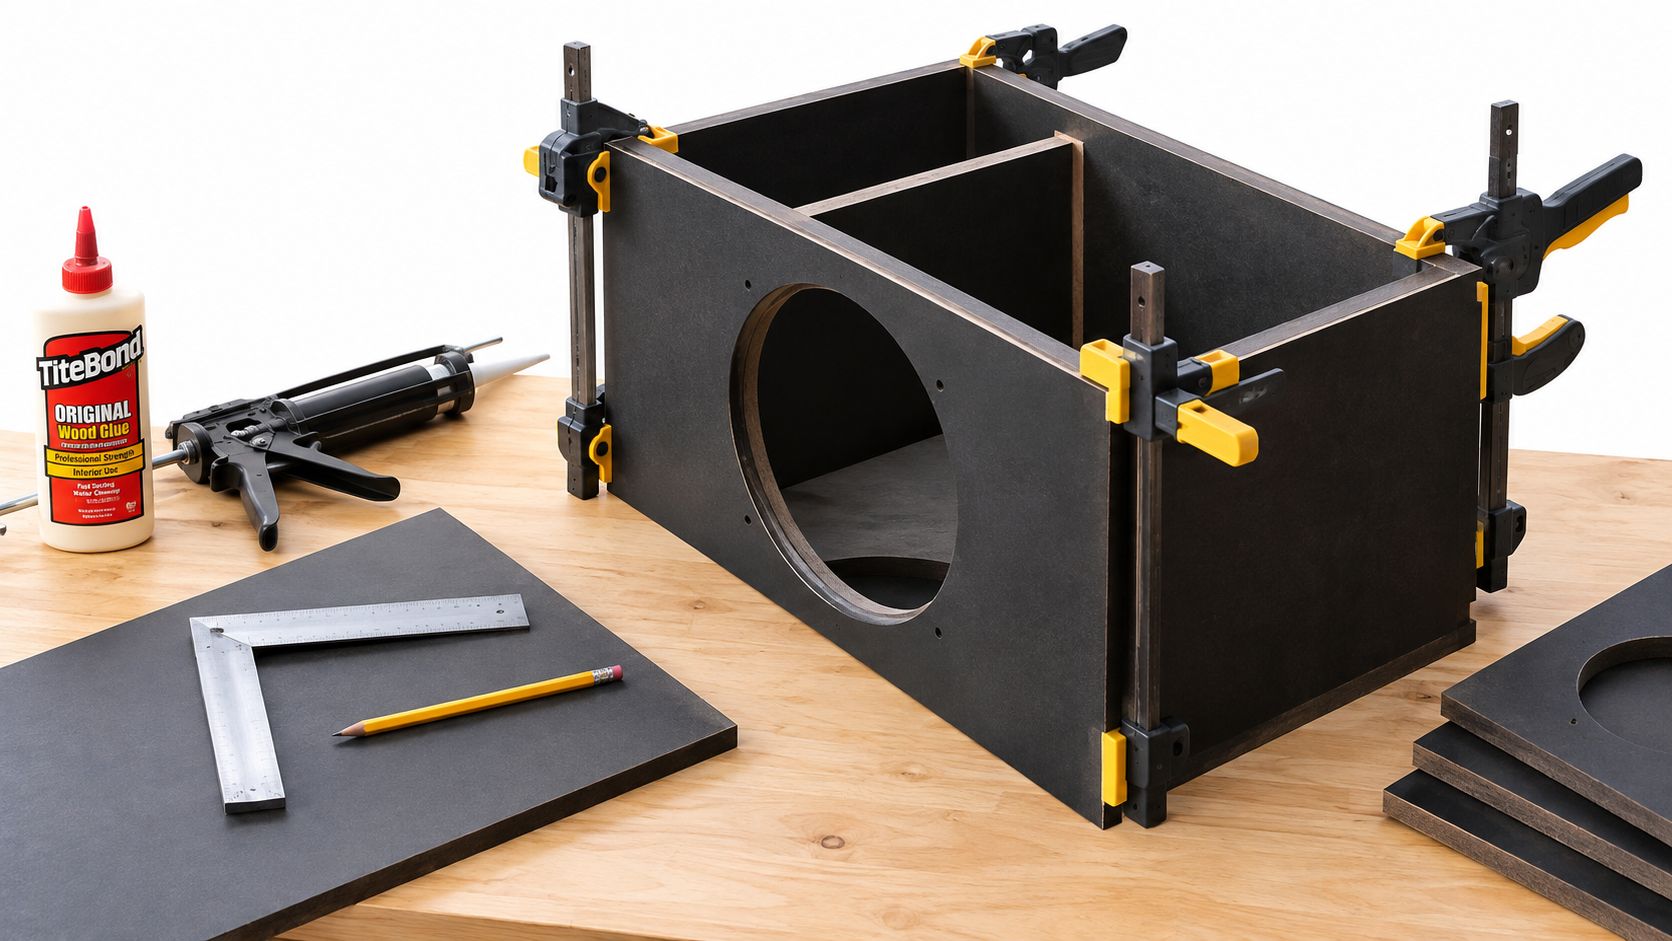
Keep the build sequence practical. Label the inside face of every panel and pre-drill near edges where screws could split the material. Assemble the bottom, sides, and top with wood adhesive, then clamp the shell and compare its diagonals before the glue sets. Equal diagonals are a useful quick check that the cabinet has not shifted out of square.
Install the baffle after the shell is stable. A second baffle can stiffen the mounting area, but its material displacement must be included in the internal-volume calculation. Cut the terminal and port openings cleanly, and keep the port path clear of braces, wiring, and adhesive buildup. Place braces across the broadest unsupported panels without blocking the cone, basket, or airflow.
Use screws as temporary clamping pressure, not as a replacement for tight-fitting joints. Wipe internal squeeze-out while it remains workable. Hardened adhesive takes up space and can interfere with airflow, especially near a port. If the inside will be coated, leave bonding surfaces clean unless the adhesive manufacturer approves the coating.
A terminal cup simplifies connections, but every cutout can leak. Seal beneath its flange, fit a gasket where appropriate, and protect the wire pass-through. For a custom cable exit, install a grommet and sealant instead of leaving an oversized hole around the cable.
Seal every internal seam with a compatible sealant and inspect screw holes before mounting the driver. Check the driver gasket as well. For a basic leak check, gently pressurize the enclosure and apply soapy water around suspected joints, or listen for air movement with the port blocked on a sealed design.
Finish the cabinet for the vehicle it will serve. Carpet hides small surface flaws and protects nearby trim. Textured coating and vinyl are easier to wipe clean. In a truck or Jeep, protect corners, fasteners, and exposed edges because shifting cargo will find weak points quickly.
Mounting, Wiring, and First Tests in the Vehicle
A finished enclosure becomes part of the vehicle only after it is secured, wired, and tested in its actual position. Bolt it to a structural point or a properly designed bracket so it cannot shift during hard braking, sharp turns, or off-road travel. Loose cargo straps around a heavy cabinet are acceptable only when they are rated for the load, installed correctly, and still accessible.
Dry-fit the box and map every cable before tightening the final mount. Route power and signal cables away from water, sharp metal, seat tracks, and moving trim. Protect any passage through sheet metal with a grommet. Keep the amplifier ground short and secure, and fasten it to clean vehicle metal. Use a sealed terminal or protected pass-through where speaker wire enters the enclosure.
The first amplifier setup should leave room for diagnosis. Start with the low-pass crossover at a sensible setting, leave bass boost off, and raise the gain gradually from a low position. Gain is not a volume control. It matches the source signal to the amplifier, and too much gain can produce clipping even when the system does not seem excessively loud.
Listen for the clues
Use familiar recordings that contain steady bass, vocals, kick drums, and sustained low notes. Start at moderate volume. Listen for faults before chasing maximum output, then change one setting or connection at a time.
- Weak bass: Check polarity, speaker wiring, amplifier settings, driver clearance, and whether the trunk is isolating the subwoofer from the cabin.
- Boomy bass: Check placement, cabin response, port tuning, and whether the enclosure's net volume matches the design.
- Port noise: Inspect the port opening, internal bends, loose trim, and the amount of air the design is moving.
- Buzzing or rattling: Remove loose cargo, press on trim panels while the system plays, and inspect the grille, terminal, amplifier rack, and rear deck.
- Distortion: Reduce gain, confirm the amplifier load, inspect the driver, and check whether a ported design needs protection below tuning.
A measurement microphone and real-time analyzer can show peaks that your ears describe only as “boomy.” Measure from the listening position after securing the enclosure, because the vehicle's acoustic response can differ sharply from a workbench impression. Fix mechanical rattles before applying equalization. EQ cannot repair a loose panel or an enclosure leak.
Quick Checklist and When to Call a Pro
Before installing the trim, verify these five points:
- Vehicle cavity: The enclosure fits with seat travel, cargo access, amplifier clearance, and safe removal.
- Net volume: Driver, port, bracing, and terminal displacement have been subtracted.
- Material choice: The panels and finish match the vehicle's moisture, vibration, and weight demands.
- Airtight construction: Joints, terminals, screw holes, and cable openings are sealed.
- In-vehicle testing: The box is secured, wiring is protected, and rattles, output, and crossover settings have been checked from the driver's seat.
A prefab enclosure can be a sensible choice when its net volume, driver fit, mounting depth, and installation location all match the system. Custom fabrication becomes more useful when the cavity is irregular, cargo space must be preserved, the vehicle is exposed to moisture, or the subwoofer and amplifier need a coordinated layout.
Call a professional when you can't verify the driver's specifications, the box must fit around complex trim, the amplifier load is unclear, or the installation requires structural mounting and vehicle integration. Audio Jam Inc in Bear, Delaware, provides custom subwoofer enclosure fabrication and installation alongside vehicle audio and accessory services, so a consultation can turn your measurements and equipment into a practical build plan.
Audio Jam Inc can help design and install a vehicle-specific subwoofer enclosure, match the subwoofer and amplifier, and handle secure wiring and final testing. Visit Audio Jam Inc to discuss your vehicle, available space, and the kind of bass you want before cutting the first panel.