


Door Trim Removal: The Complete Step-by-Step Guide

You're halfway through a door-panel job, the visible screws are out, and the trim still won't move. The natural reaction is to pull harder. That's usually when a clip snaps, a plastic mounting point tears, or a hidden fastener bends the panel.
Door trim removal is less about strength than sequence. Treat the trim as a connected module with concealed hardware, fragile retainers, switches, speakers, and wiring. Release each part in the order the manufacturer intended, and the panel comes away cleanly. Skip that discipline, and even a simple speaker replacement can become a repair.
Table of Contents
- Why Door Trim Removal Feels Intimidating
- Essential Tools and Safety Precautions
- Step-by-Step Removal Sequence
- Handling Electrical Connectors and Speakers
- Reinstalling the Door Trim Properly
- Older Versus Modern Door Trim Designs
- Troubleshooting Broken Clips and When to Call a Pro
Why Door Trim Removal Feels Intimidating
The first sign of trouble is usually a panel that releases at one corner but stays fixed everywhere else. Pull harder and a retaining clip can snap, a mounting point can tear, or a hidden fastener can bend. The panel looks like one piece, but it is a group of attachment points, electrical parts, and trim modules that must be separated in the right order.
A typical arrangement includes the window winder, interior handle, push-button lock, and often the armrest, followed by several press studs or push-in clips. Each retainer needs to release individually, as shown in this door trim panel removal guide.
Resistance identifies a problem to find, not a reason to apply more force. You may have missed a screw, placed the pry tool beside rather than beneath a retainer, or tried to pull the panel in the wrong direction. Stop at the first stubborn point and inspect the surrounding trim before continuing.
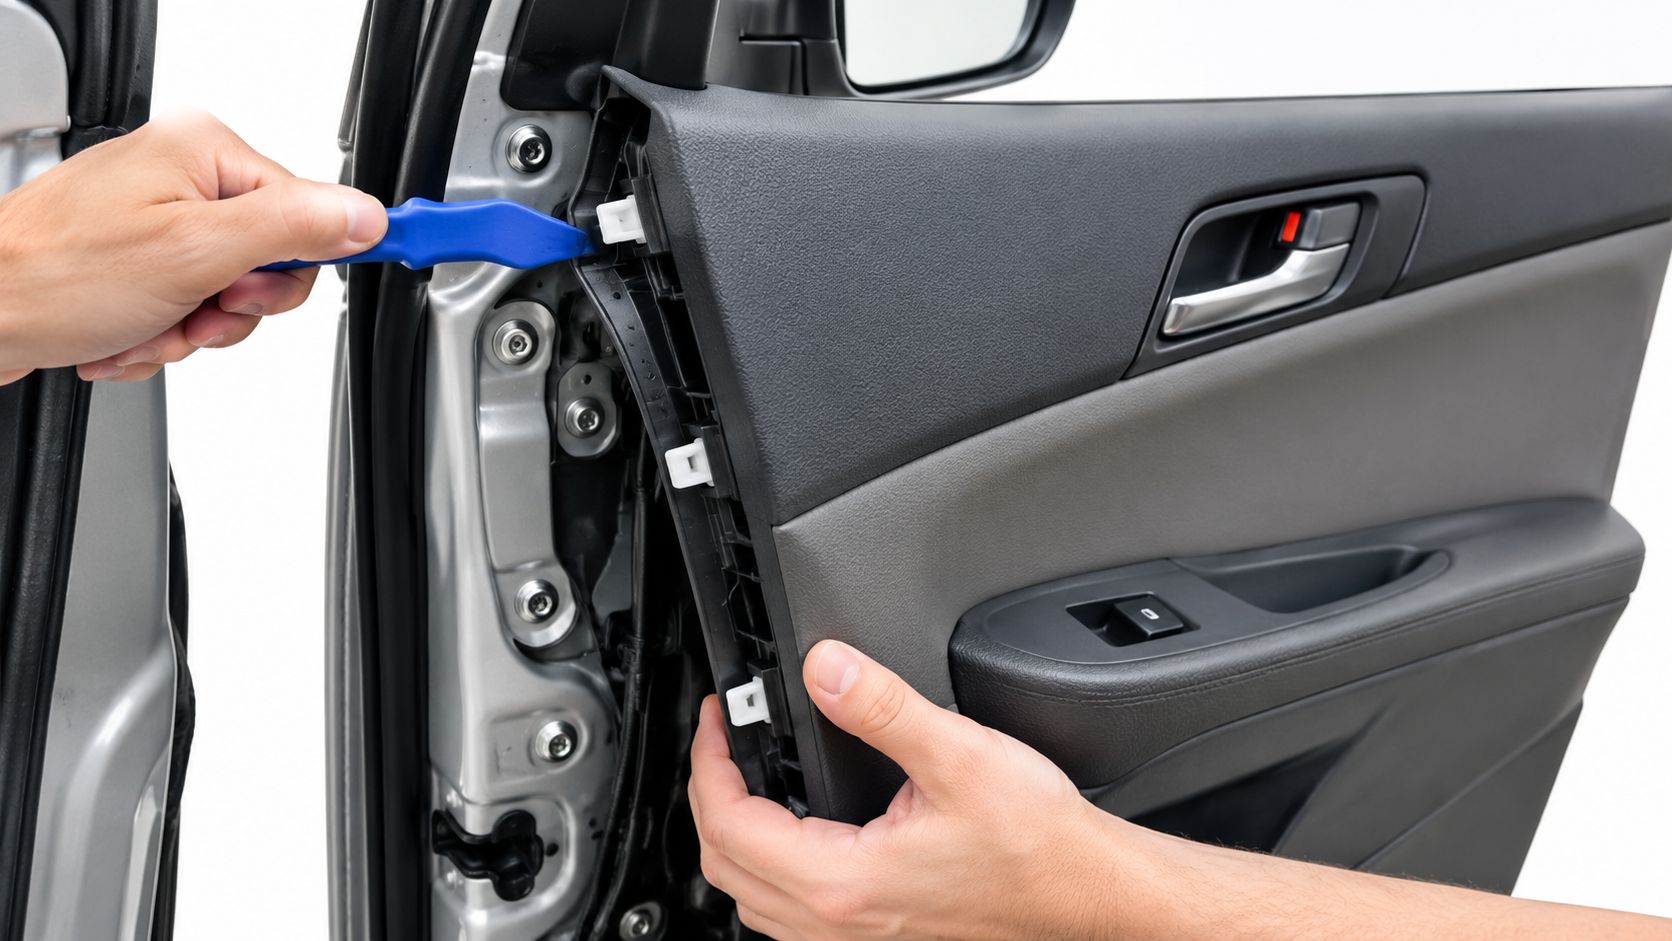
The panel is a sequence, not a single object
Older interiors exposed more mechanical hardware. Modern designs conceal fasteners behind handle bezels, pull-cup inserts, switch panels, and decorative caps, then use clips around the perimeter. Some procedures include a hidden handle screw and 7 plastic clips, so the visible edge does not reveal the full retention pattern.
Modern trim also functions as a module. It may carry switches, speakers, lock controls, wiring, and airbag-related circuits. Releasing the first clip does not mean the panel is ready to leave the door. Electrical connections must be identified and disconnected in the correct order before the trim can be set aside.
Practical rule: If one area resists, stop pulling and find the retainer, connector, or movement that is holding it. Force turns a routine removal into a broken-panel repair.
What proper removal feels like
Controlled removal usually starts with the lower edge. Clips release with distinct pops, then the panel lifts upward to clear the window channel. The trim should not need dramatic bending or twisting against the door shell.
A trim tool creates the opening, but your eyes and fingers locate the clip. Once you know the attachment points and the panel's travel direction, the job becomes repeatable. Model-specific differences still matter, so confirm hidden fasteners and connector placement before treating the panel as free.
Essential Tools and Safety Precautions
Start with the tools, not the pry points. A proper kit prevents the two most common forms of damage, scratched visible trim and rounded or distorted fasteners.
Keep these items within reach:
- Plastic trim tools: Use a broad wedge for the perimeter and a narrower tool for tight handle or switch areas. Plastic is less likely to gouge painted trim than a screwdriver.
- Phillips and flat-head screwdrivers: Door panels commonly use several screw styles, and a flat blade can help release a clip or cap when wrapped with protective tape.
- Small socket set: Some panels use recessed bolts or screws that a screwdriver won't seat correctly.
- Pick or clip tool: A pick helps lift screw covers and release handle retainers without stabbing the surrounding plastic.
- Magnetic tray or labeled container: Put each fastener in a separate spot as it comes out. A screw left inside the door can create a rattle or interfere with the window mechanism.
- Work light and masking tape: Good lighting exposes hidden caps, while tape can protect the edge of the trim tool and mark connector locations.
- Gloves and eye protection: Gloves protect your hands from sharp door metal, and eye protection is sensible when clips or brittle plastic release unexpectedly.

Make electrical safety part of the setup
Disconnect the vehicle battery before working around the door cavity. The area may contain live power-lock, window, speaker, or airbag-related circuits, and the door trim tool and safety guidance recommends treating those connections carefully.
Park securely, switch the ignition off, and keep the key away from the vehicle while you work. If the vehicle has an airbag in or near the door panel, follow the manufacturer's service procedure rather than guessing about waiting times or connector handling.
Prepare the work area before removing hardware
Lower the window if the vehicle's procedure allows it, clear the seat and floor, and place a blanket nearby for the panel. Don't lay the trim face-down on a dirty workshop floor. Arrange your fasteners in removal order, and photograph connector positions before you unplug anything.
A little organization pays off during reassembly. Door-panel work becomes frustrating when the hardware is mixed, the clips are scattered, and nobody remembers which connector came from the switch pack.
Step-by-Step Removal Sequence
A door panel usually breaks because the release sequence is wrong, not because the clips are unusually strong. Inspect the complete panel first. Check the handle bezel, pull cup, armrest, switch panel, lower edge, and decorative caps. Hidden screws often sit behind covers or inside the pull area. Find every access point before inserting a pry tool.
Remove covers with a taped pick or small plastic tool. Use the correctly sized driver, keep it square to the fastener, and apply steady inward pressure. A slipping driver can scar the trim or strip the screw head before the clips are even exposed.
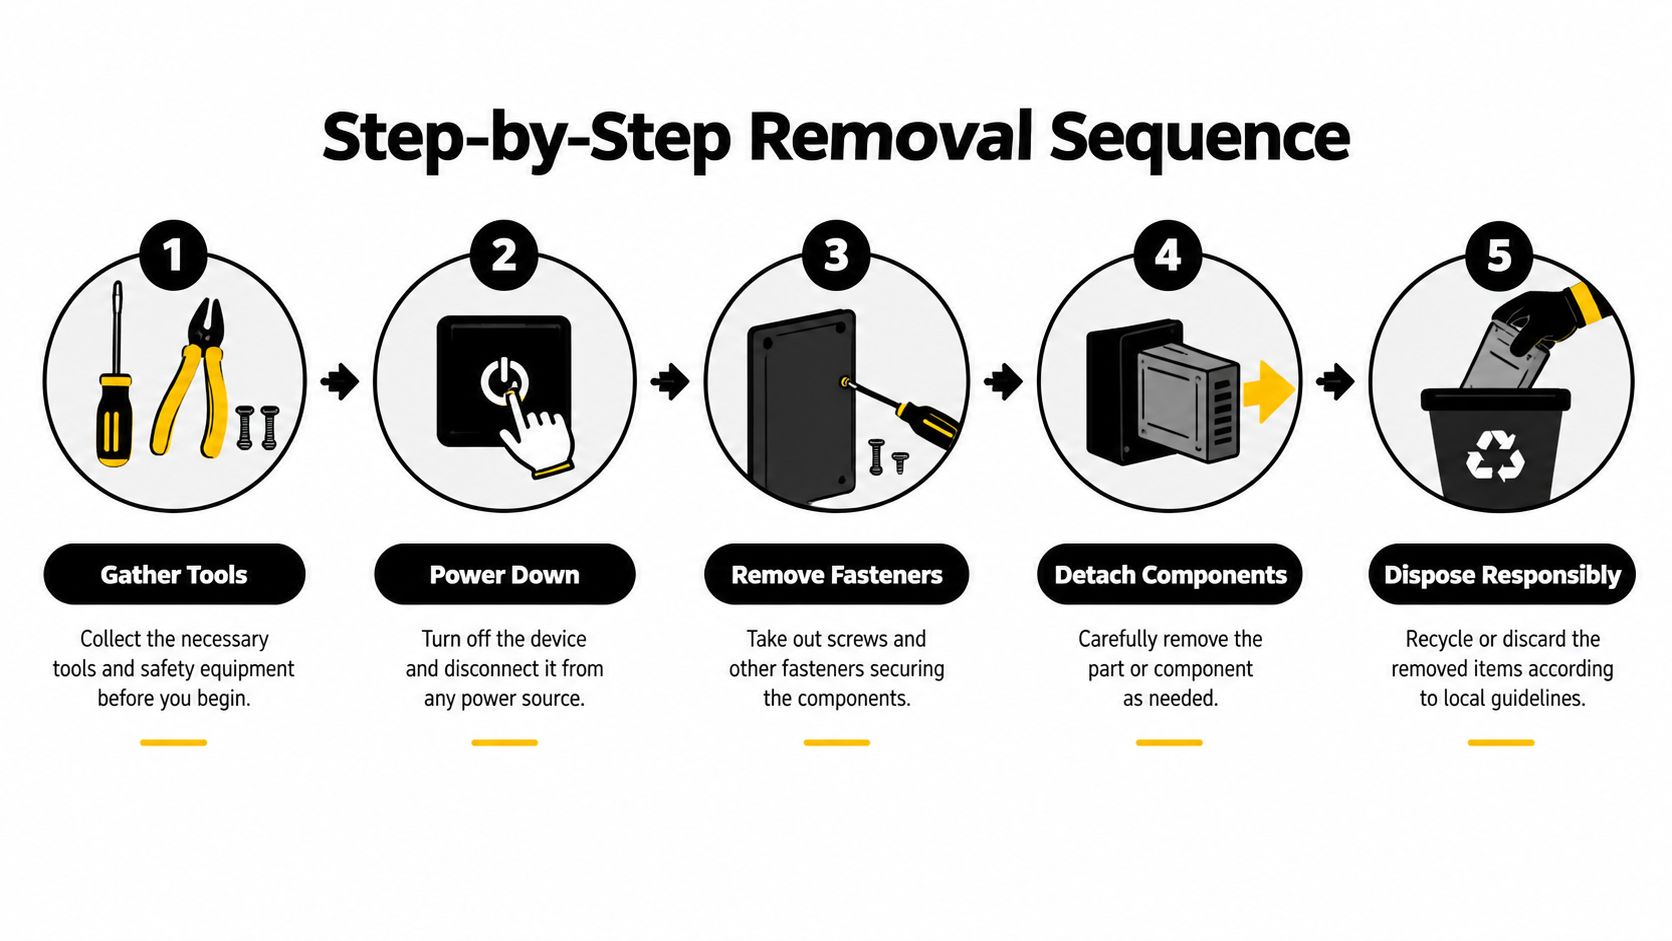
Release the perimeter without twisting the card
Insert a broad plastic trim tool at the lower edge, close to a retainer rather than midway between retainers. Apply controlled outward pressure. After one clip releases, move directly to the next attachment point and work across the bottom before progressing up the sides.
A clean pop is the response you want. If a clip resists, reposition the tool so it supports the panel beside the retainer. Pulling from a distant corner loads the plastic carrier instead of the clip, which can tear the mounting ear.
The usual sequence is outward at the lower edge, followed by controlled releases along the sides. Avoid pulling sideways across the door. That force bends the panel and can drag clips through their mounting holes.
The sound matters: A clip popping free usually means the load is in the right place. A crack, grinding noise, or sudden flex means stop and inspect the attachment point.
Lift before you pull away
Once the perimeter clips are free, keep the panel close to the door and lift it straight upward. Many designs hook over the upper window sill, so pulling outward first can bend or break the top channel. Model-specific layouts vary, and a remaining retainer or upper lip may still hold the trim.
Work around the panel as a complete module. Release the fasteners, free the perimeter, lift from the sill, then support the trim while dealing with its connections. That order prevents the panel from hanging on a switch harness, speaker lead, or handle cable.
Only place the panel on a blanket after the wiring is disconnected. Keep it supported throughout removal, especially when the trim carries several controls or accessories.
Handling Electrical Connectors and Speakers
The loose panel is not free until every connection has been dealt with. Modern door trim often functions as a module carrying window switches, lock controls, courtesy lighting, speakers, and other accessories. Disconnecting the battery first reduces risk, but it doesn't make rough handling acceptable.
Support the panel with one hand and inspect each connector before touching it. Most plugs use a locking tab, sliding latch, or secondary retainer. Press or move the lock as designed, then pull the connector body, not the wires.
Use the connector body, never the harness
If a plug won't release, improve your view and find the locking mechanism. Don't rock it aggressively, insert a screwdriver into the terminals, or pull on the cable bundle. A broken latch can leave the connector loose during reassembly, while damaged terminals can create intermittent operation that is harder to diagnose than a completely failed component.
Mark connectors when several look similar. A strip of masking tape with a simple label is enough, and a quick photograph gives you a reference if the panel will stay off the vehicle while you work.
Speaker leads deserve particular care. The terminals can be small, the wire can be routed tightly, and brittle insulation may crack if you bend it sharply. If corrosion is visible, stop and inspect the terminal and mating connector rather than forcing them apart.
Keep airbag-related connectors separate from casual wiring
Yellow connectors or connectors identified by the vehicle's service information should be treated as safety-system components. Don't probe them with a test light, don't reconnect the battery while they're disconnected, and don't improvise a bypass.
After the panel is reinstalled, reconnect the battery only when all plugs are seated and the panel is secured. Test the window, lock, switch pack, courtesy light, and speaker before final tightening. If the vehicle displays a warning light or a safety-system fault, stop using trial-and-error methods and follow the manufacturer's diagnostic procedure.
Reinstalling the Door Trim Properly
Reinstallation starts with alignment, not pressure. Hold the panel near the door and confirm that the wiring, cable, and upper hooks are positioned correctly. If a harness is trapped behind the panel, the trim may appear seated while the window or switch mechanism is under strain.
Feed the upper edge into the window channel first. The panel should sit along the sill before you press the perimeter inward. If the top edge isn't engaged, pushing the clips can crack the panel or leave a visible gap.
Seat the clips evenly
Line up each retainer with its mounting hole before applying pressure. Press near the clip location, not in the middle of a large flexible section. A properly seated clip gives a clear click and leaves the trim flush with the surrounding door.
Work around the perimeter in a deliberate pattern. If one point won't seat, pull the panel back slightly and inspect the clip, hole, and panel edge. Don't keep hitting it harder. A bent clip or misrouted wire usually explains the resistance.
Replace distorted clips before final assembly. Reusing a clip that no longer holds tension can produce a rattle, a loose armrest, or a panel that separates after the vehicle is driven.
Test before hiding the evidence
Reconnect the switch panel, speaker, lock, and other harnesses before installing every screw cover. Restore power and test the functions while the panel is still accessible. Operate the window slowly and watch the trim for movement or interference.
Once everything works, reinstall the screws without overtightening them. Plastic door-panel bosses can strip or crack when a fastener is driven too aggressively. Finish by pressing the handle bezel, pull-cup insert, and covers into place until they sit flush.
A factory-quality result has even gaps, a firm panel, and no new rattle when you tap the trim lightly. If something feels loose now, it won't improve on the road.
Older Versus Modern Door Trim Designs
Older and modern door cards can look similar from the driver's seat, but their removal logic differs. Older vehicles commonly use a manual window crank and a handle secured by a special clip. Modern vehicles more often leave the handle mounted to the door, then secure the panel with concealed screws, decorative trim, and perimeter clips, as explained in this comparison of older and newer door-card procedures.
That distinction changes the first move. With an older design, the crank and handle hardware may be the main obstacle. With a newer design, the problem is usually finding hidden fasteners and managing the electrical module attached to the panel.
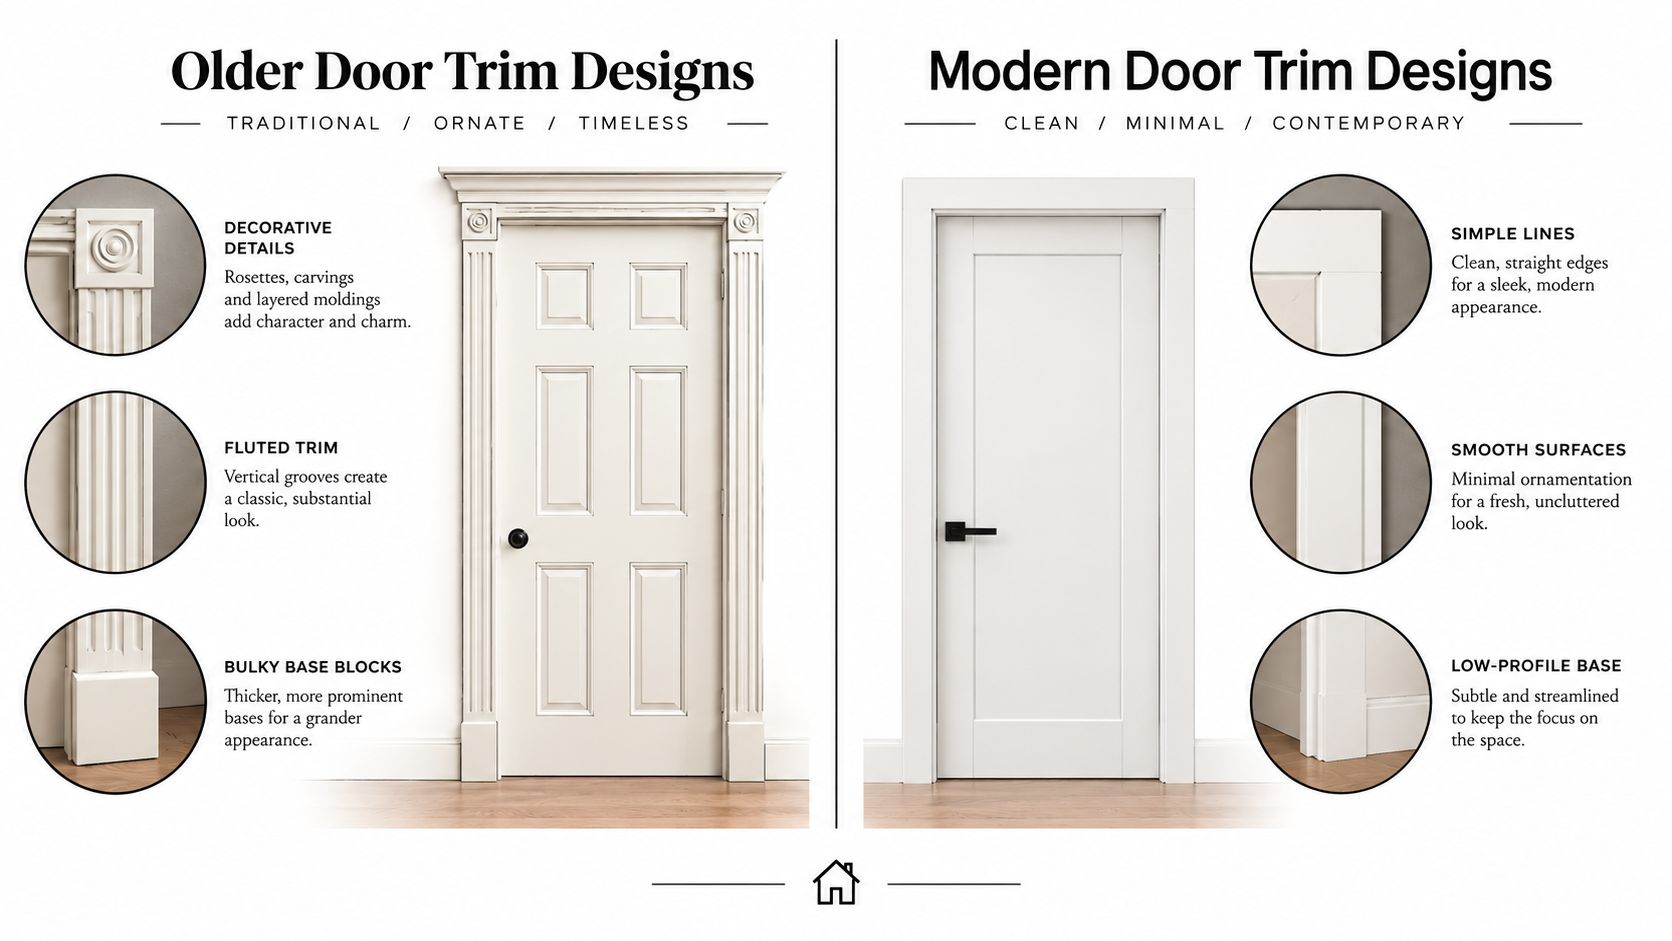
Mechanical hardware versus integrated modules
Older trim assemblies are often easier to understand once the crank clip is exposed. They can still be stubborn, especially when metal clips are corroded or the panel material has become brittle, but the panel usually has fewer electrical connections to manage.
Modern panels bring convenience and integration at the cost of complexity. Power windows, locks, speakers, switch packs, and concealed wiring turn the trim into a removable interior module. The panel may use only a few visible screws while depending heavily on clips and hidden channels.
| Design characteristic | Older trim assembly | Modern trim assembly |
|---|---|---|
| Window operation | Often a manual crank | Commonly an integrated electrical switch |
| Handle retention | Special clips may be exposed during removal | Trim bezels and hidden screws are common |
| Panel release | Mechanical retainers and clips | Concealed hardware, clips, wiring, and upper hooks |
| Main risk | Damaging crank or brittle trim hardware | Missing fasteners, breaking clips, or pulling connectors |
Identify the platform before choosing a shortcut
Don't assume a procedure from one vehicle applies to another, even if the panels look alike. Some use a small number of screws and clips, while others add adhesive-backed moisture barriers, hidden channels, or different clip directions.
The safest approach is to inspect first, identify the retention style, and then choose the tool and movement that match it. A universal pry-and-pull method is fast only when it happens to be correct. On the wrong panel, it turns a routine job into broken trim.
Troubleshooting Broken Clips and When to Call a Pro
Broken clips aren't automatically a disaster. Replace them with the correct vehicle-specific or equivalent retainer, inspect the mounting hole for torn plastic, and confirm that the replacement clip matches the original shape and engagement direction. A random fastener may hold the panel temporarily, but it can sit proud, interfere with the window, or create a persistent rattle.
For minor trim damage, clean the area, remove loose plastic, and assess whether the panel still has a solid mounting surface. A torn clip boss needs more than a replacement retainer. It may require a proper plastic repair or replacement panel, depending on where the damage occurred.
Stop when the fault is electrical or structural
Call a professional when:
- An airbag-related connector or sensor is damaged: Safety systems aren't suitable for guesswork.
- A connector is corroded or its terminals are loose: Replacing a clip won't correct an electrical fault.
- The panel remains fixed after every visible fastener is removed: There may be an unusual hidden retainer or a model-specific release direction.
- The door has suffered impact damage: Bent inner metal can change clip alignment and place stress on the panel.
- The window or lock stops working after reassembly: Find the disconnected, pinched, or damaged circuit before driving the vehicle.
Audio Jam Inc handles vehicle audio and accessory installation, including speakers and vehicle-integrated upgrades that can require careful door-panel access. If you'd rather avoid broken retainers or wiring mistakes, visit Audio Jam Inc to shop parts or arrange installation for your vehicle.













